There are plenty of enemies to fight in the prologue - if you don’t mind being a glorified wildlife exterminator, wasting your prowess on wolves and boars - but there’s little in the way of quality opposition. The quest Deep Down, however, is a bit of a break from this, giving you a proper dungeon to explore, some noteworthy loot to obtain, and even more compelling, a miniboss to fight! This page will provide a walkthrough for the quest Deep Down in  The Blood of Dawnwalker, including info on how to obtain the
  Mireleaf Bracers and defeat the The Forgotten Guardian!
Page Breakdown
Deep Down List and Rewards
| Quest | Time | Reward |
|---|---|---|
| Blasphemy | 1 | 250 EXP, Mireleaf Bracers, 50  Denarius Denarius |
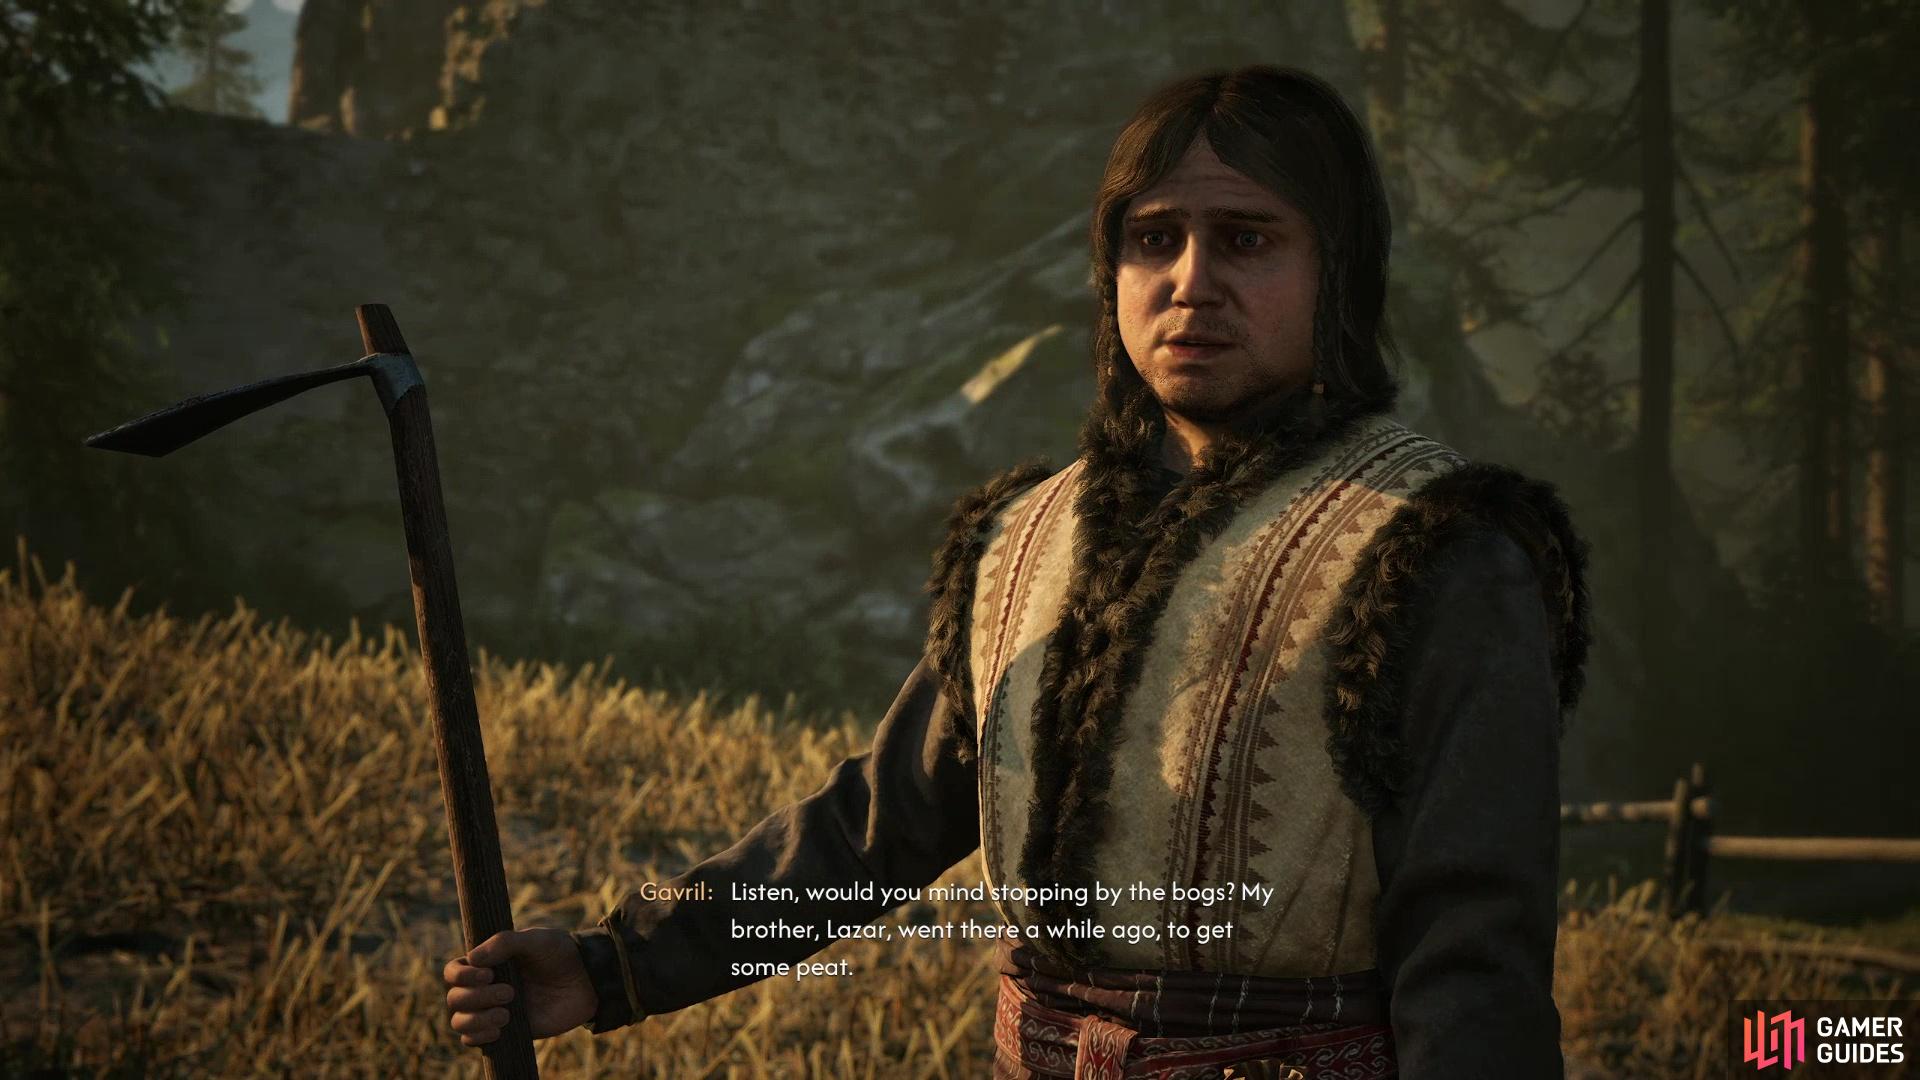
You can start the quest “Deep Down” by talking to Gavril at his farm.
Starting Deep Down
There are two ways to start this quest - first, you can find  Gavril in his fields along the southwestern edge of
  Laslea Glen and talk to him. He’ll tell you that his brother,
  Lazar, went missing in the bogs and naturally he wants you to go look for him. This is just east of
  Anca’s Hut, where the quest Withering Away takes you. Failing that, you can just find a pit in the bogs along the western edge of the Laslea area, just follow a road northwest from Gavril’s farm, cross a bridge, and past the ruins to the west where the quest
  Enter Not takes place. Keep following the road north of here and you’ll reach the bogs.
Look out for the Blackwater Hollow shrine, which is near the road just before the bogs. More importantly, near this shrine you’ll find an abandoned wagon and some tracks. Use  to view the tracks and follow them across three wooden bridges, after which you’ll find a discarded basket, some blood, and wolf tracks. Follow the tracks across a fourth bridge to find a pack of wolves sitting near a pit - getting near the pit is sufficient to start the quest, even if you never talked to Gavril.
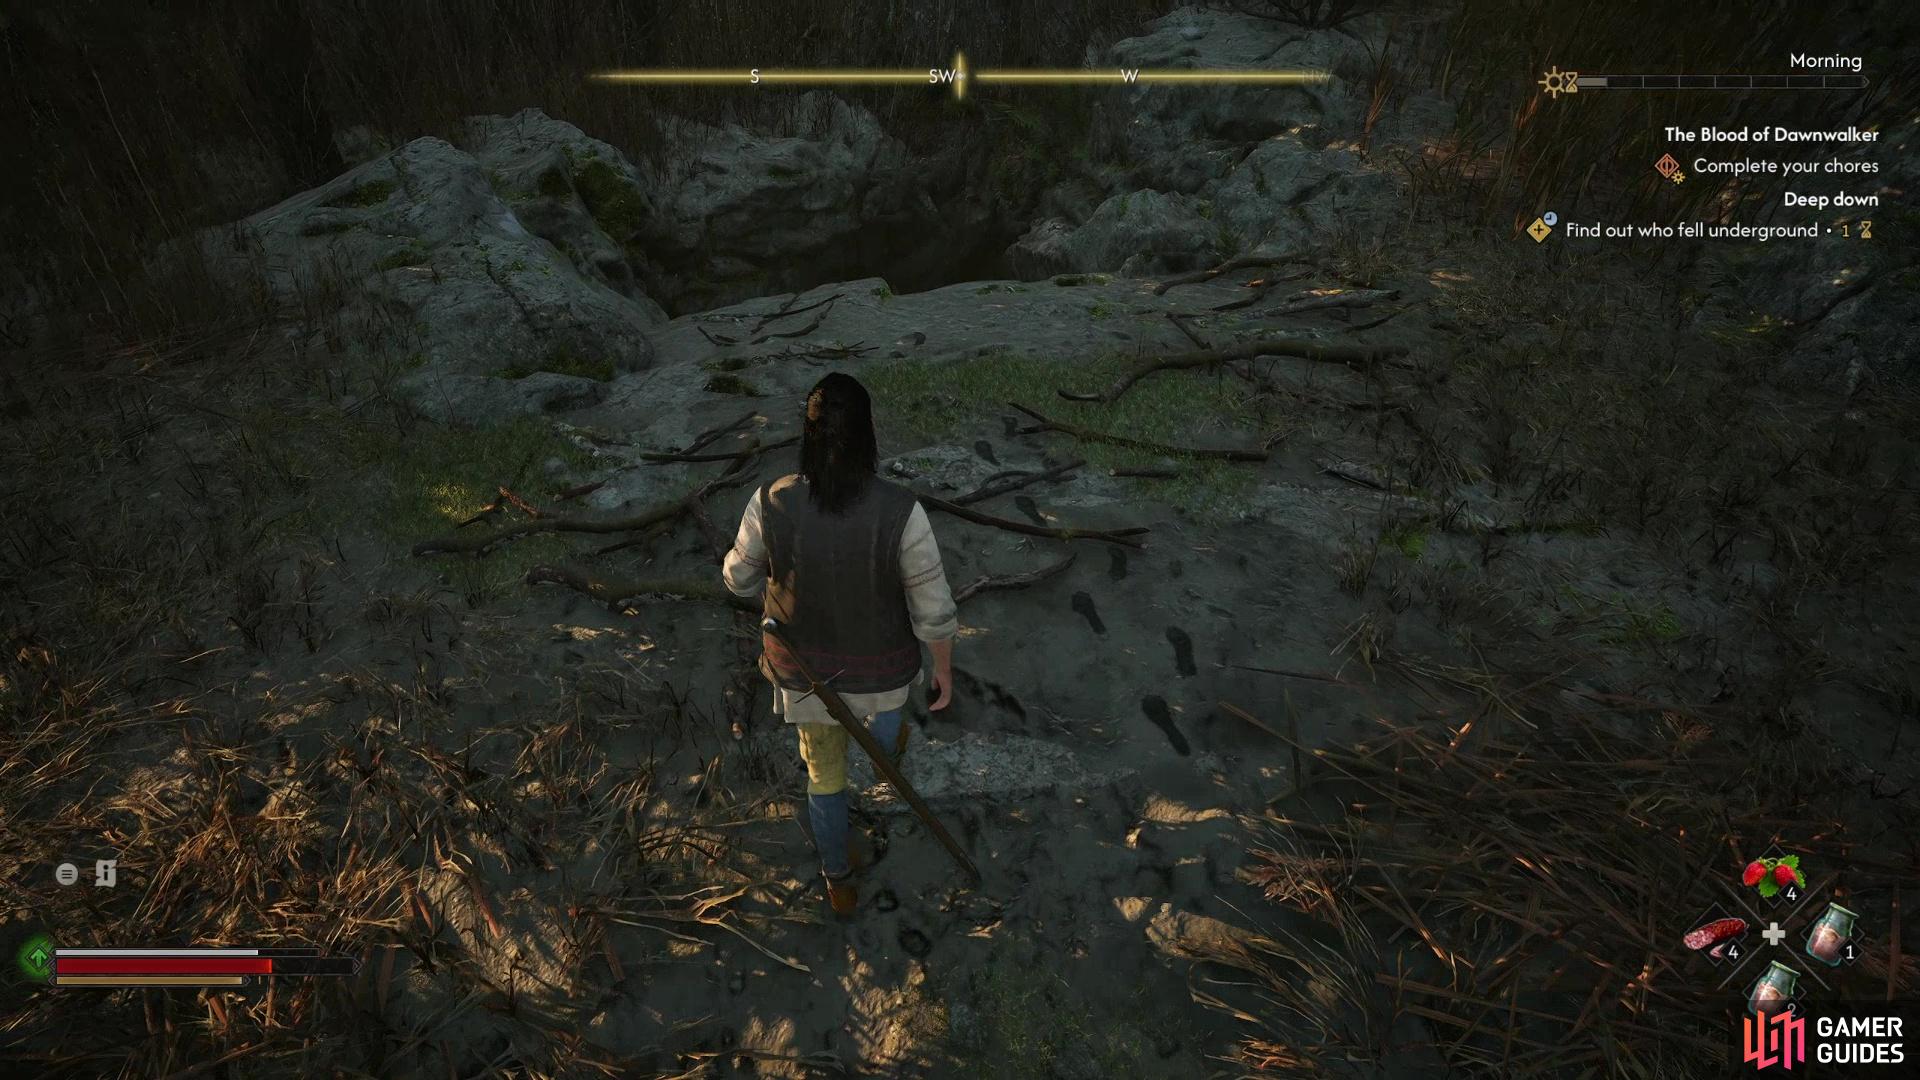
Follow clues through the bog to find two wolves guarding a pit,
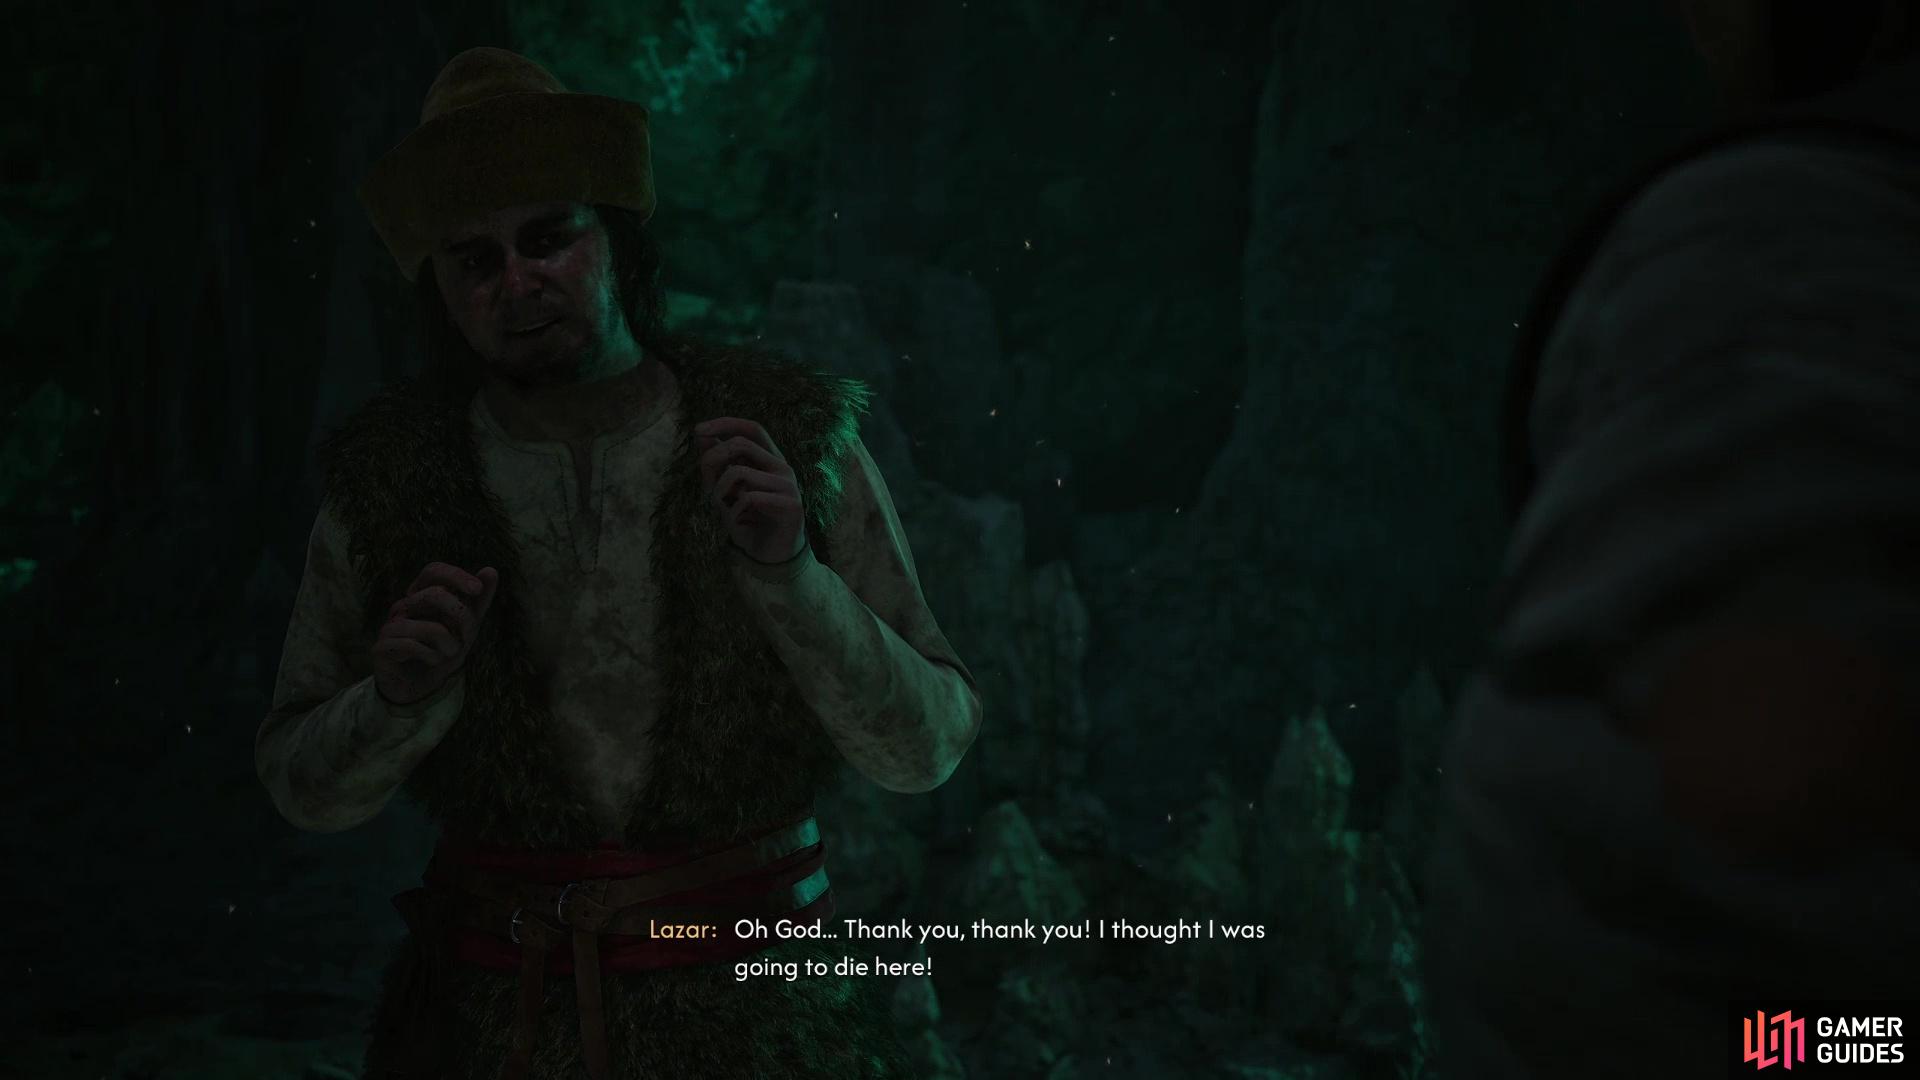
then climb down and meet up with Lazar.
Look for Lazar Underground
Kill the pair of wolves lurking near the pit and drop down two ledges into the pit to find yourself in a cave, then follow the linear path ahead deeper into the cave. Shortly into the cave you’ll find a bag you can loot an a  Torch burning away on the floor… in case you forgot to bring your own and would prefer some light.
Continue forward and when you near another, shallower, pit, you’ll hear Lazar cry out. Find a cleft in the wall (the torch will help here!) and slide through it. This costs 1 TIME and commits you to seeing the rest of the quest out… although frankly you were committed when you dropped down into the pit.
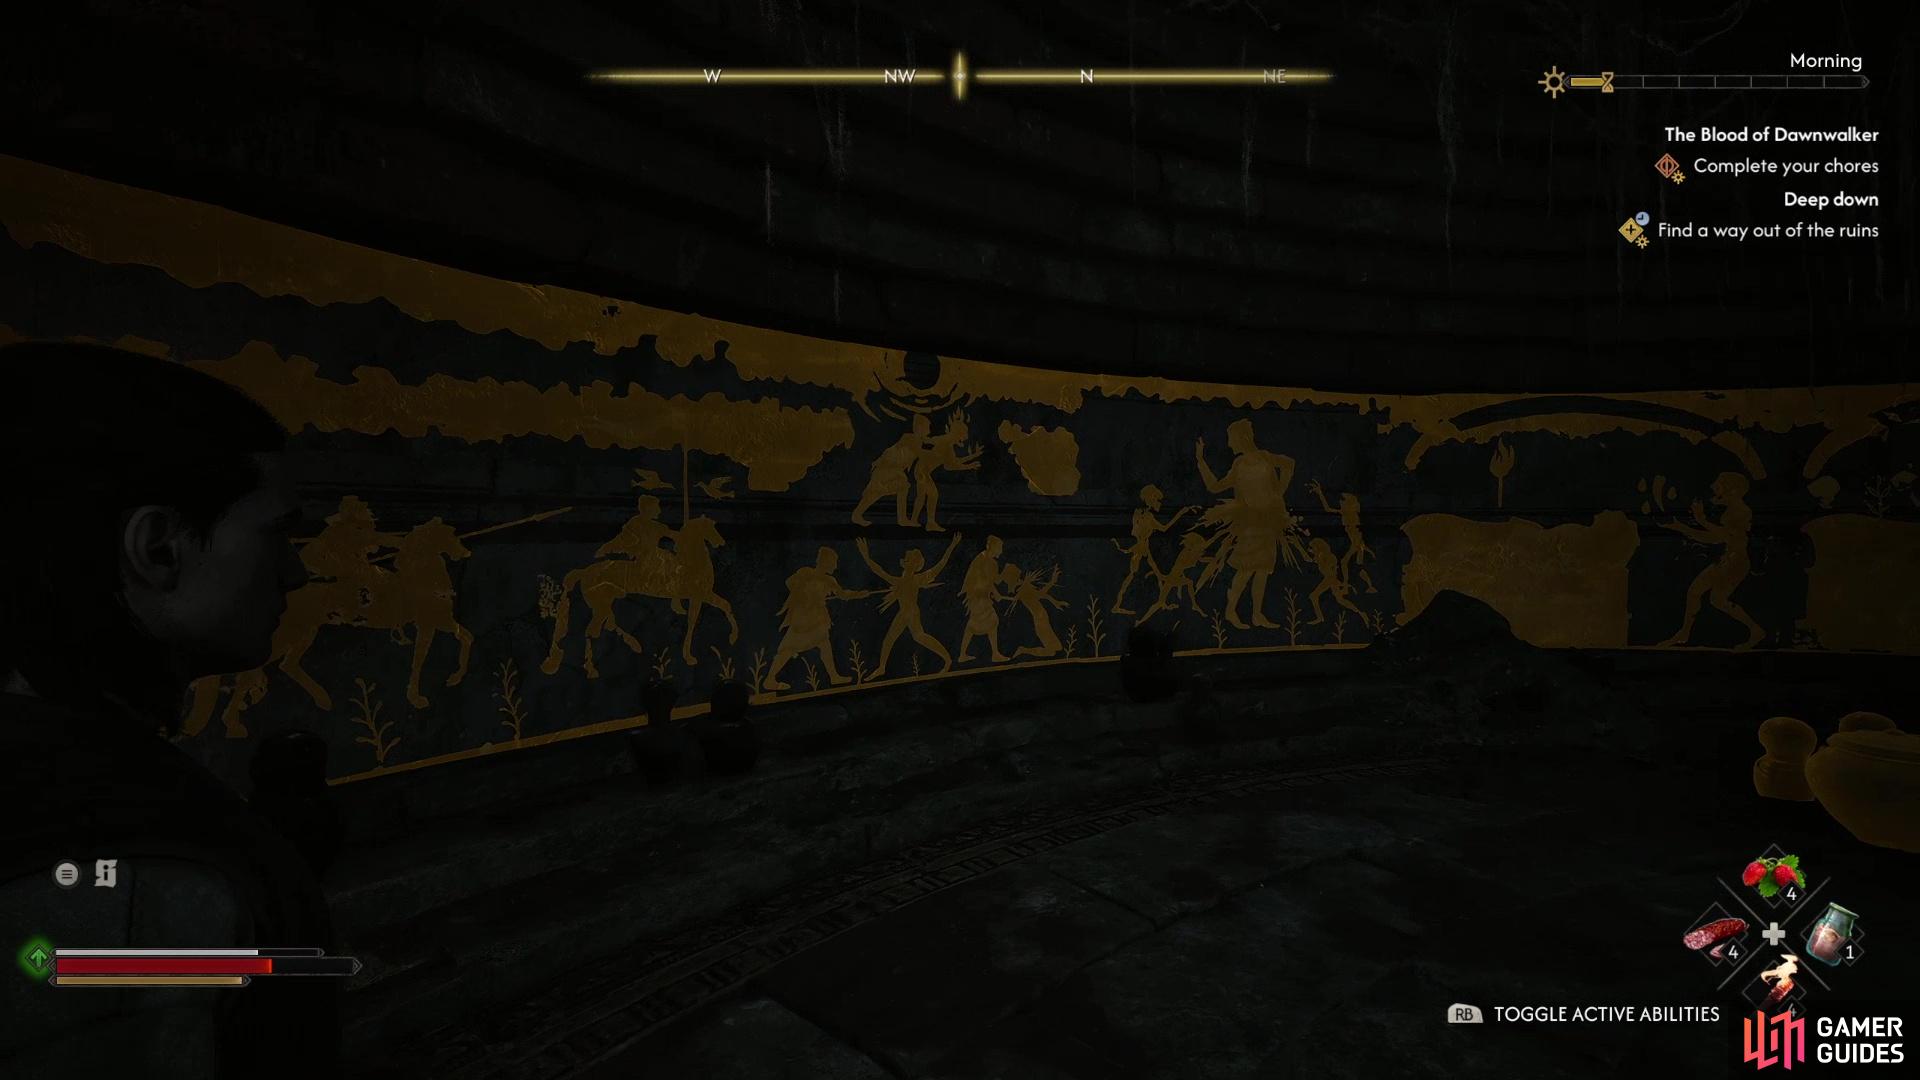
Examine several murals in the tomb and review each point of interest,
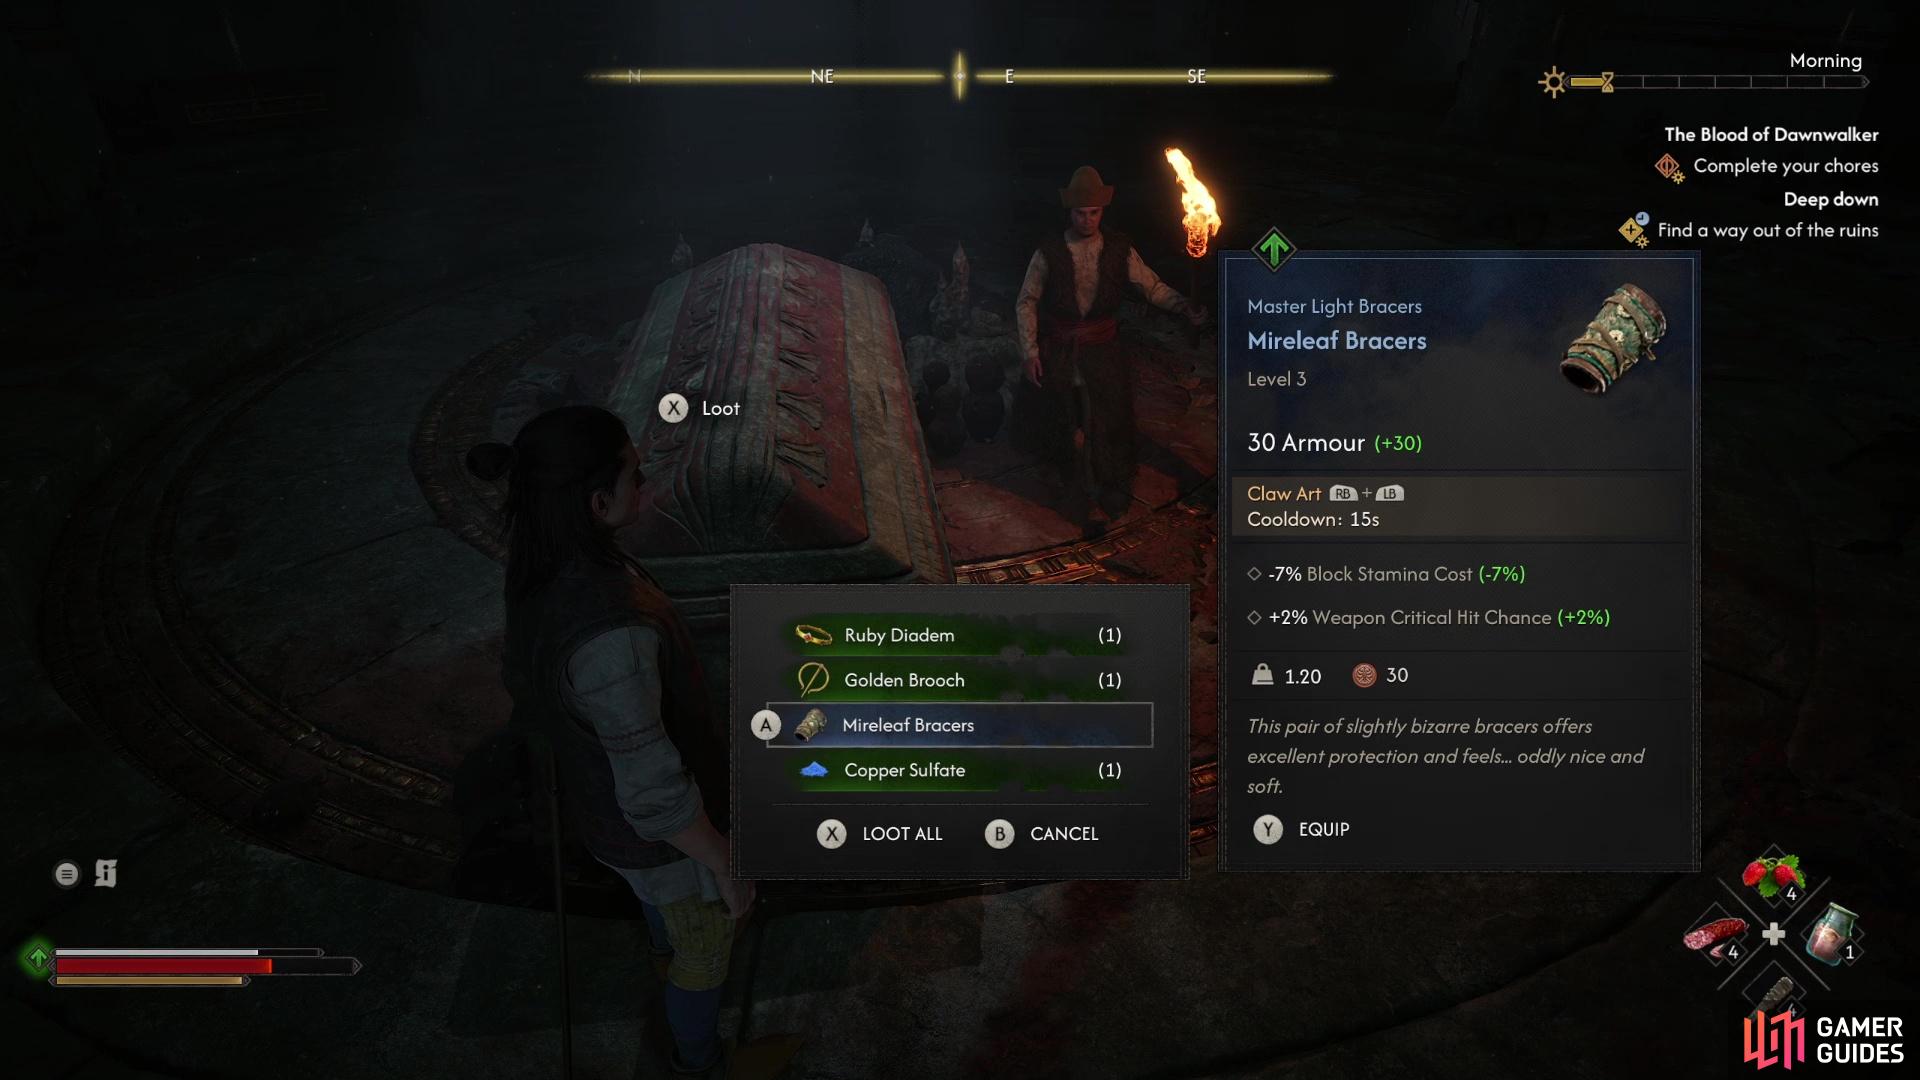
then open the sarcophagus to obtain the Mireleaf Bracers.
Mireleaf Bracers
Head forward into the watery cavern ahead until you meet up with Lazar. Say what you will, it doesn’t really matter much - Lazar is convinced something is down here, and he isn’t armed, so you’ll need to have enough bravery and prowess for the two of them!
Go up a slope to the left (south) and eventually you’ll reach a man-made chamber. Search it and examine a dead dog, some footprints (not Lazar’s!), a human corpse and some clay tablets. Interesting stuff, but not essential - loot the room, then go down a hallway to the south, endure some spooky bats, turn a corner to the left and you’ll enter another chamber, this one circular.
Note the sarcophagus in the middle of the chamber, then examine another corpse to the right and some urns to the left. Now look at a total of six murals to the left of where you entered, which span nearly half the chamber. There are multiple points of interest on each panel you can observe to piece together the story being told - apparently vrakhiri aren’t a new problem in the region. Once you’ve examined all the panels fully, loot the sarcophagus in the middle of the room to obtain the Mireleaf Bracers, which will probably be the best bracers you’ll find for a while. At the very least it has an innate claw art that will prove useful in a bit.
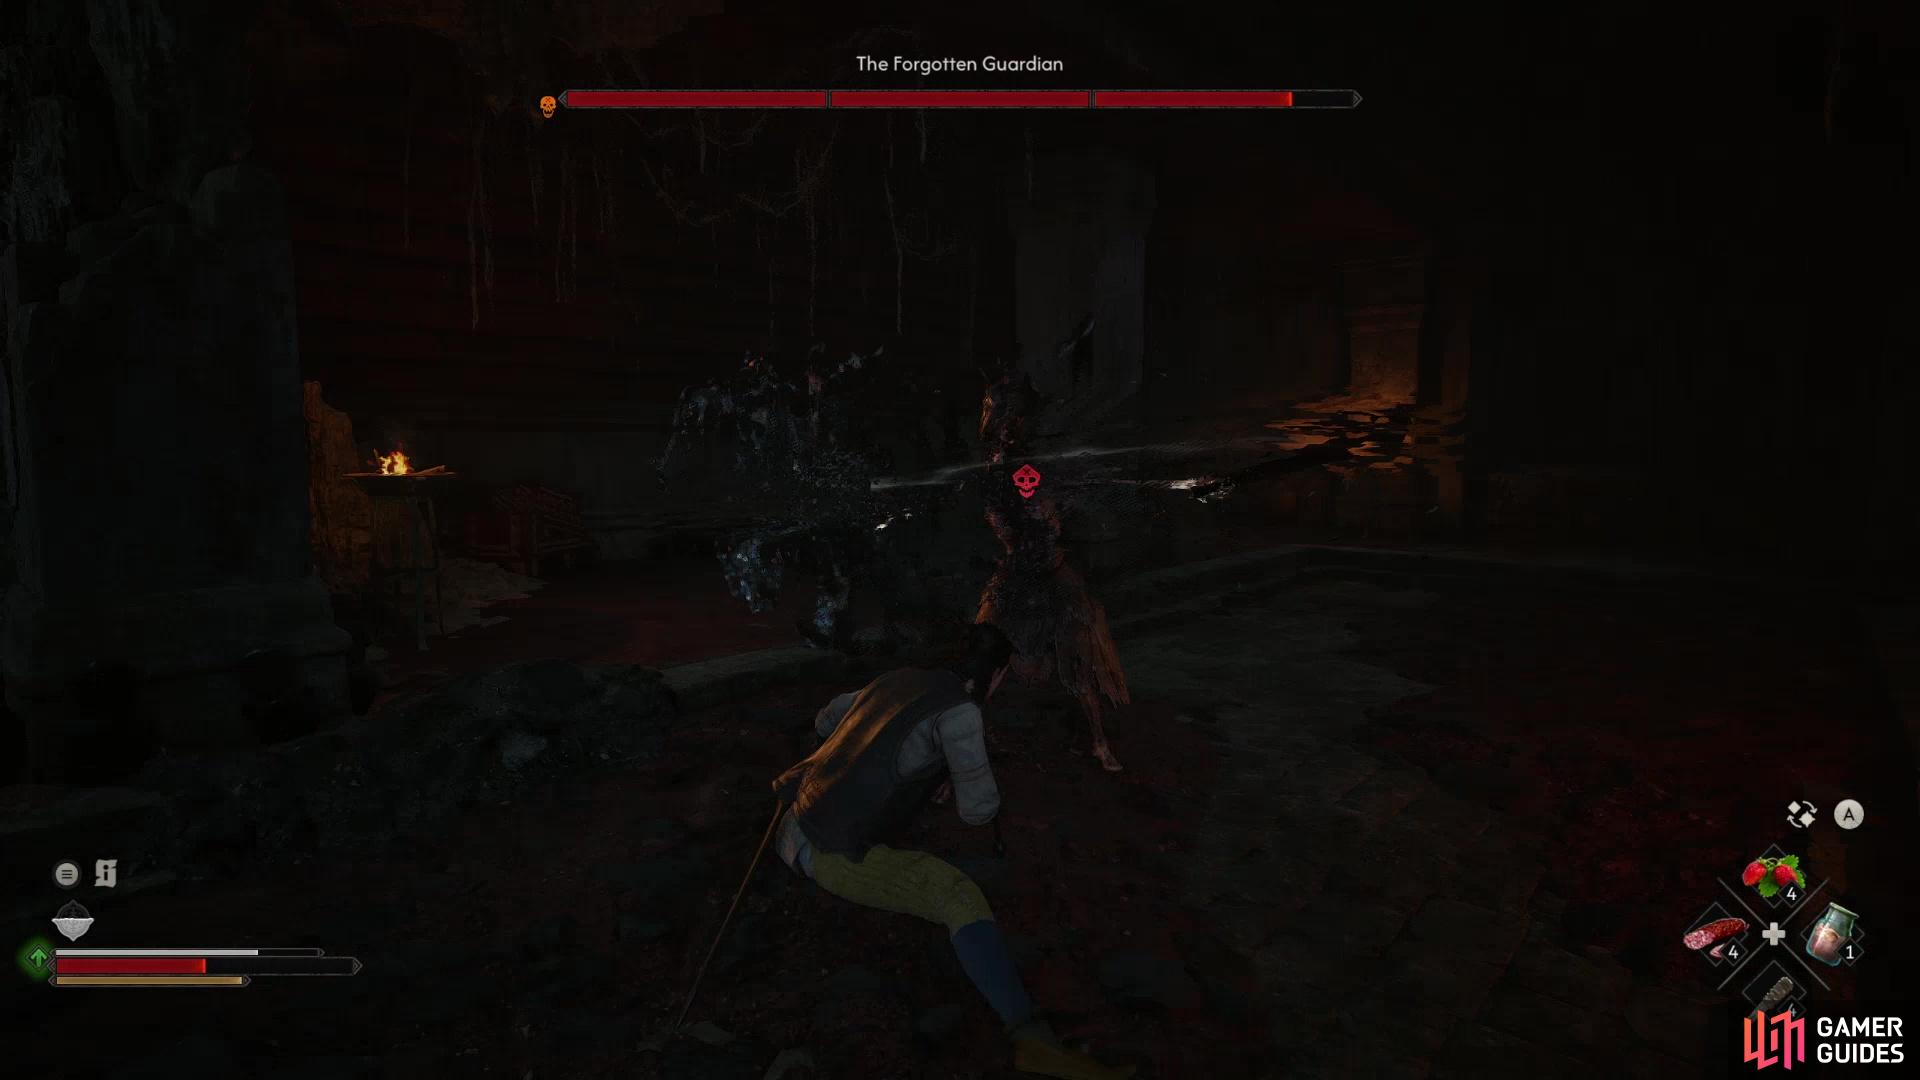
Be wary of The Forgotten Guardian’s unblockable attacks,
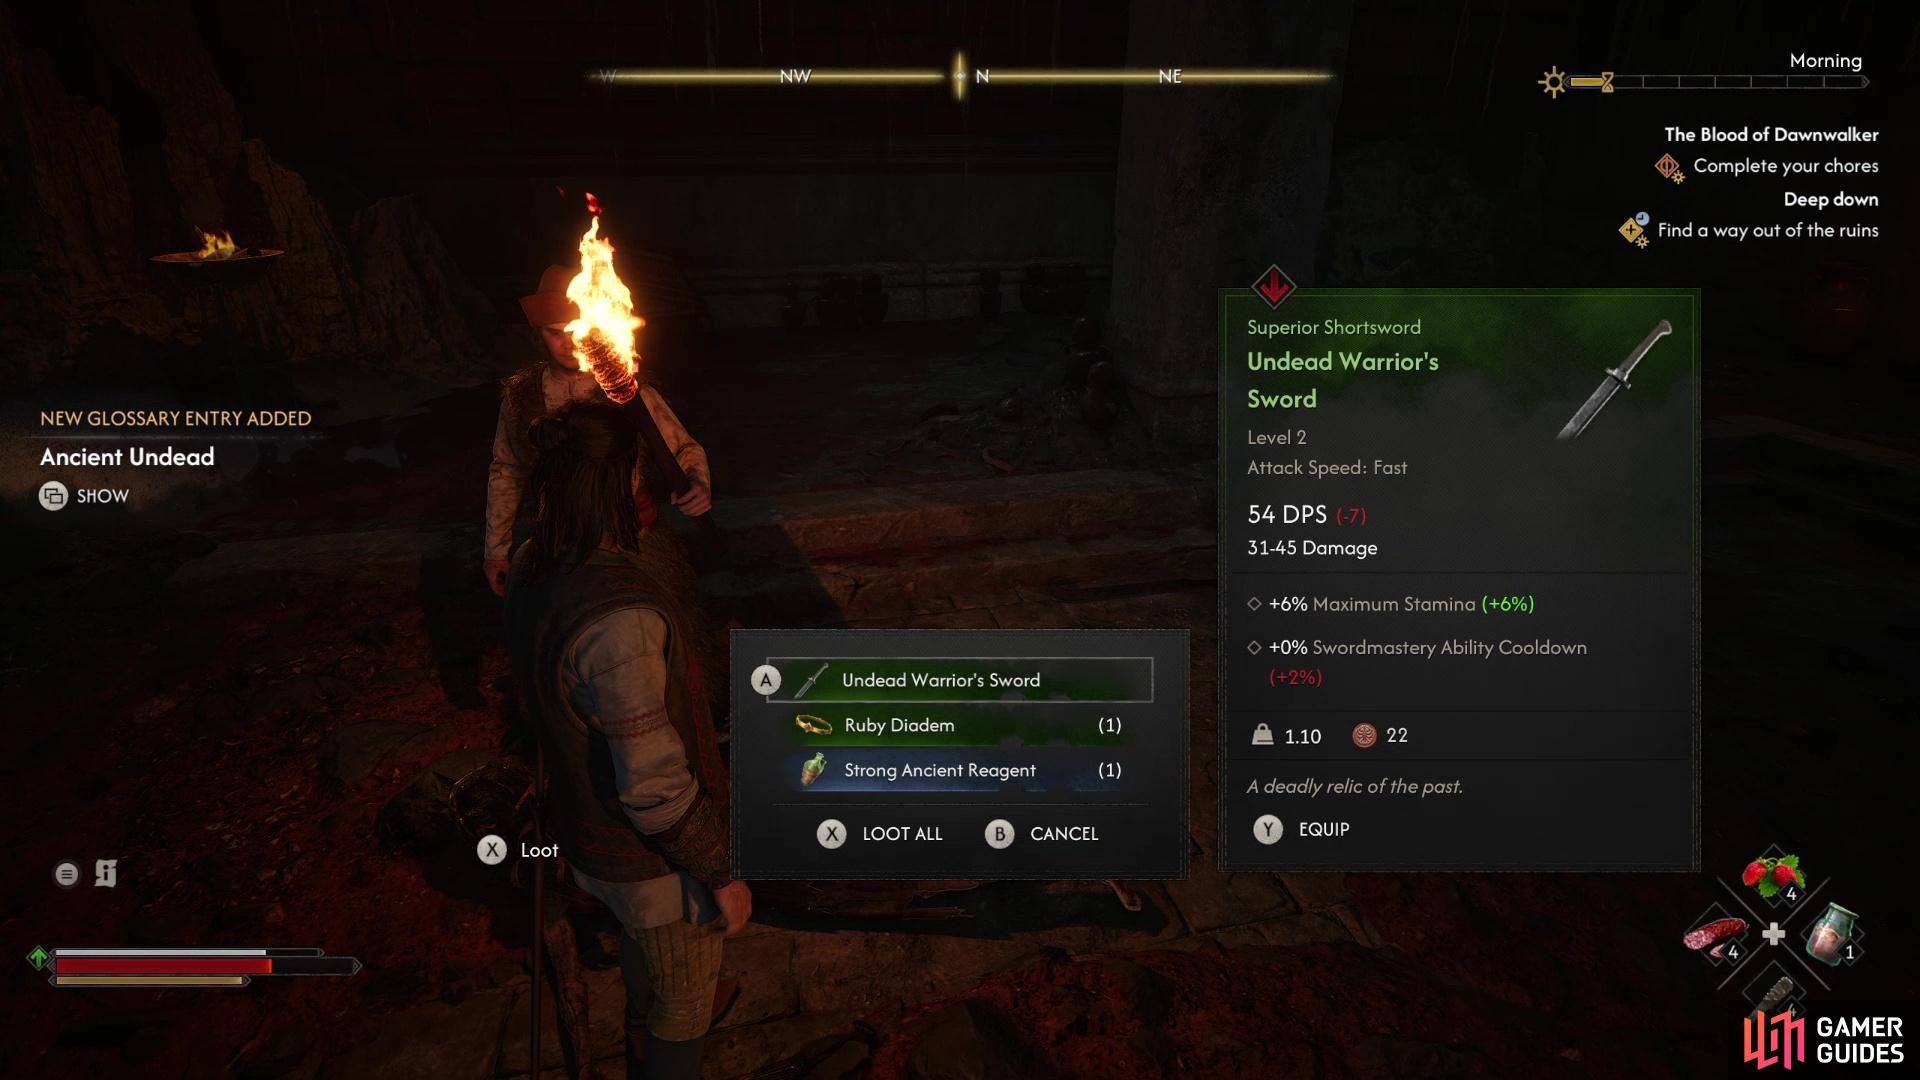
and be sure to loot it for a green sword.
Boss: The Forgotten
Loot the chamber, then head down another hallway to the east, southeast and take a left - the roar of some beast confirms that Lazar was correct about something being down here, but you can’t escape by going back the way you came, so forward it is. Enter the next chamber and you’ll encounter the source of the noise: The Forgotten Guardian.
This miniboss is significantly more powerful than the fodder wolves and boars you’ve generally run afoul of in the prologue, but there’s only one of them, and as long as you focus on what your foe is doing and respond appropriately you should be fine. Parry its attacks, get a counter in once or twice after each perfect parry and if you see a red skull, dodge away as the boss is about to unleash a spinning, unblockable AoE attack. Once you get the cadence down, you’ll whittle down the boss’s health bar in no time. Be sure to loot your foe to obtain an  Undead Warrior’s Sword, a superior-tier (green) weapon the level of which can vary due to RNG - if you’re lucky you’ll get a high level one (we’ve seen Lv5+) which will likely be significantly stronger than what you’re probably using. You’ll find better before long, of course, but if you’re here with starter gear, it’s probably going to be an upgrade.
Loot the chamber, climb a ledge on the far side of the room, then go up some stairs to find yourself outside. Once you escape the cave, Lazar will talk to you and you can escort him back home, instantly transporting you to Gavril and, more importantly, to the end of the quest… or you can force Lazar to walk home on his own. Either way, talk to Gavril and he’ll try to rope you into talking to the village alderman, which is entirely optional and doesn’t give you any reward. Agree or not - it doesn’t matter if you actually go report to  Zdislav, you just get some extra dialog. Either way, the quest ends and Garvil gives you 250 EXP and 50 Denarius, which is a pretty quest reward… but the extra loot earned in the tomb more than makes up for it!


Nathan has been working at Gamer Guides since 2014 where he started as a contributor. He came on as an editor in 2020 where he continues to put his excellent knowledge of most things RPG to use. More about Nathan Garvin

No Comments