0 of 40 collected
Checklist complete: 40 of 40 locations collected.
Sign in to save your progress across every device.

-
1
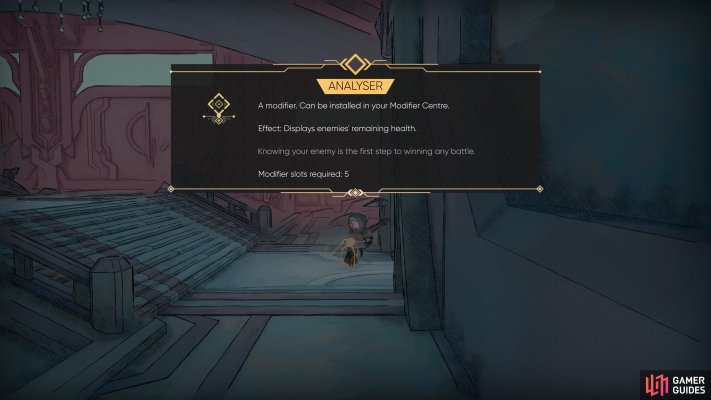
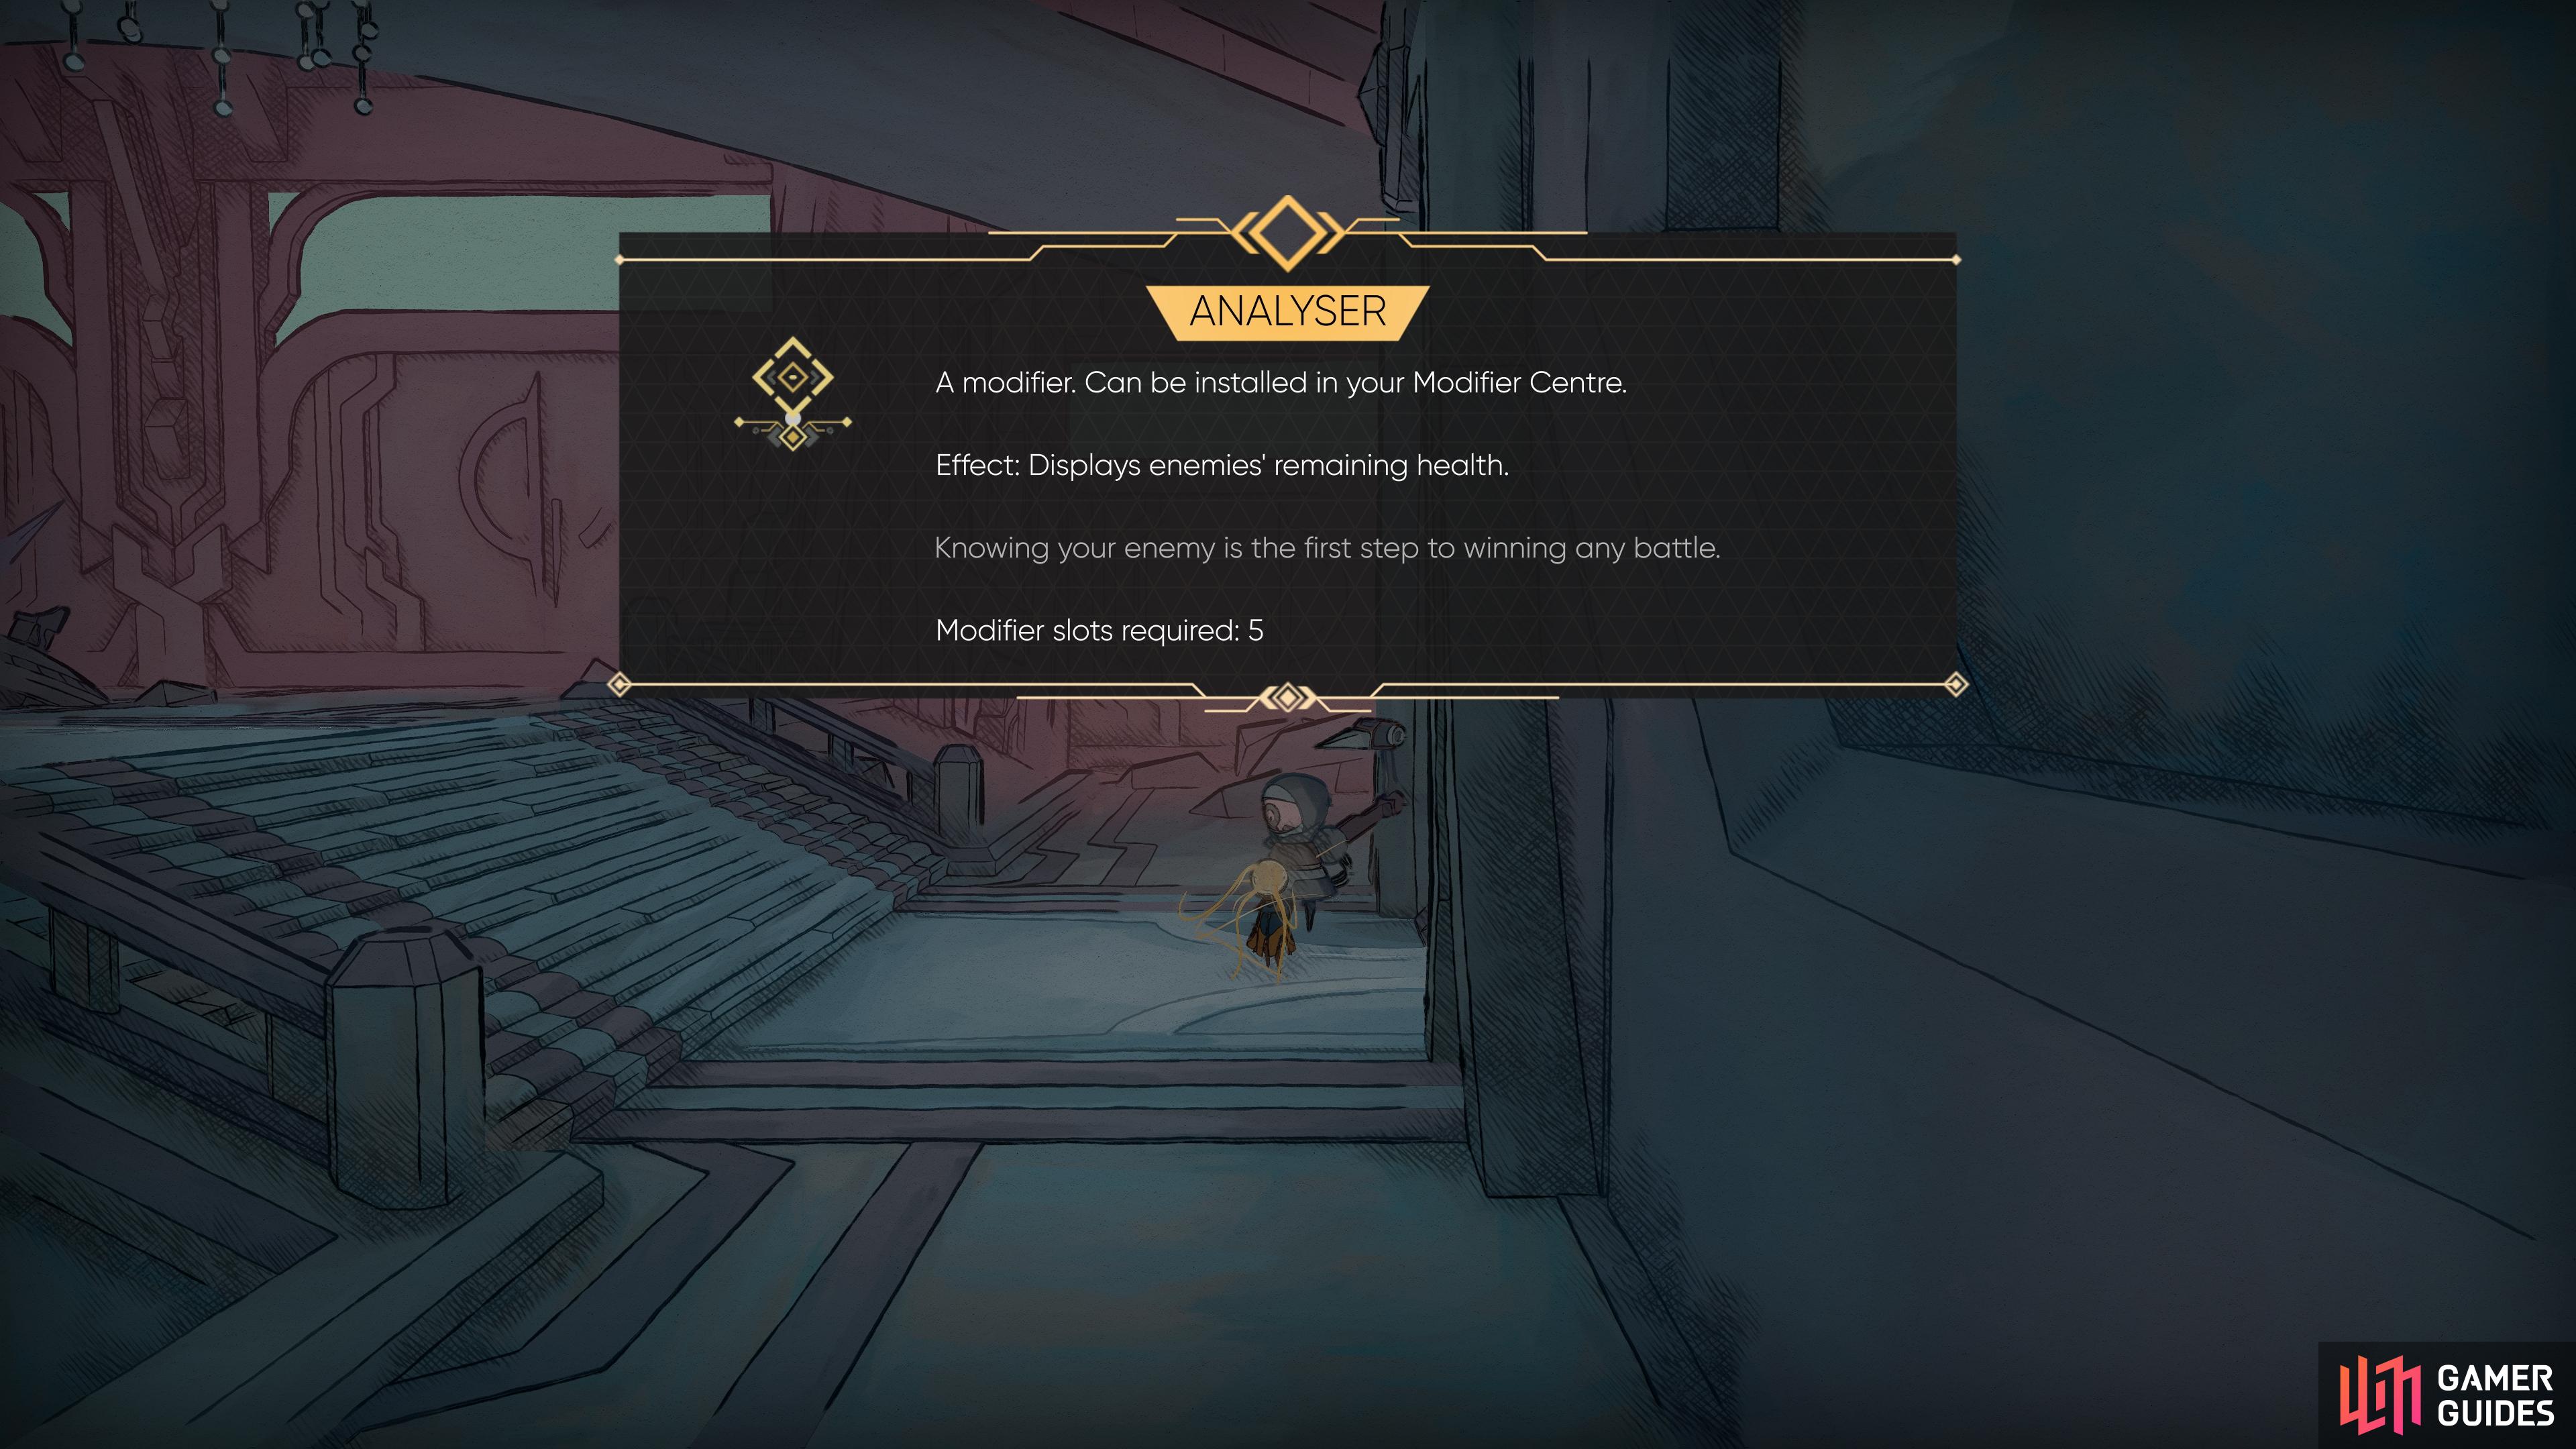
Analyser
View on mapOpen the door on the west side to release Rad from his predicament. He’ll reward you with the Analyser Mod.
-
2
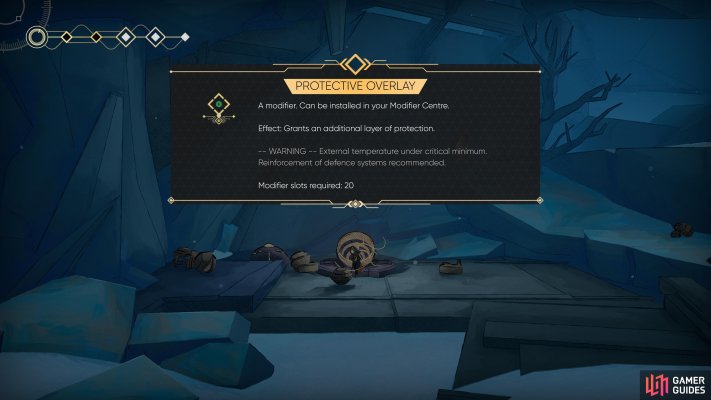
-
3
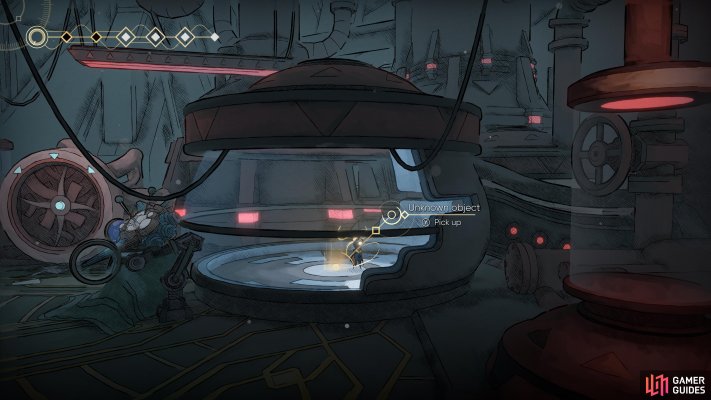
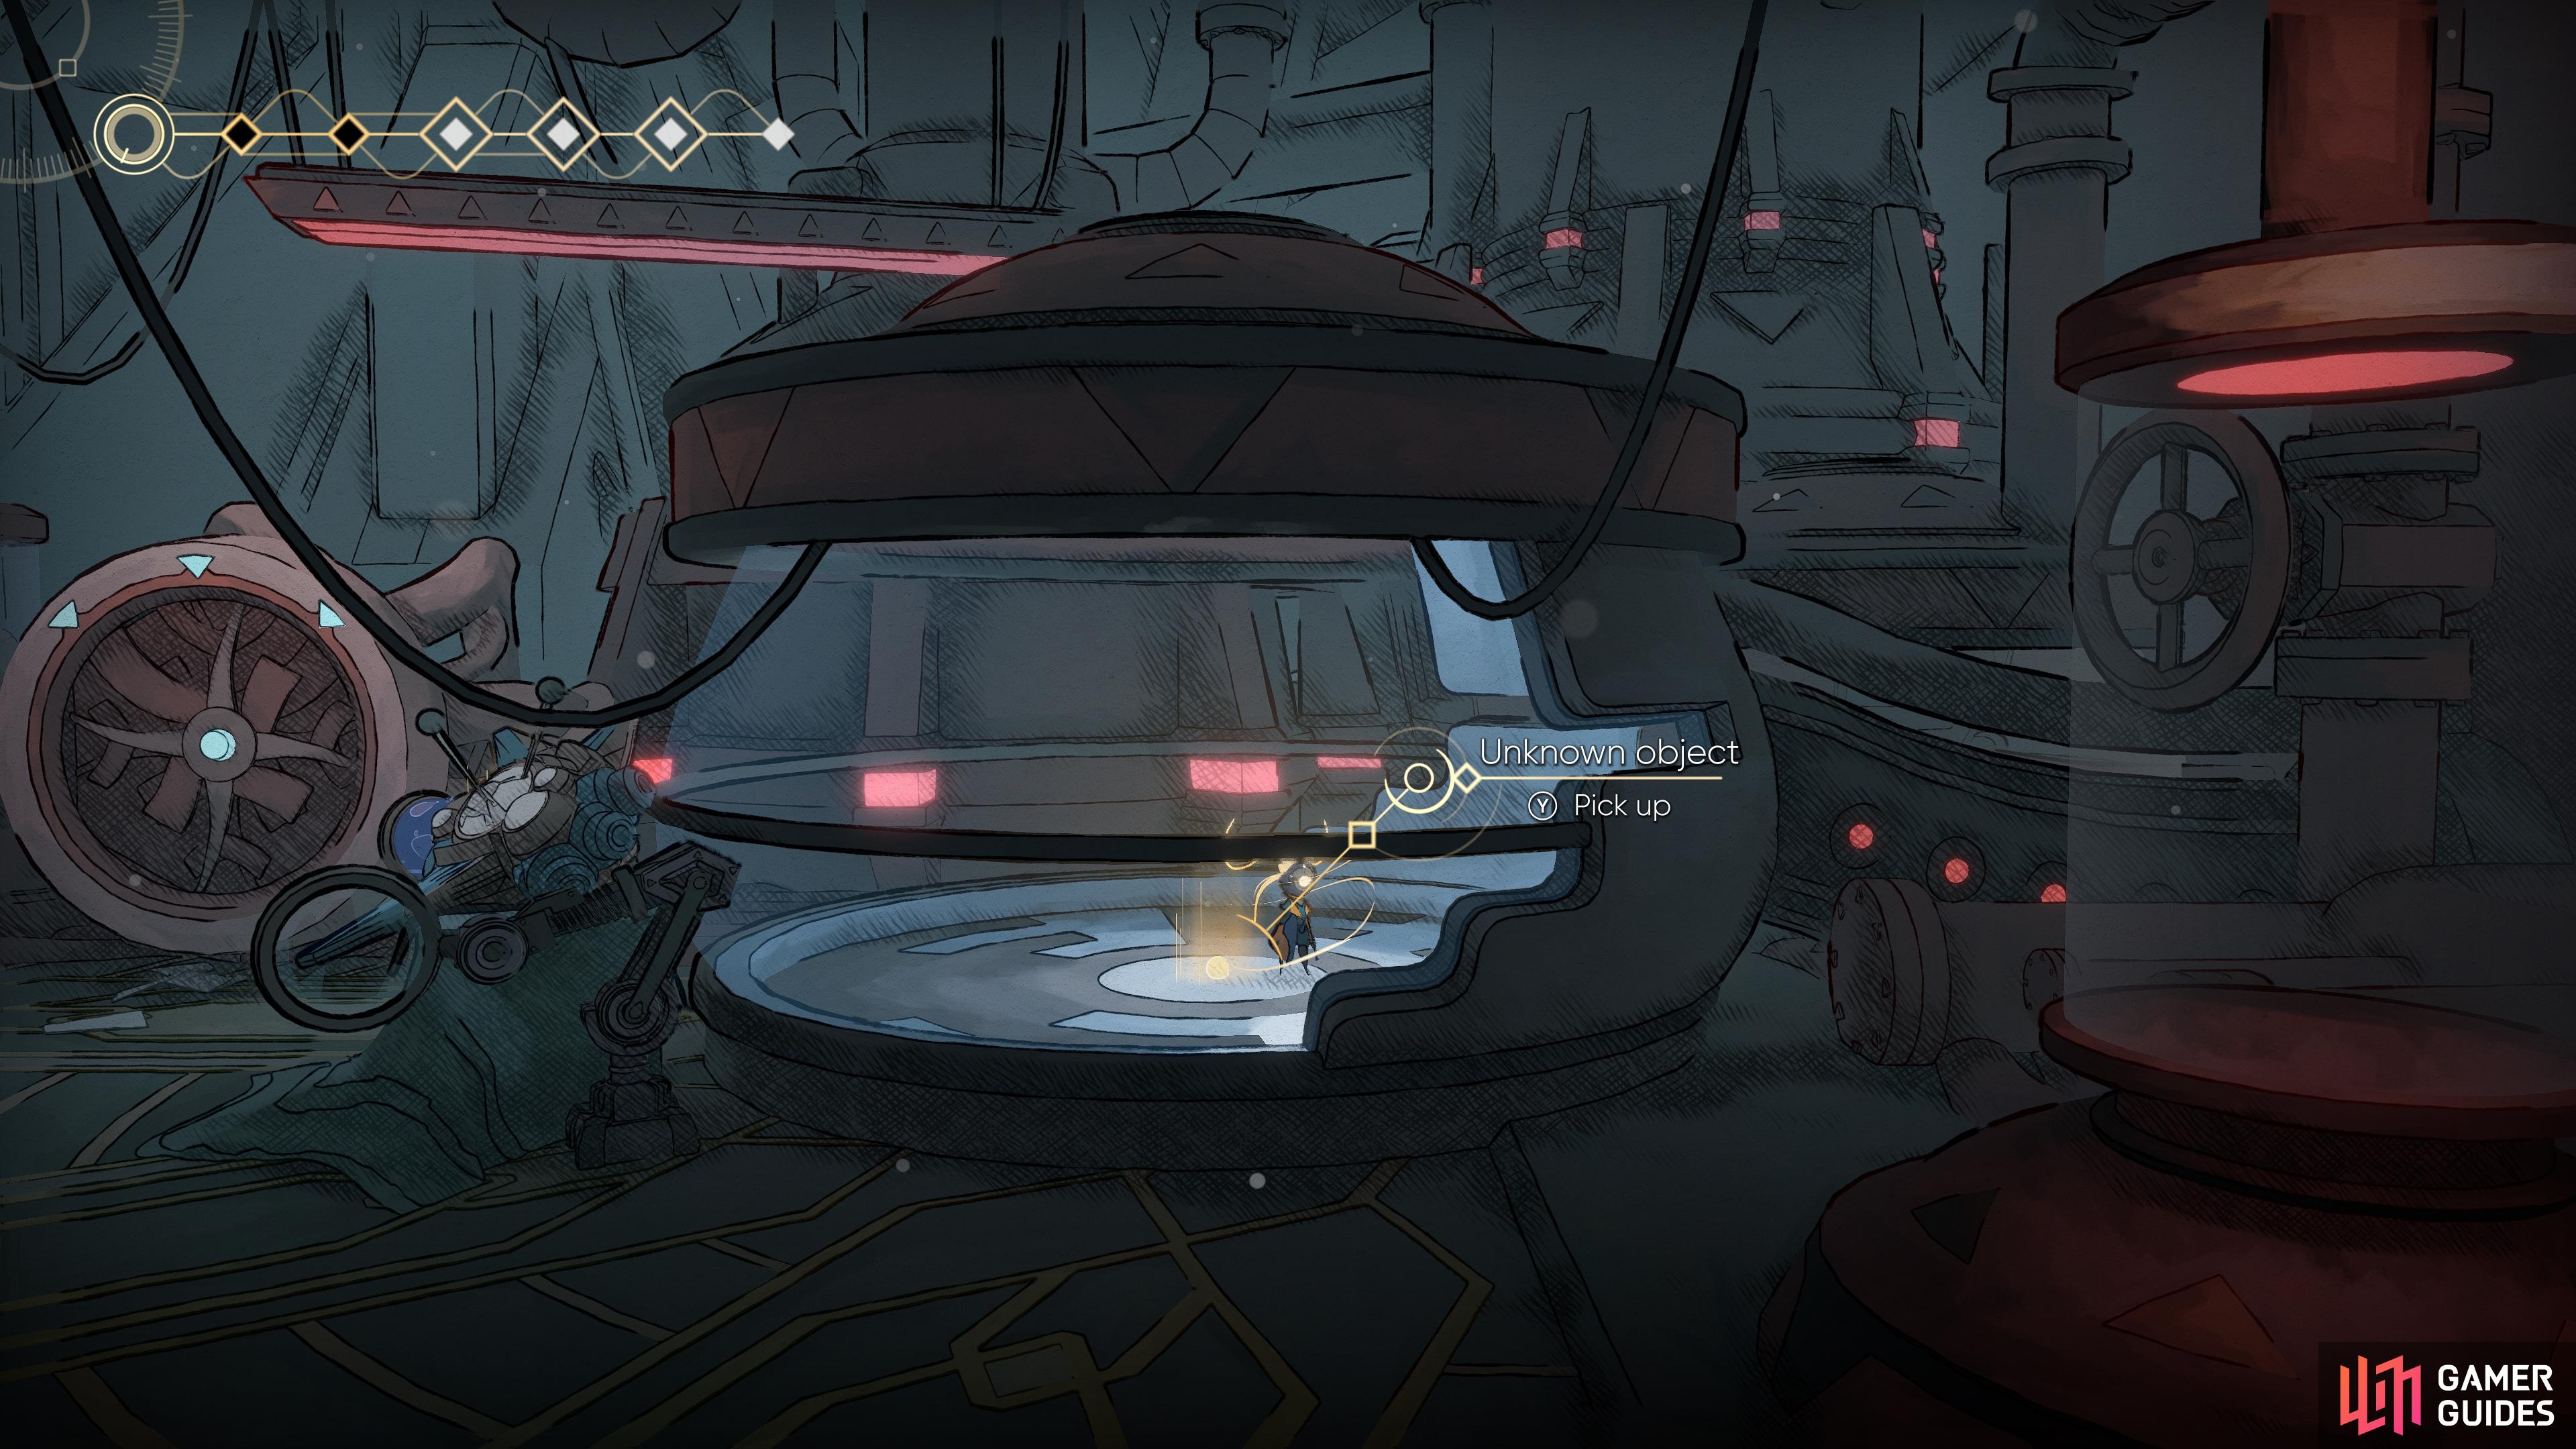
Kinetic Thrust
View on mapInside a glass chamber only accessible via the hidden path in the triangular-shaped room in the Dwellings to the southeast.
-
4
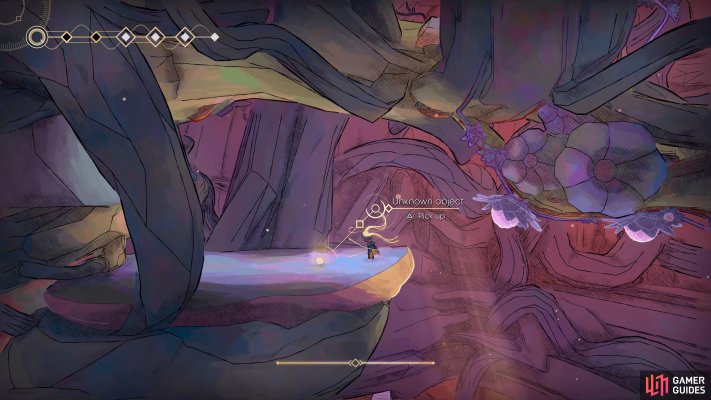
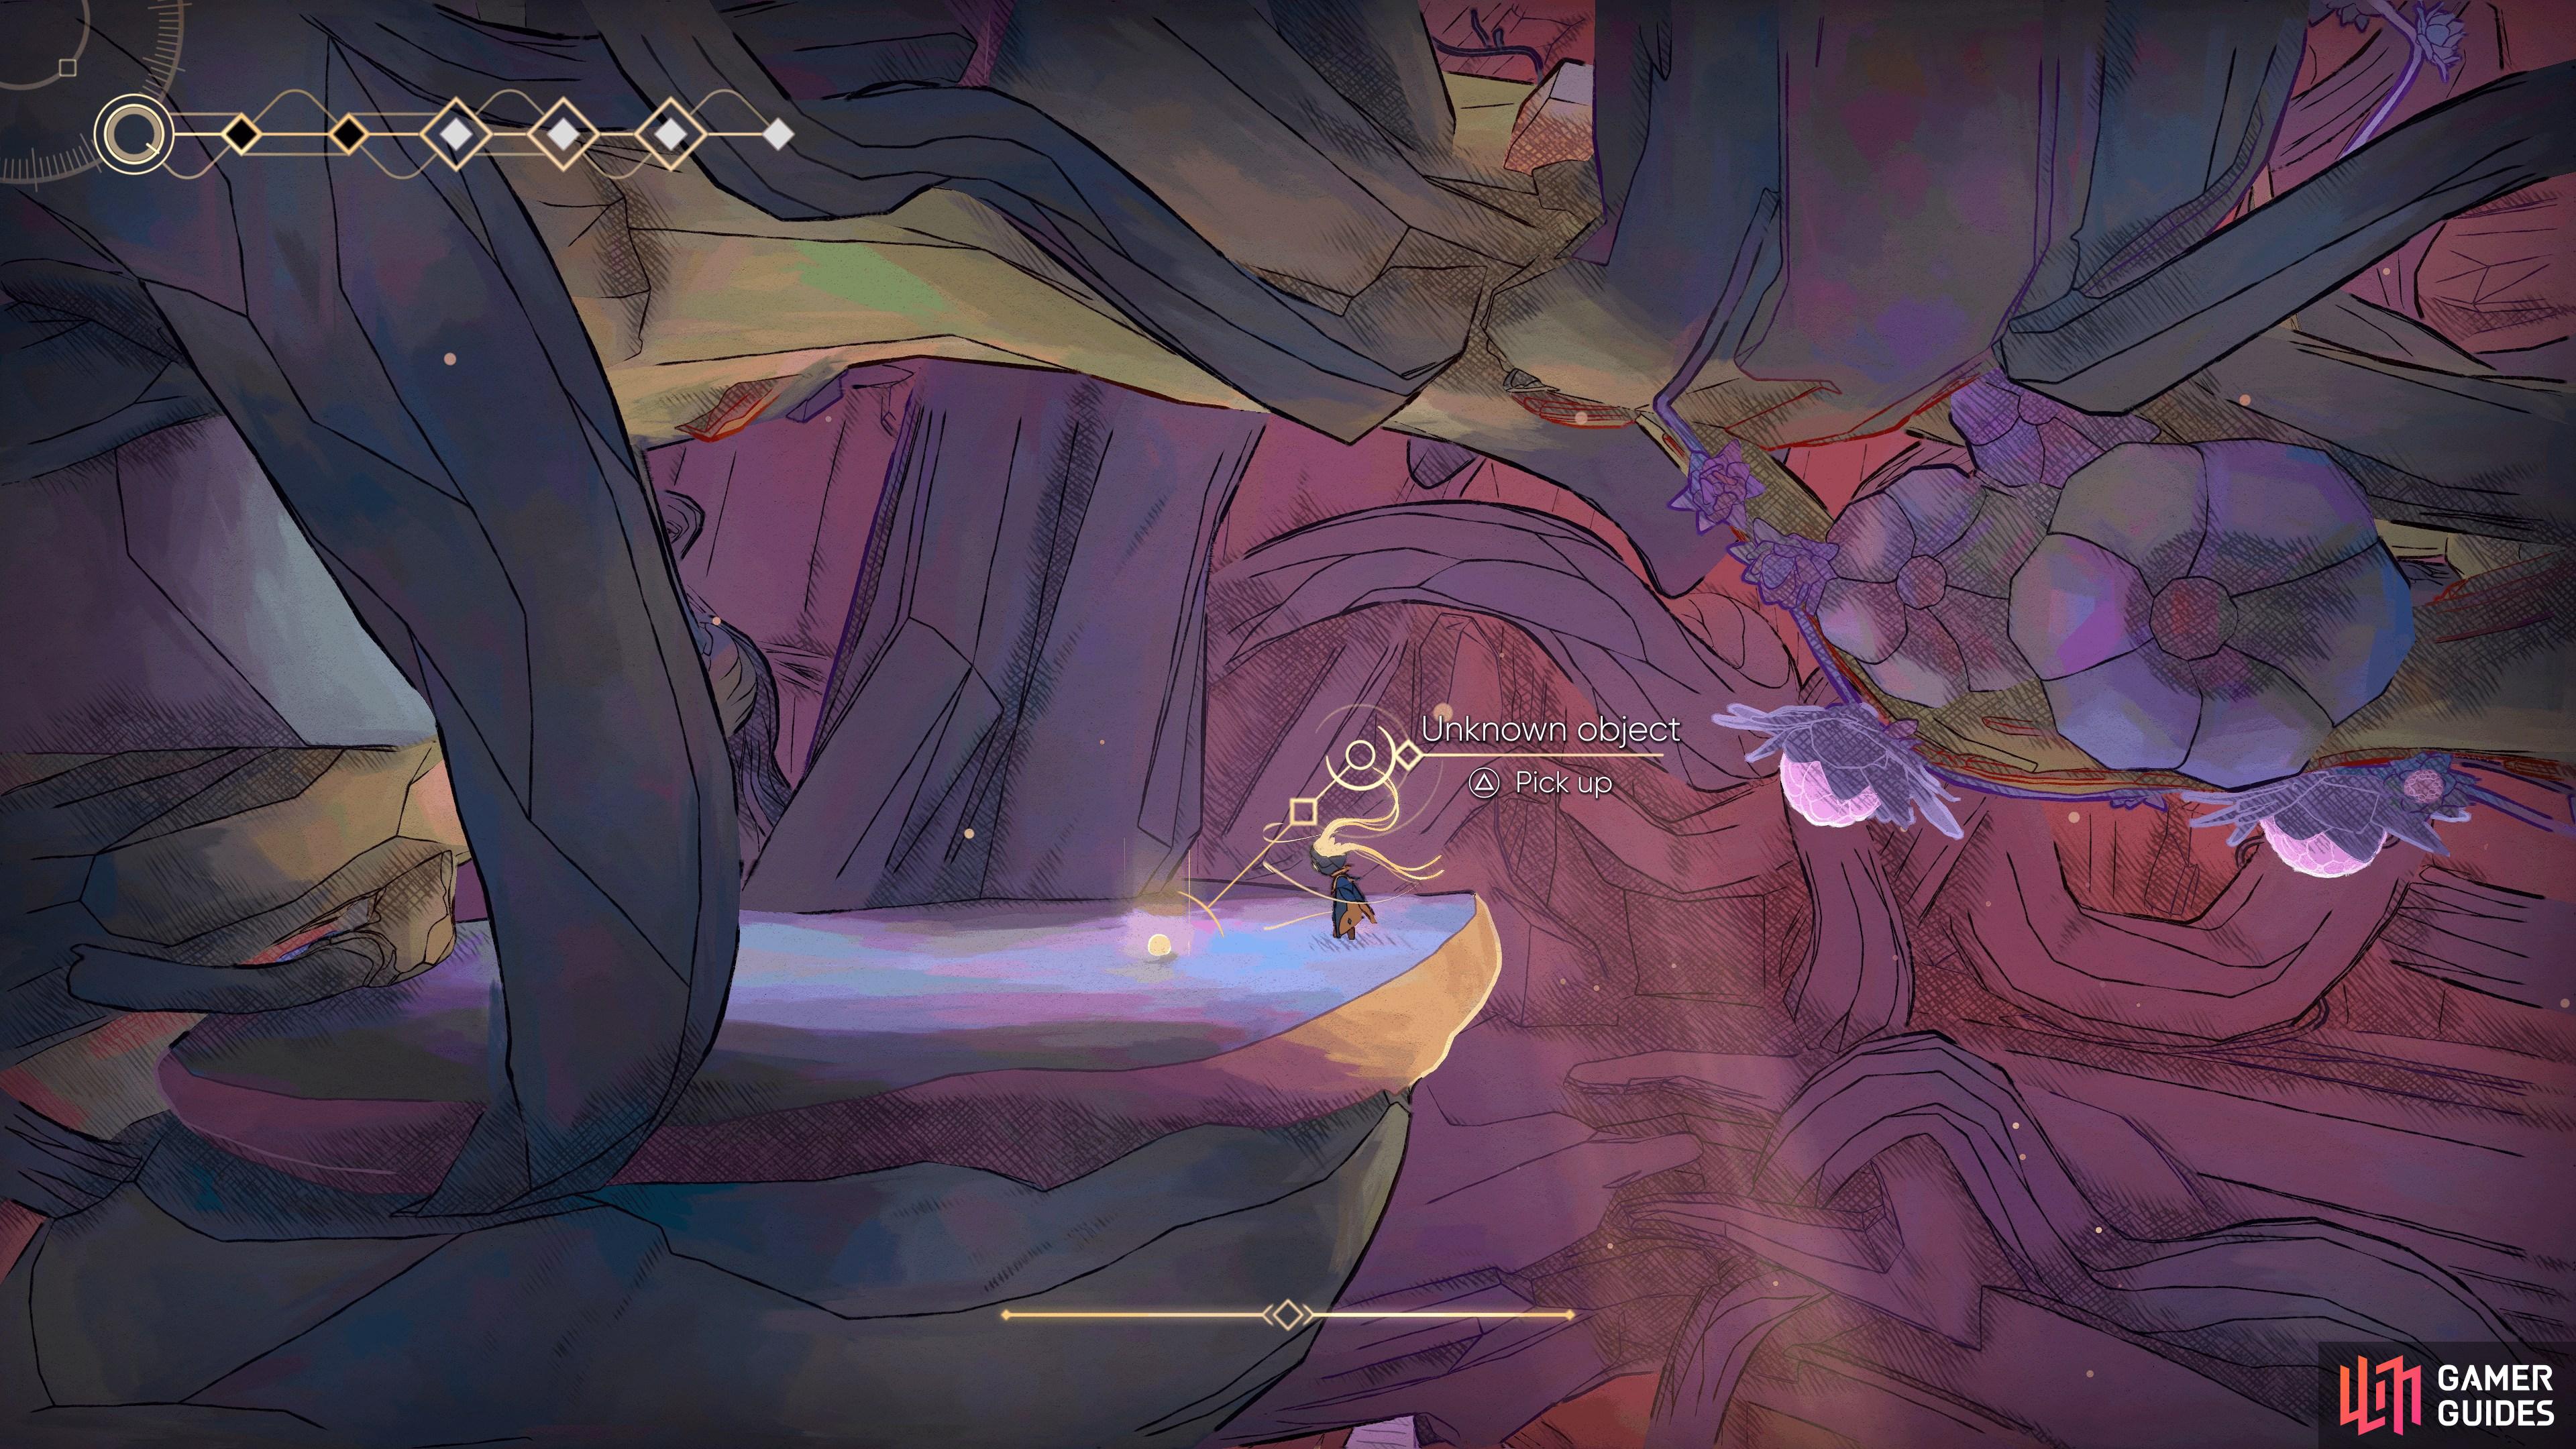
Defense Mechanism
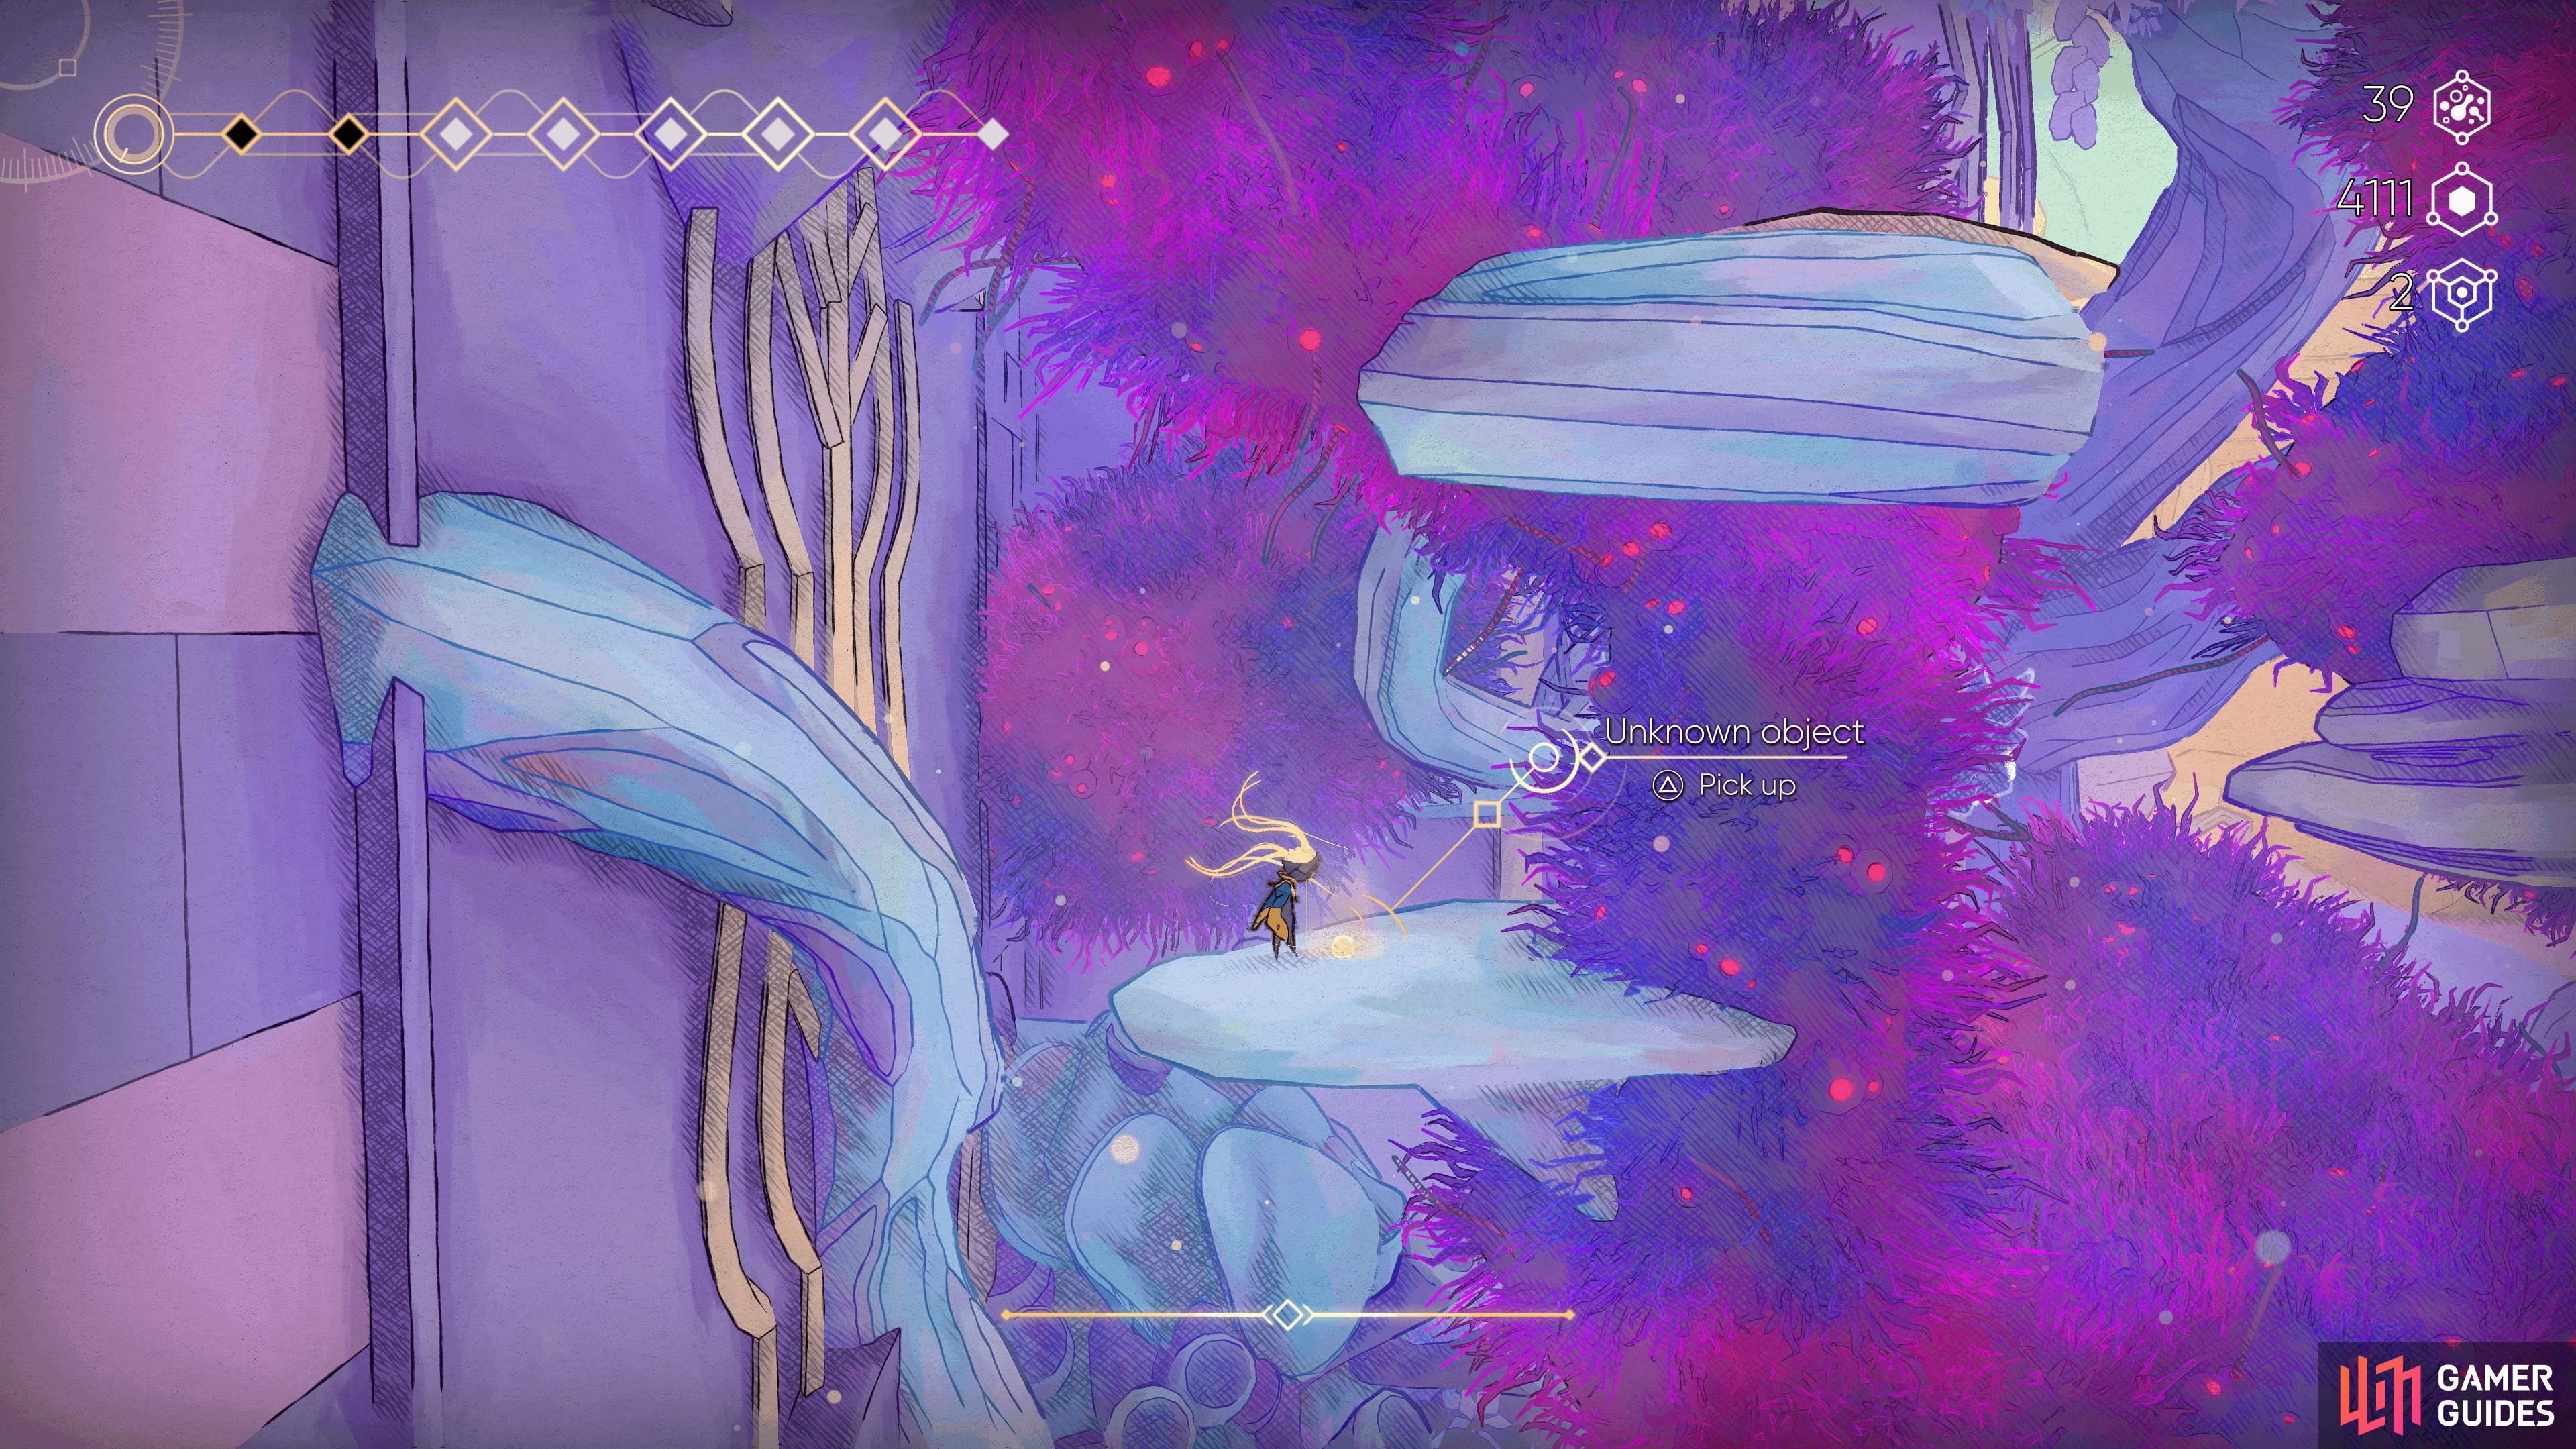
View on mapUse the trio of flowers to jump along to the ledge to your west to reach this Modifier.
Remember to strike each flower to gain another jump.
-
5
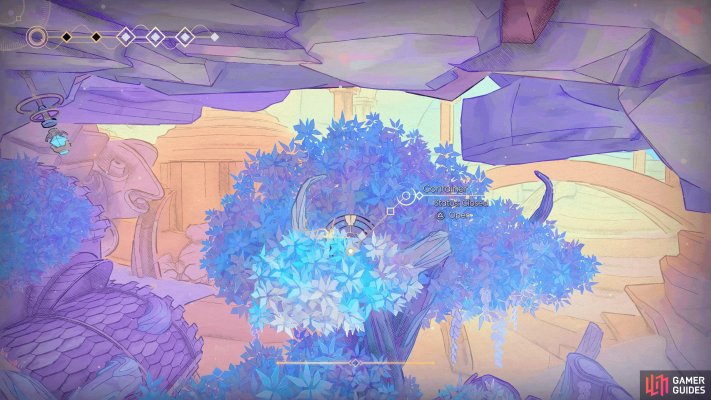
Requires Harvester
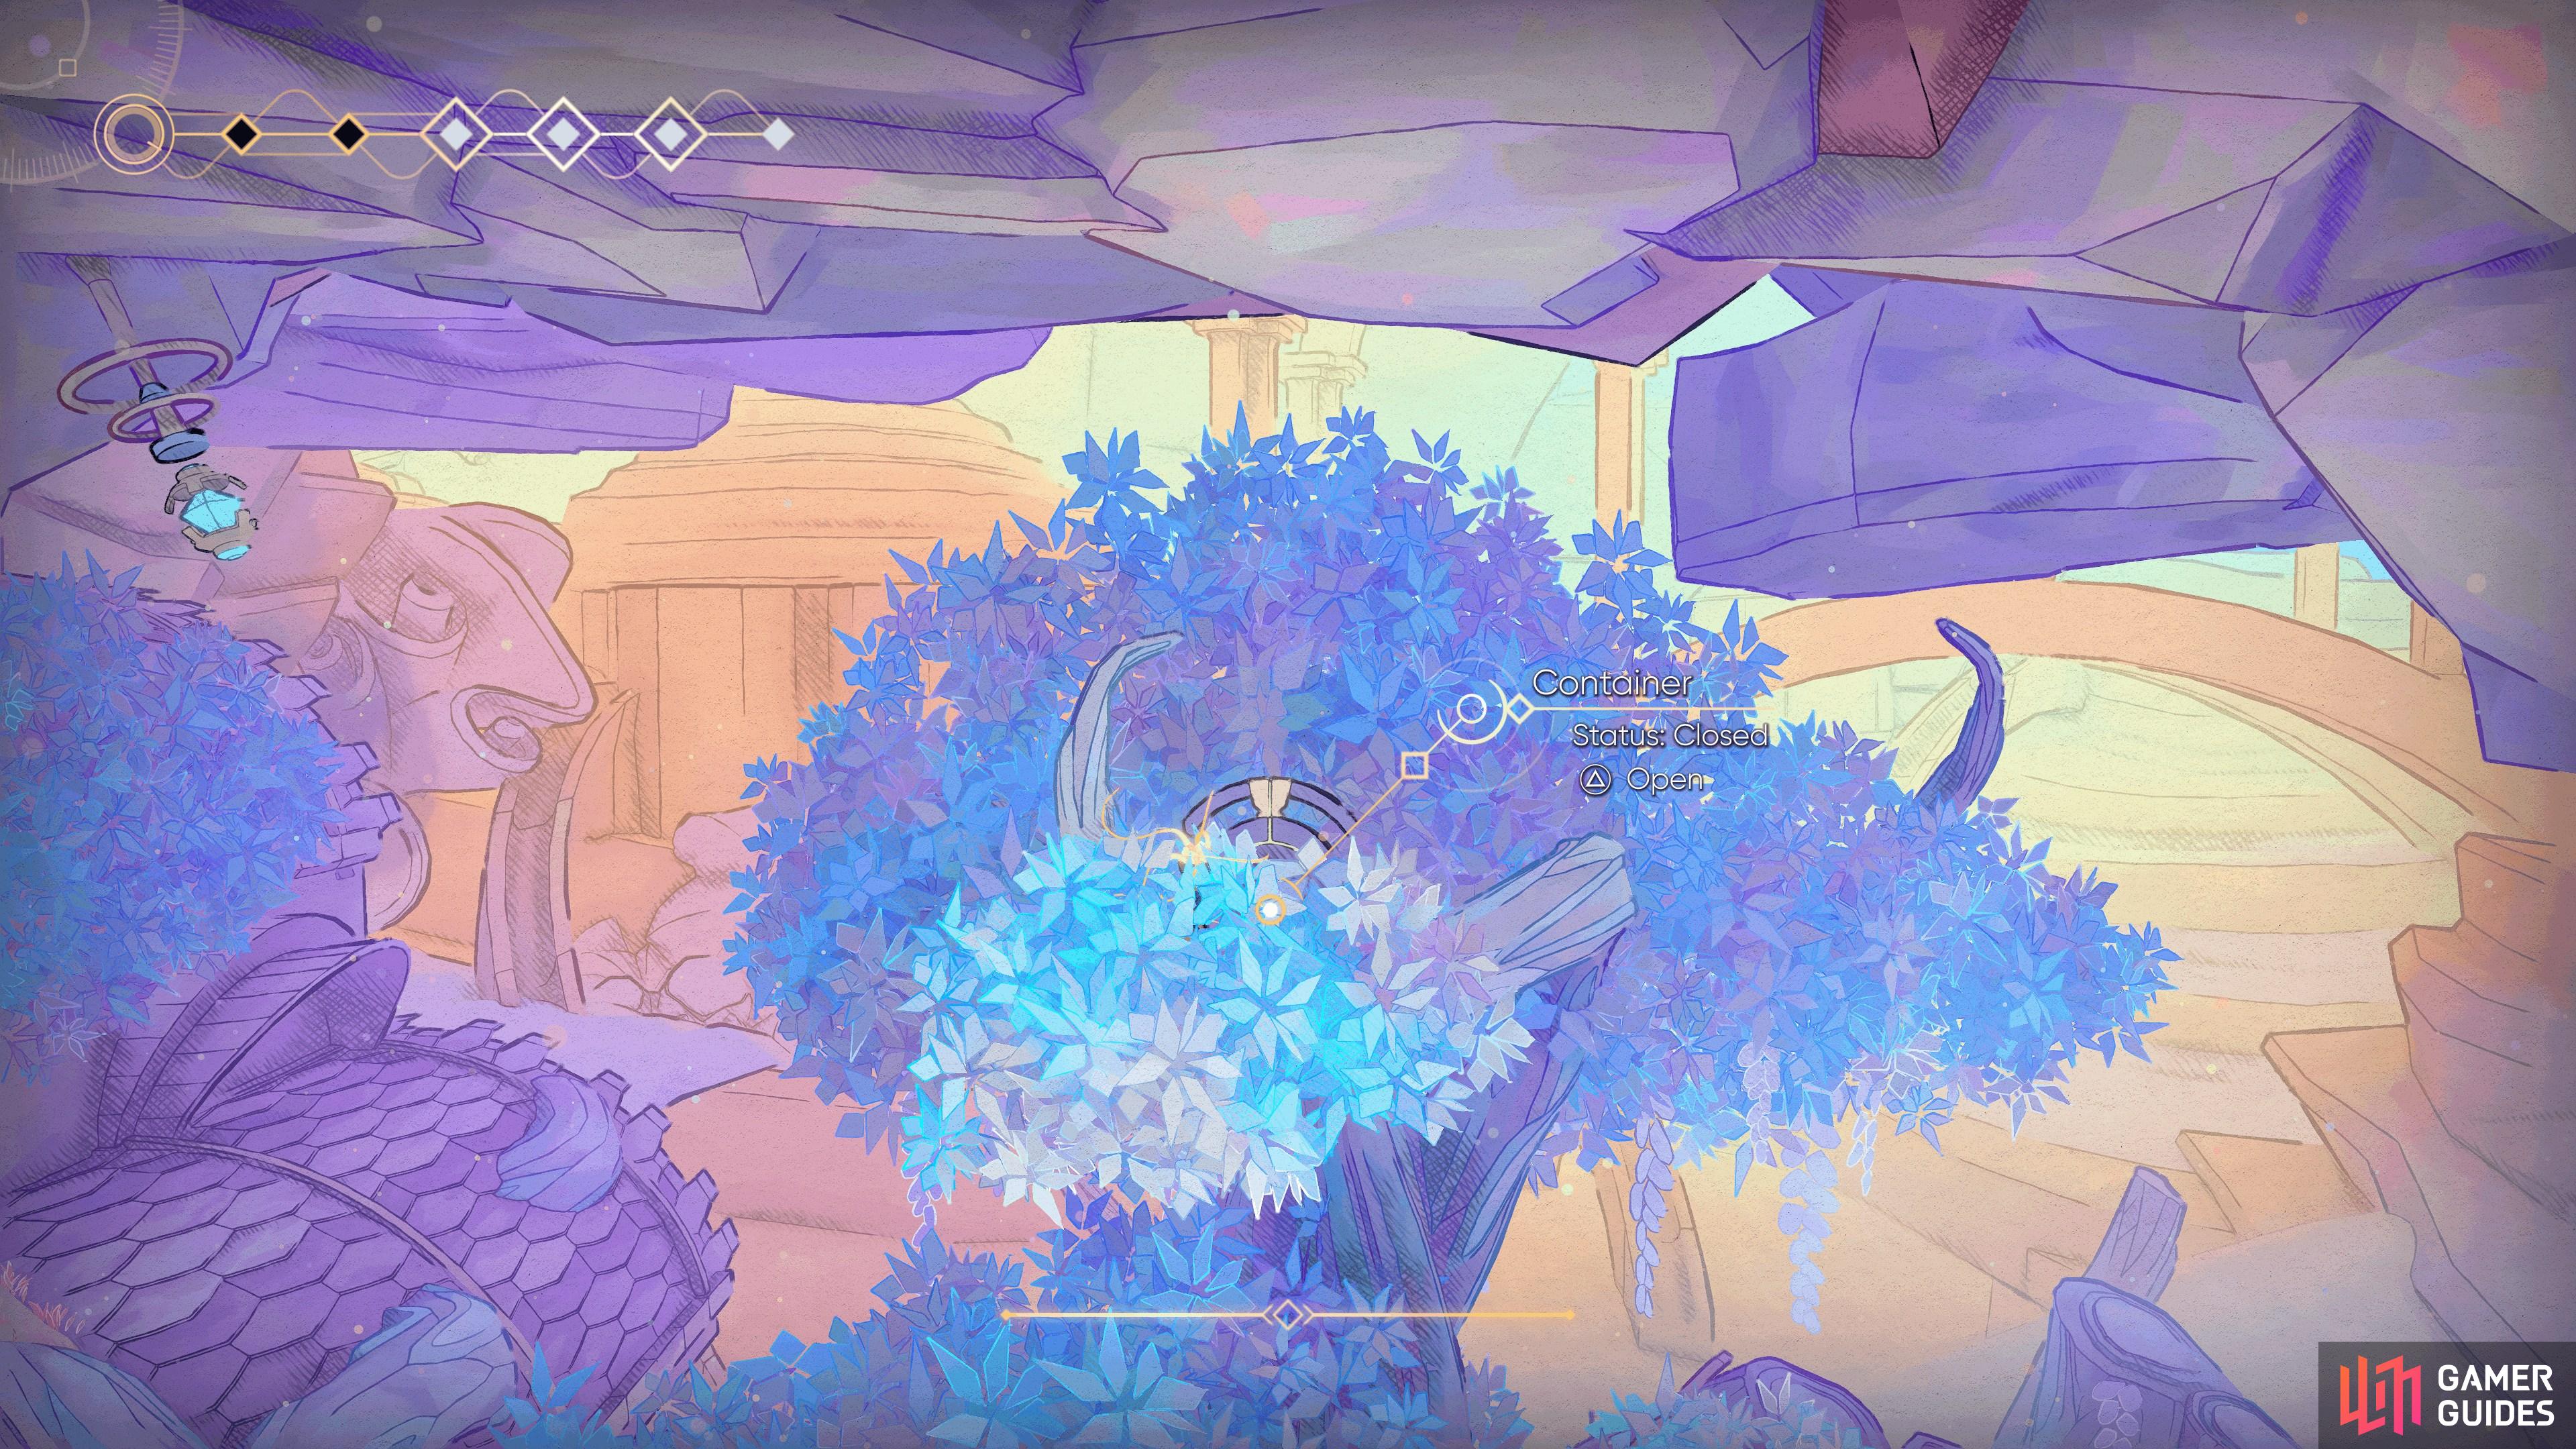
View on mapOnce you have the Harvester ability, from the upper western exit, use the flowers and grapple points to reach this platform.
Open the container to get the Modifier.
-
6
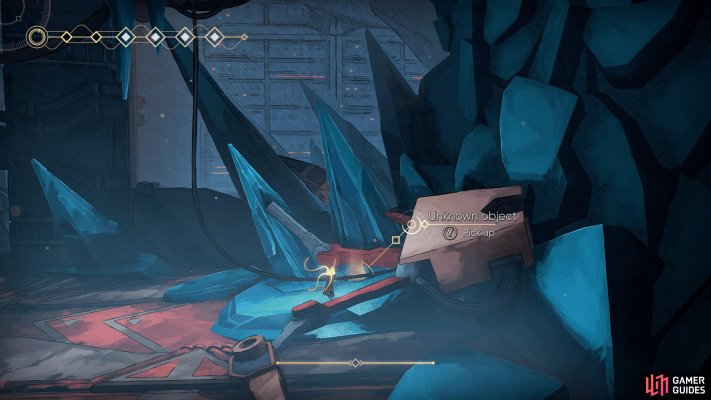
Afterimage
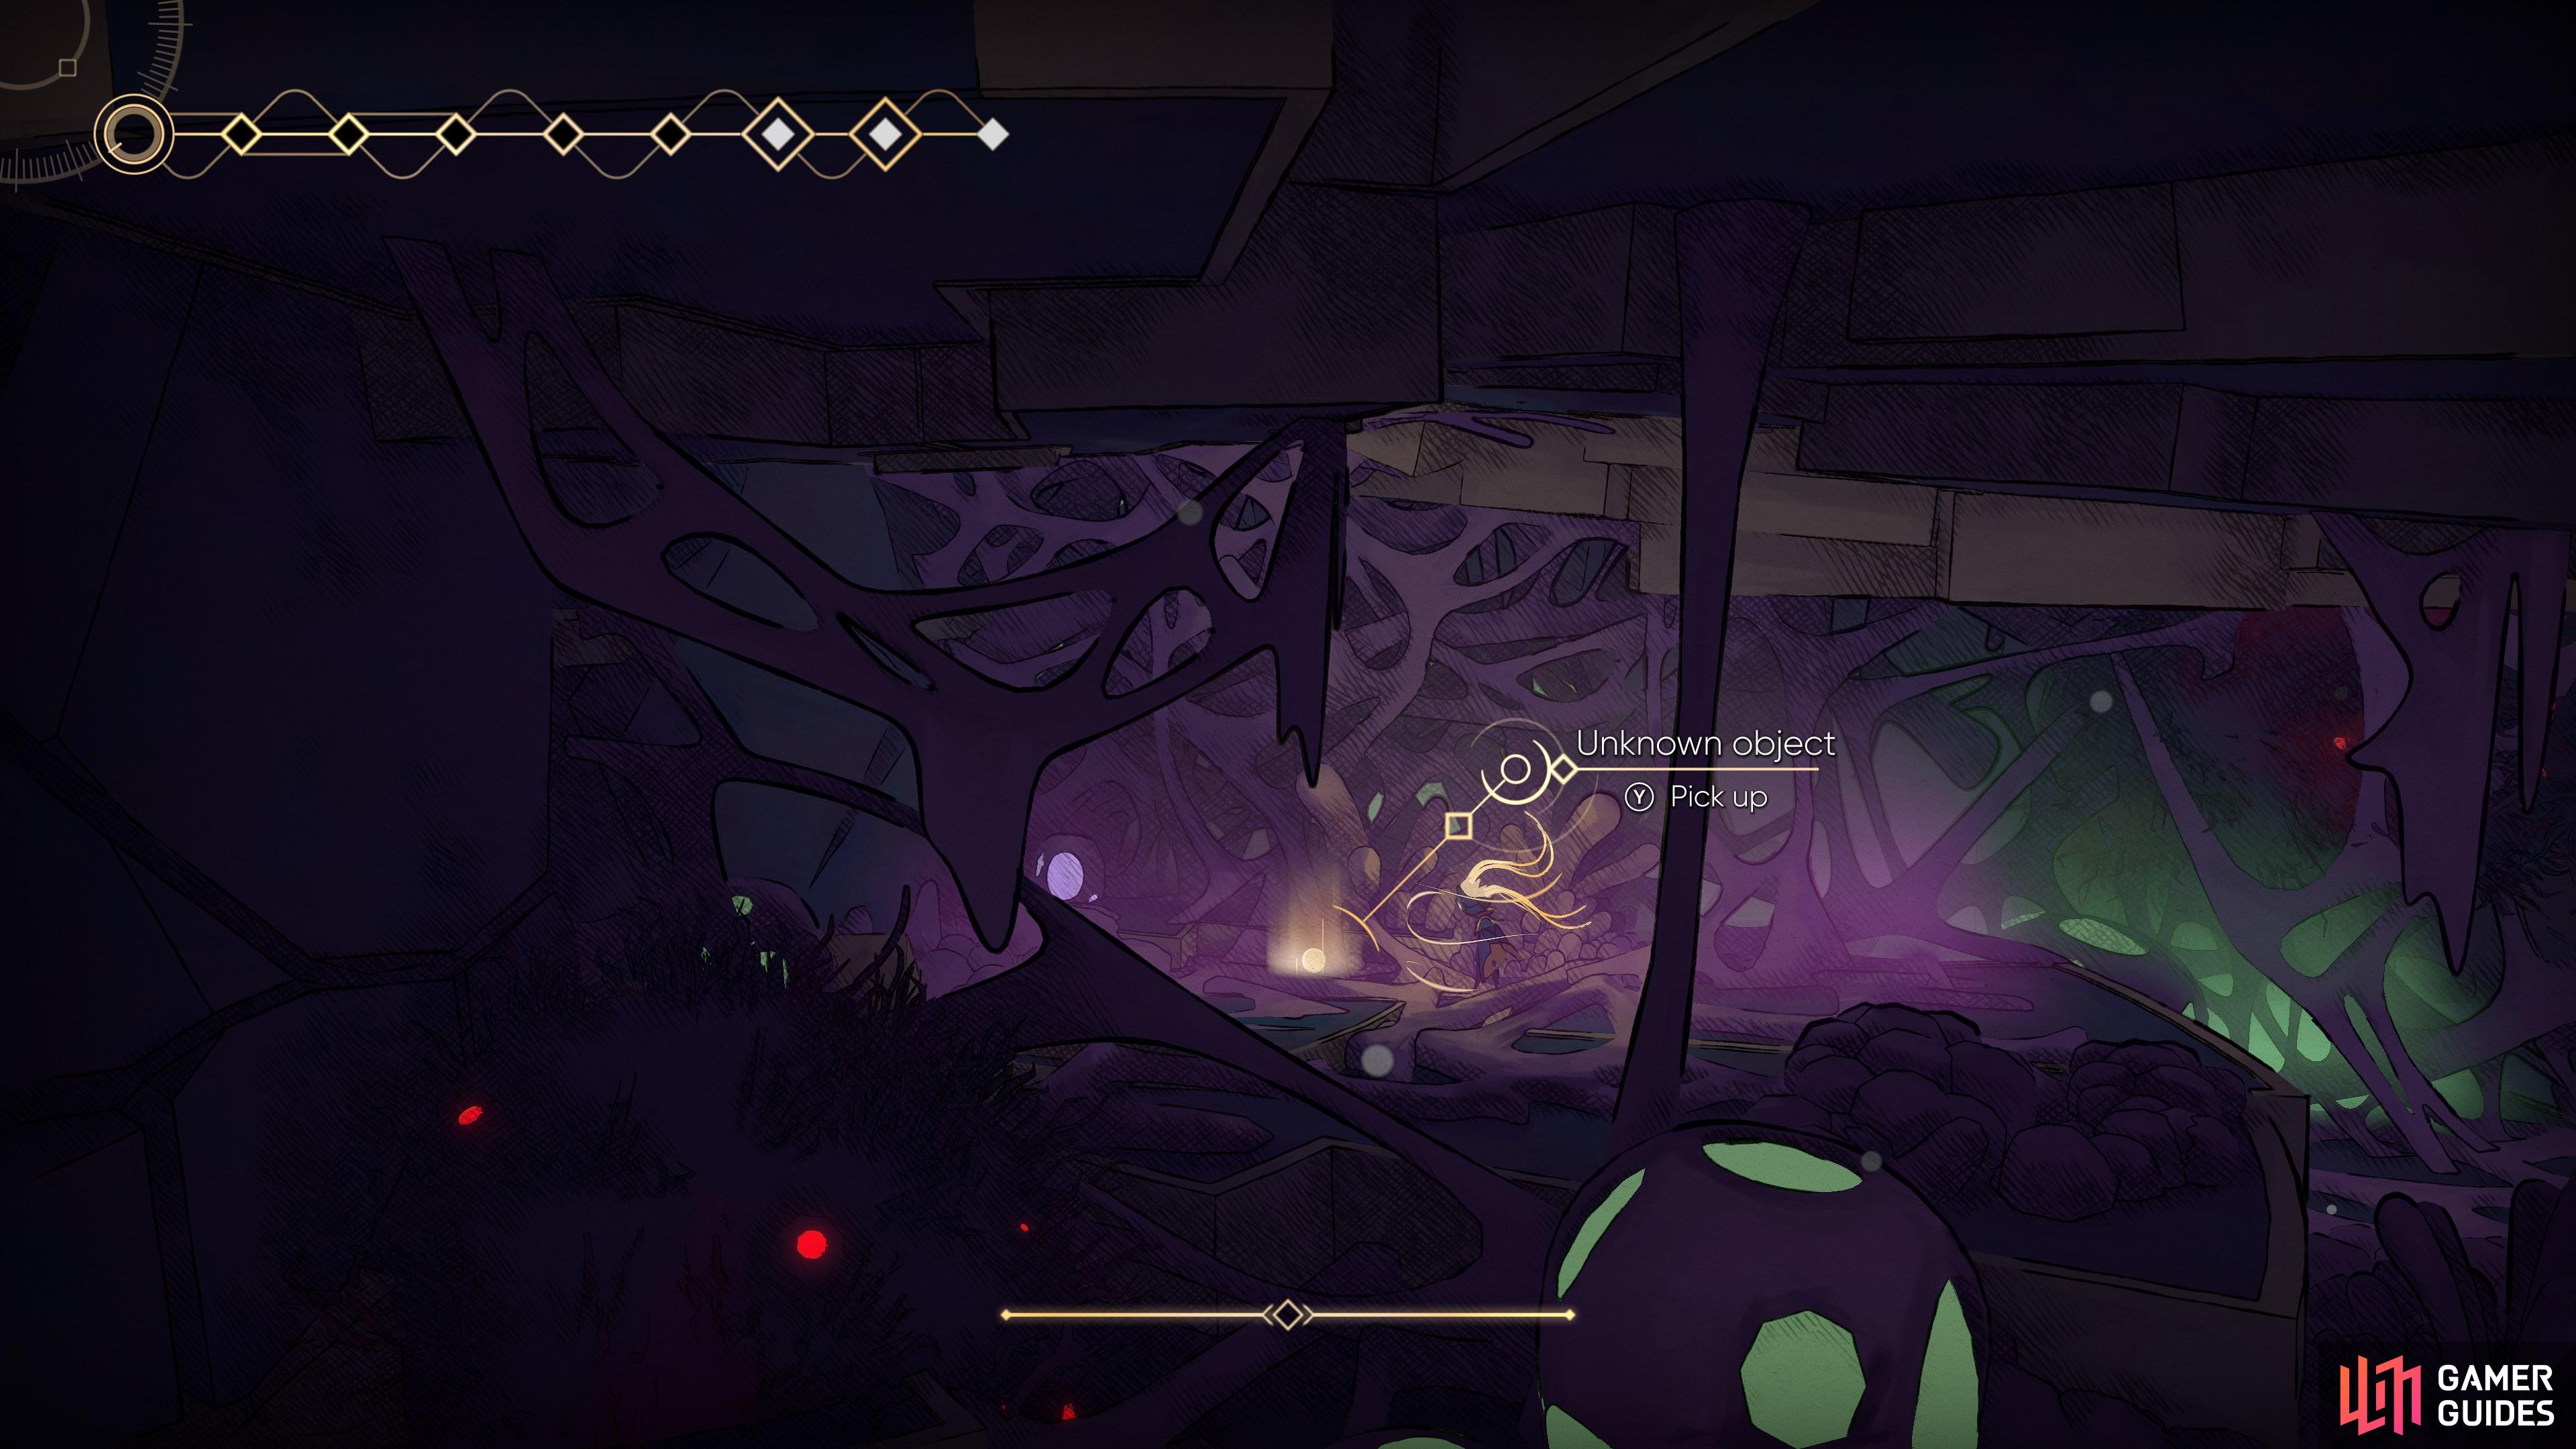
View on mapMake your way to the bottom of the laser-filled cargo room and then use the grapple point to the up and right (near the laser wall).
As you head up, attack the mine and glide to the east. Grapple up to the next floor and head all the way east to find the mod.
-
7
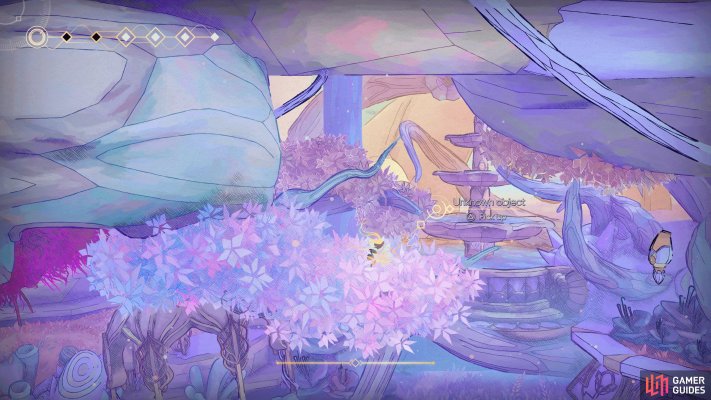
Requires Hairpin
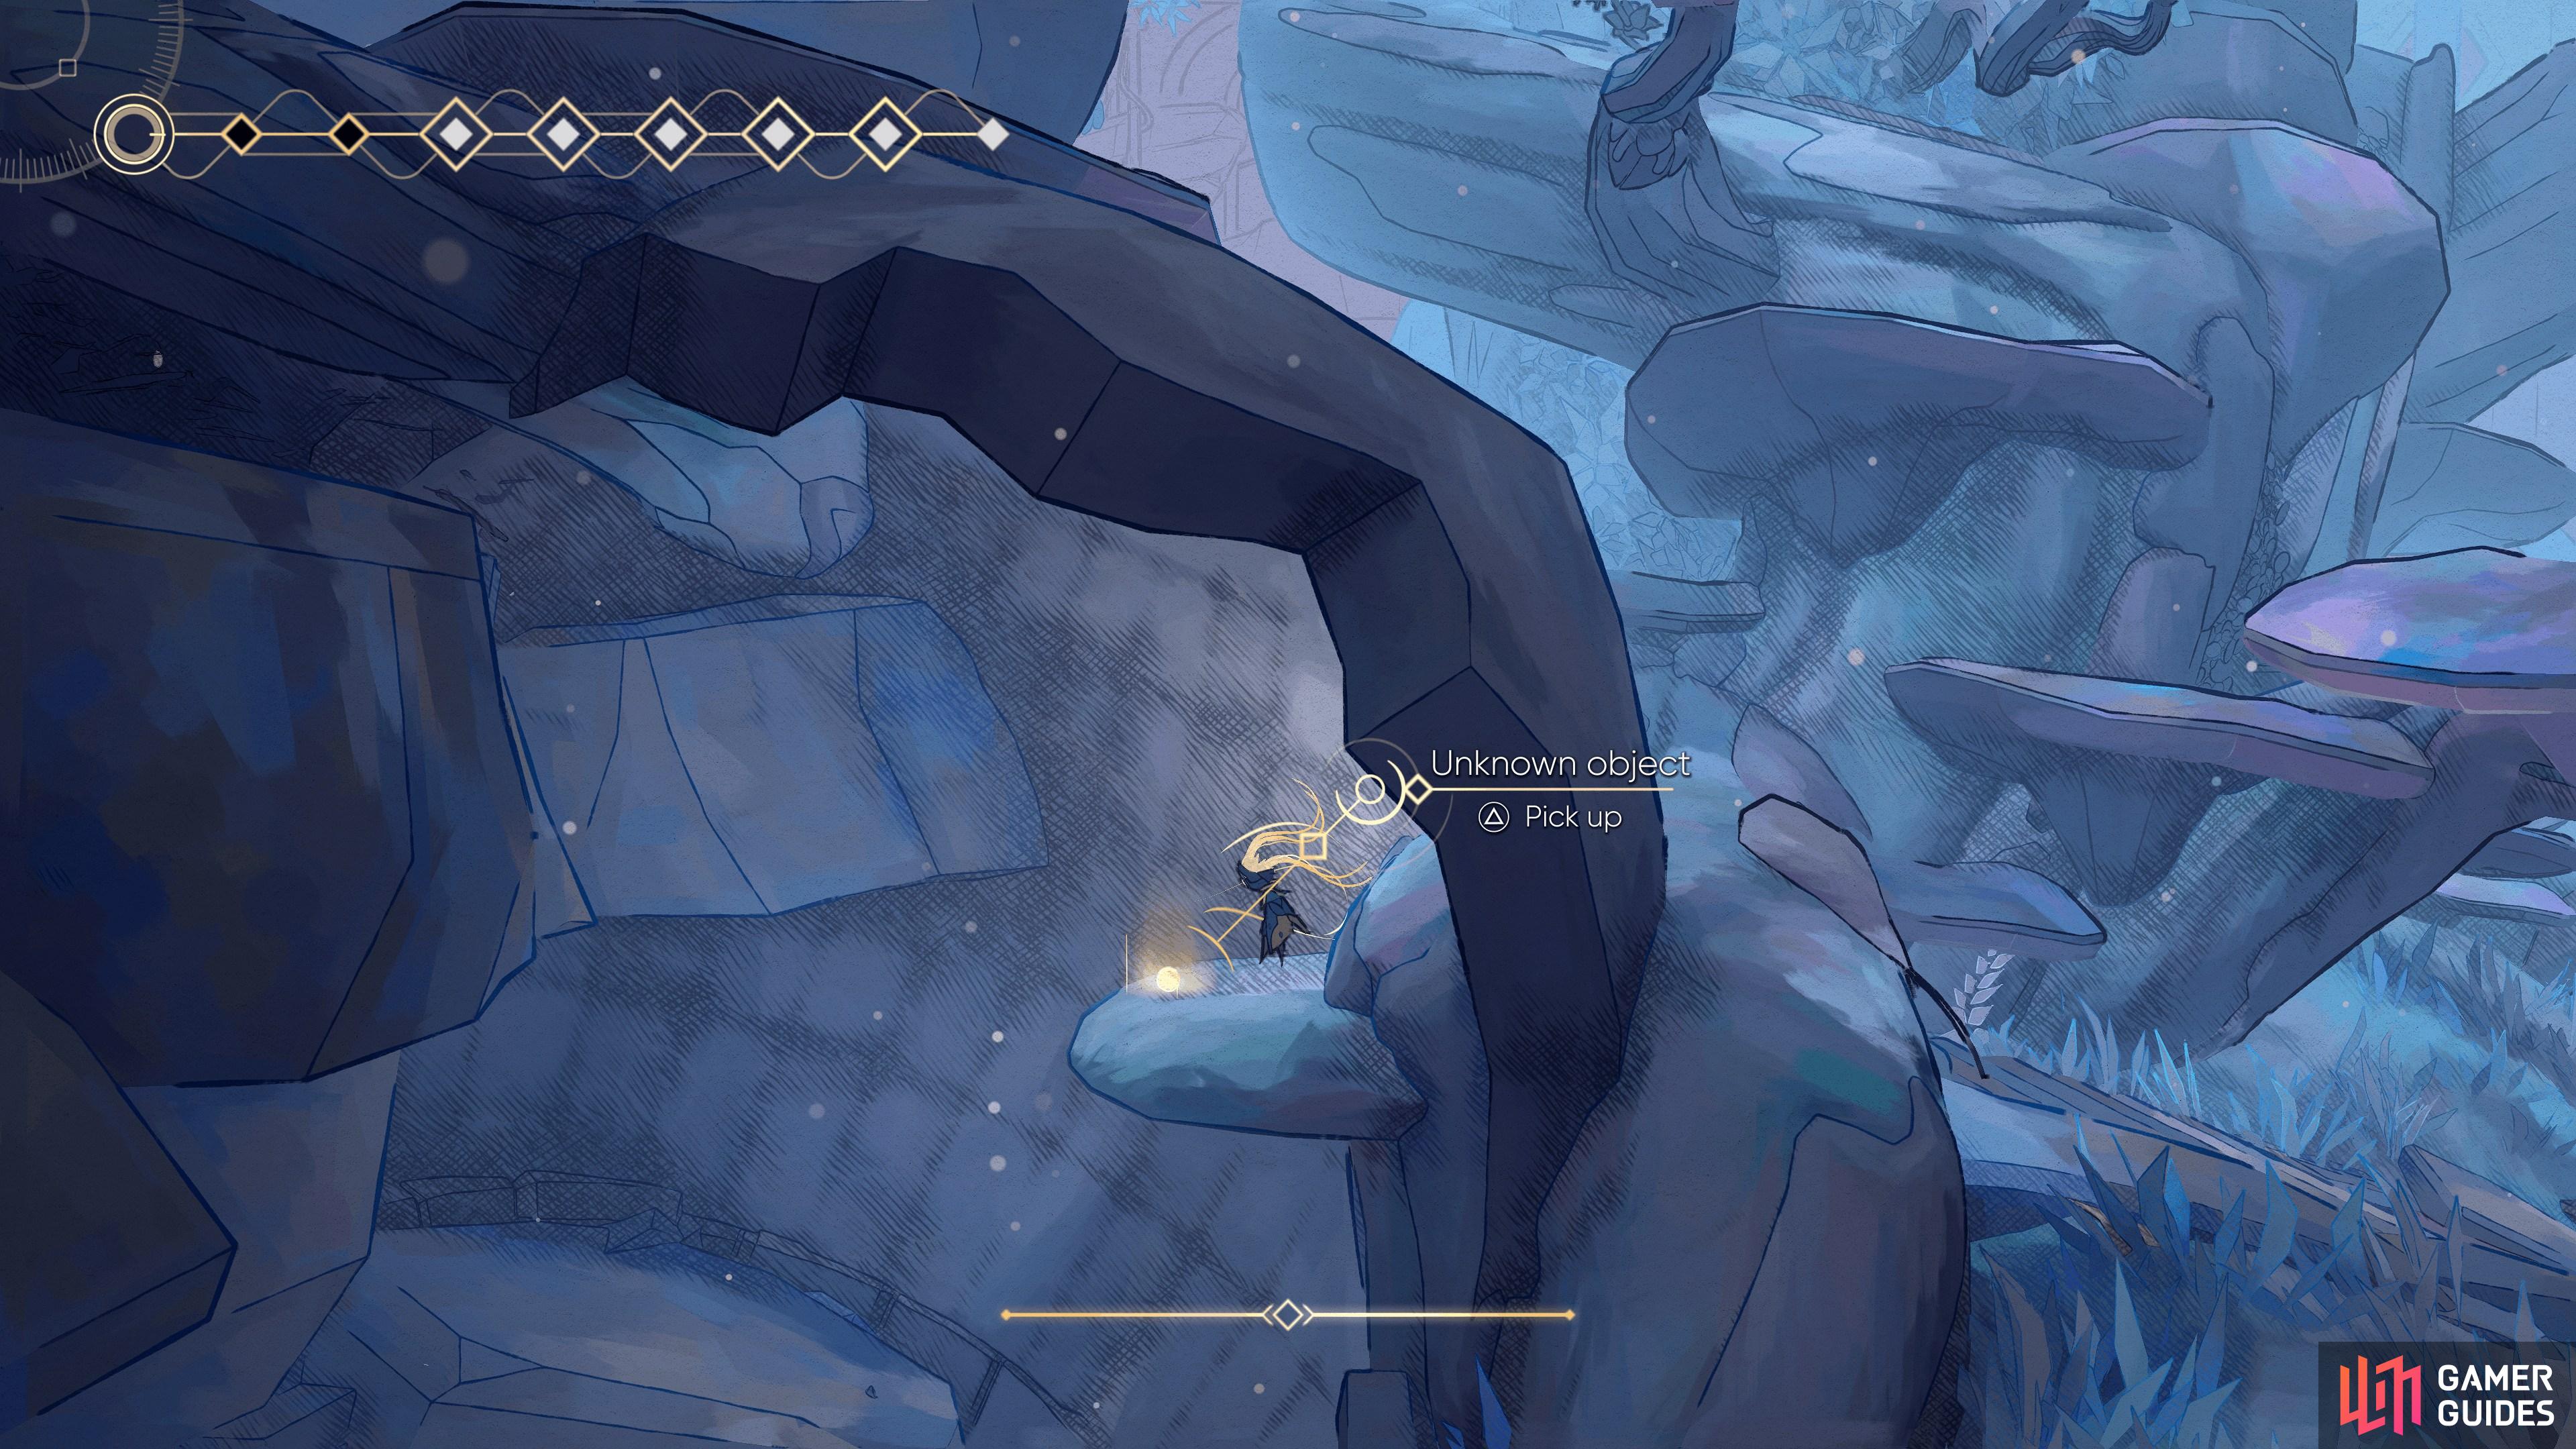
View on mapUse the Hairpin ability on the floating enemy here to shoot across to this ledge.
-
8
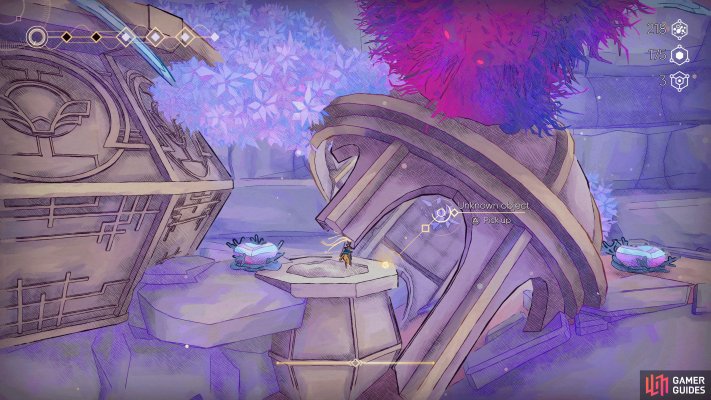
Resources Shortage
View on mapUse a Downward Dash (hold down and press the jump button) to drop to this item.
-
9
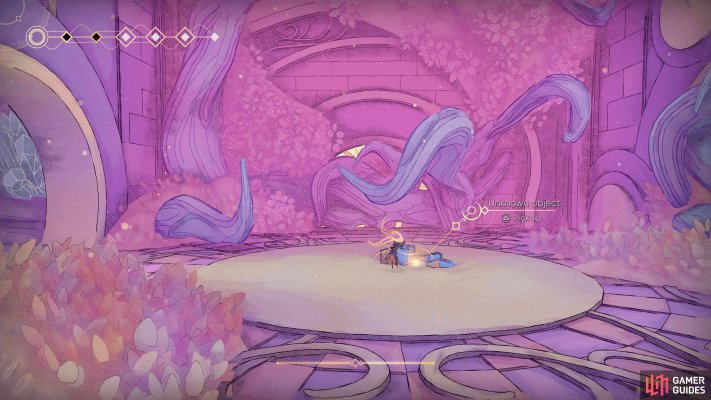
-
10
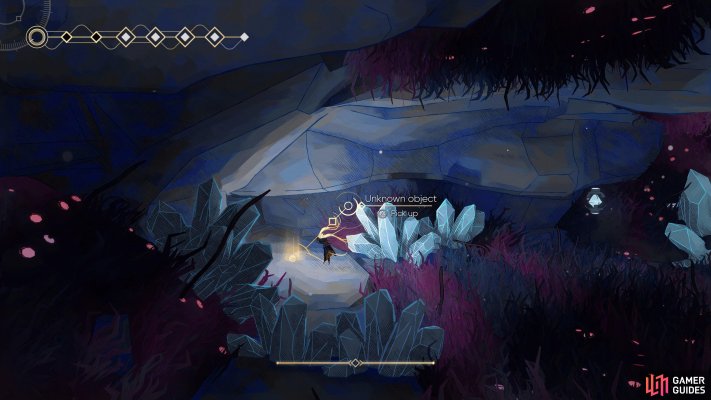
Requires Hairpin and Harvester
View on mapUse the Grapple Points to get down this corridor safely, using the flowers along the way to restore your charge.
-
11
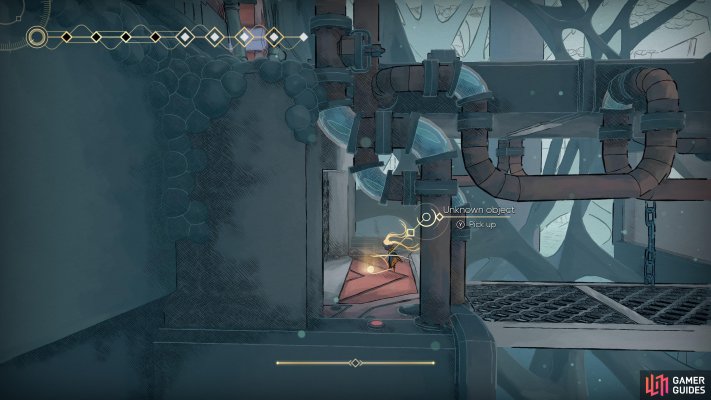
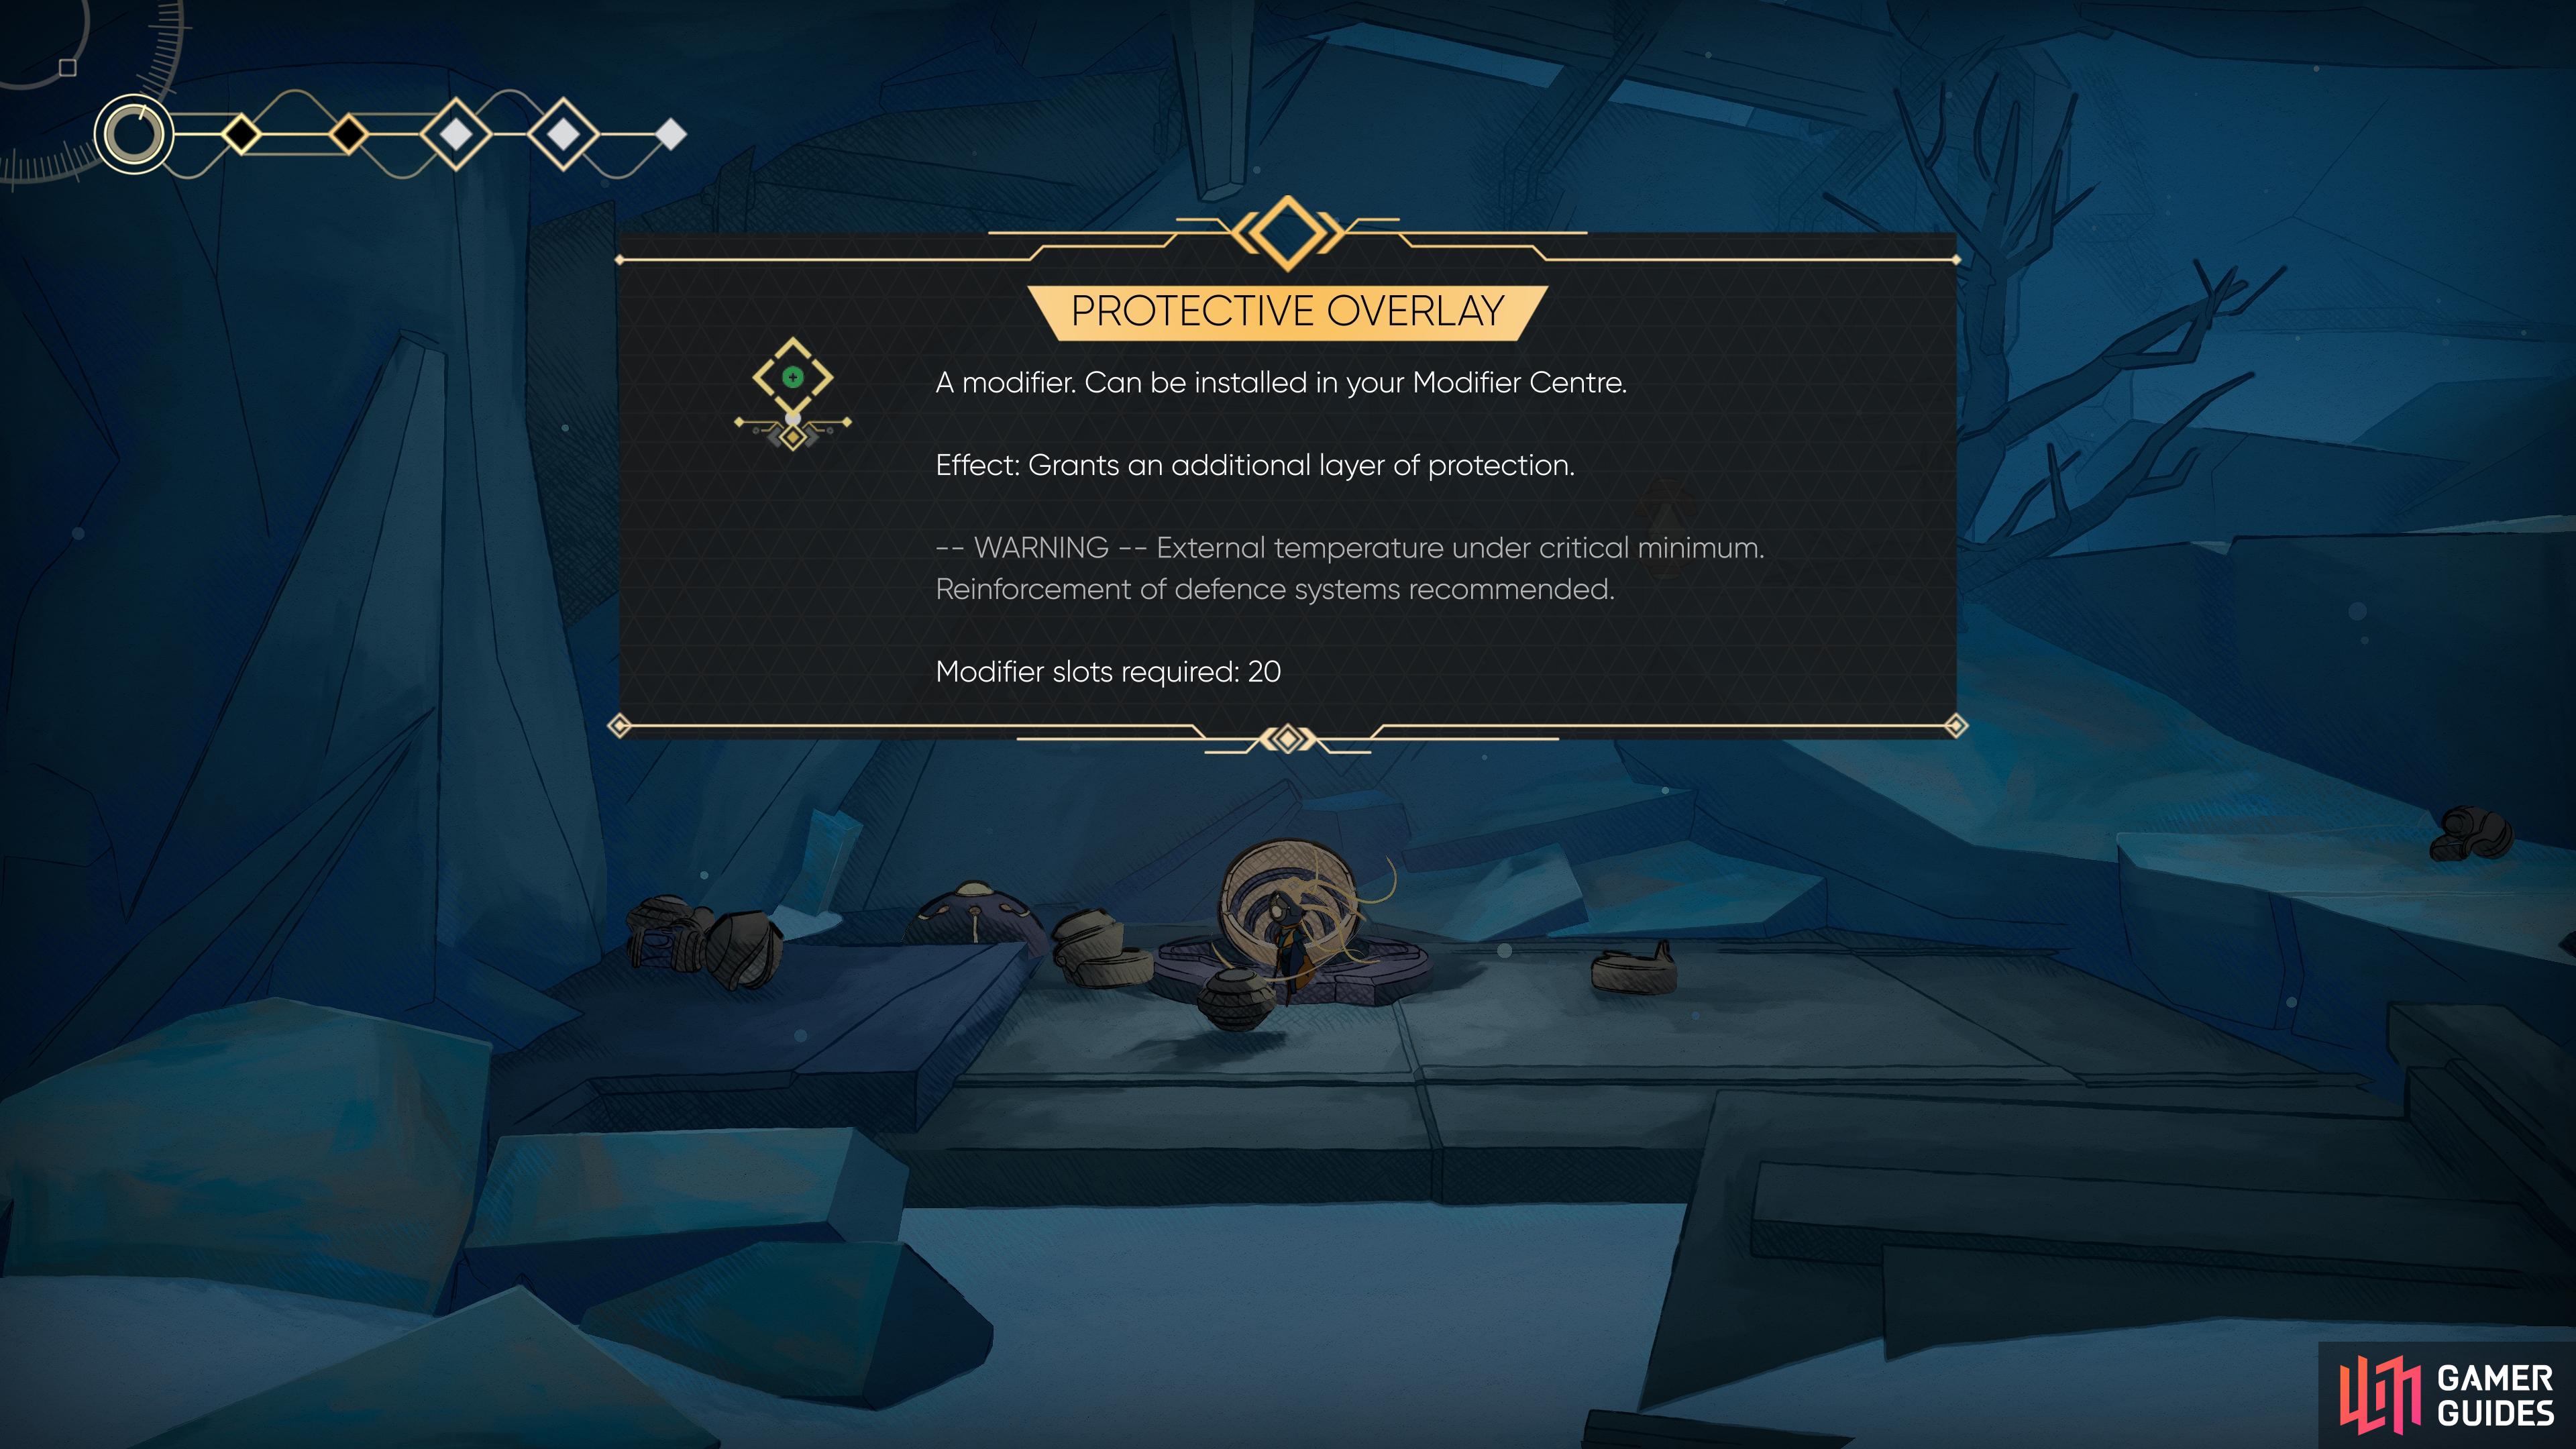
Extra-Coating Processor
View on mapLower the water level in this room by using the pump system, then go through the pipe in the southwest corner to find this.
-
12
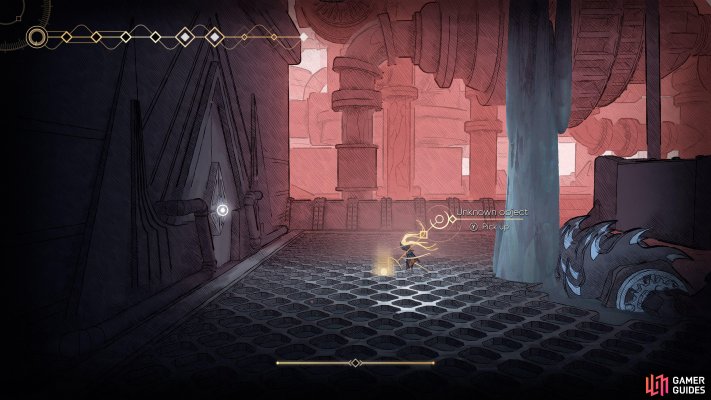
High-Voltage Discharge
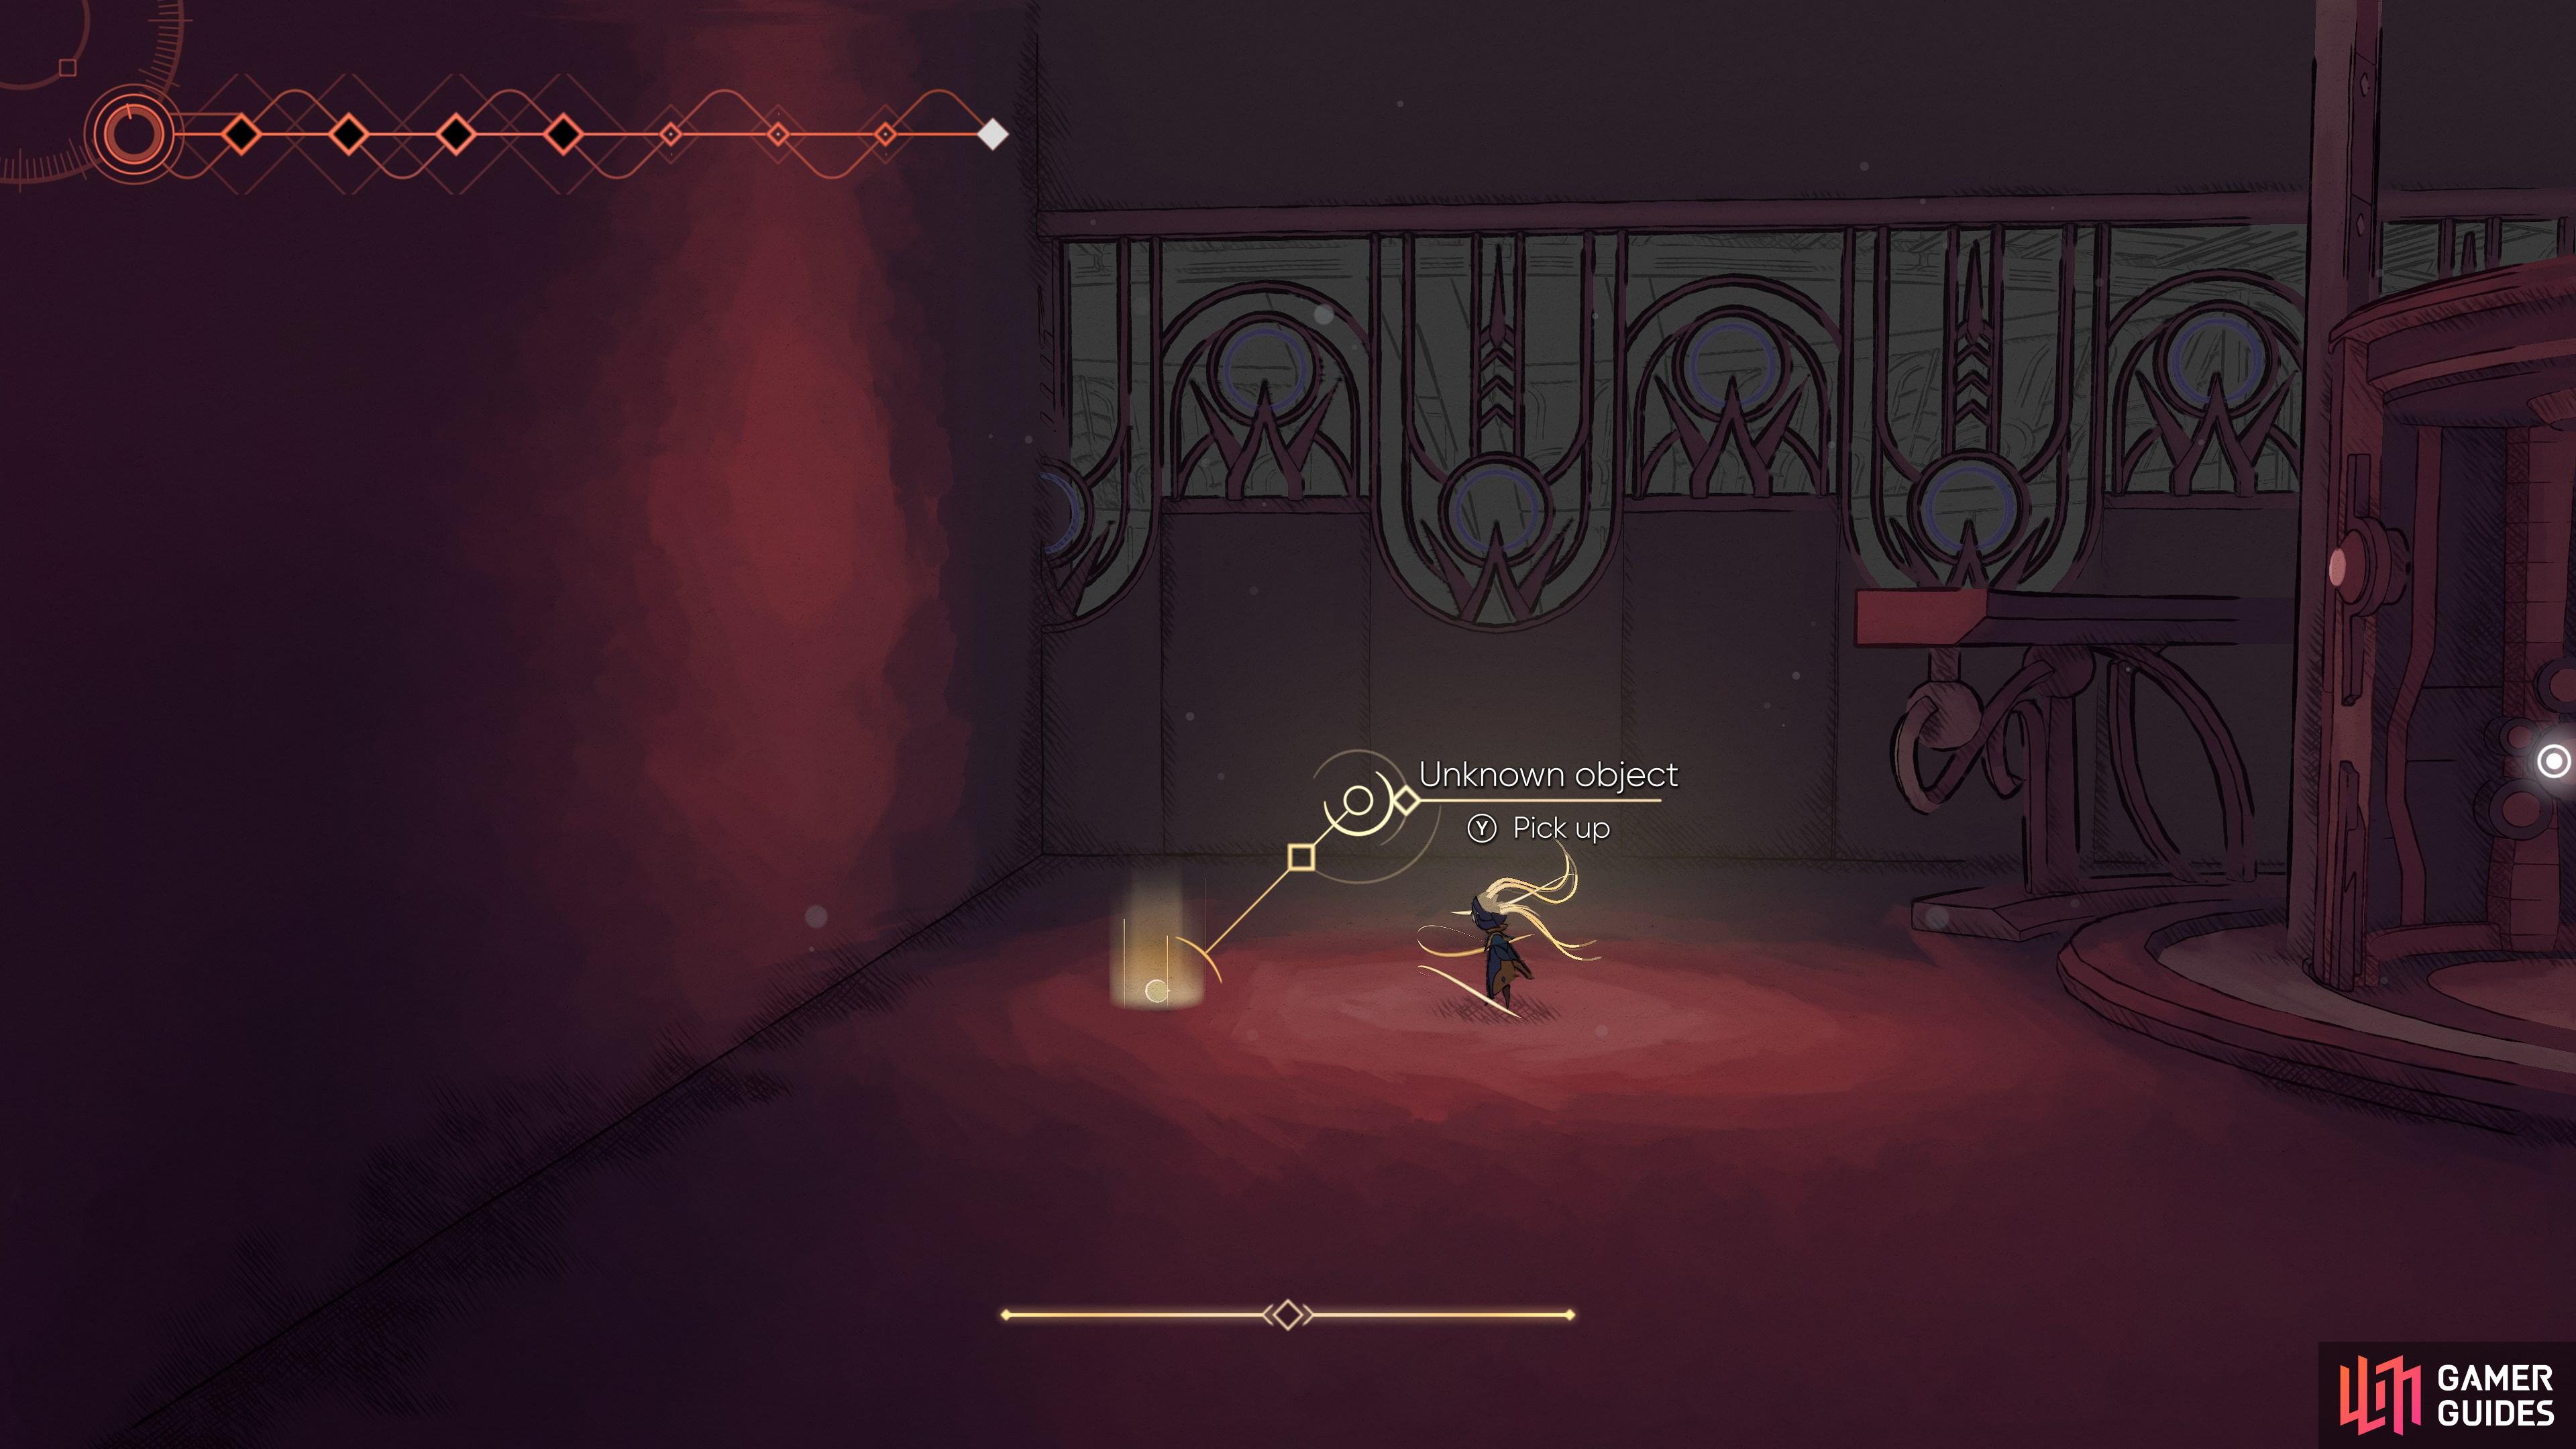
View on mapMake your way to the southwest corner of the room to find this on the floor by the doorway.
-
13
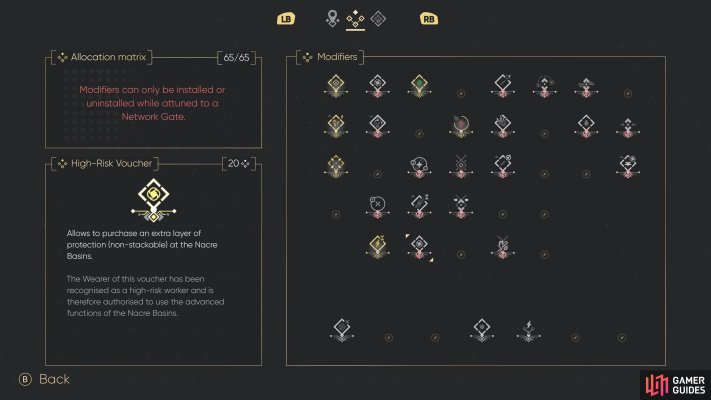
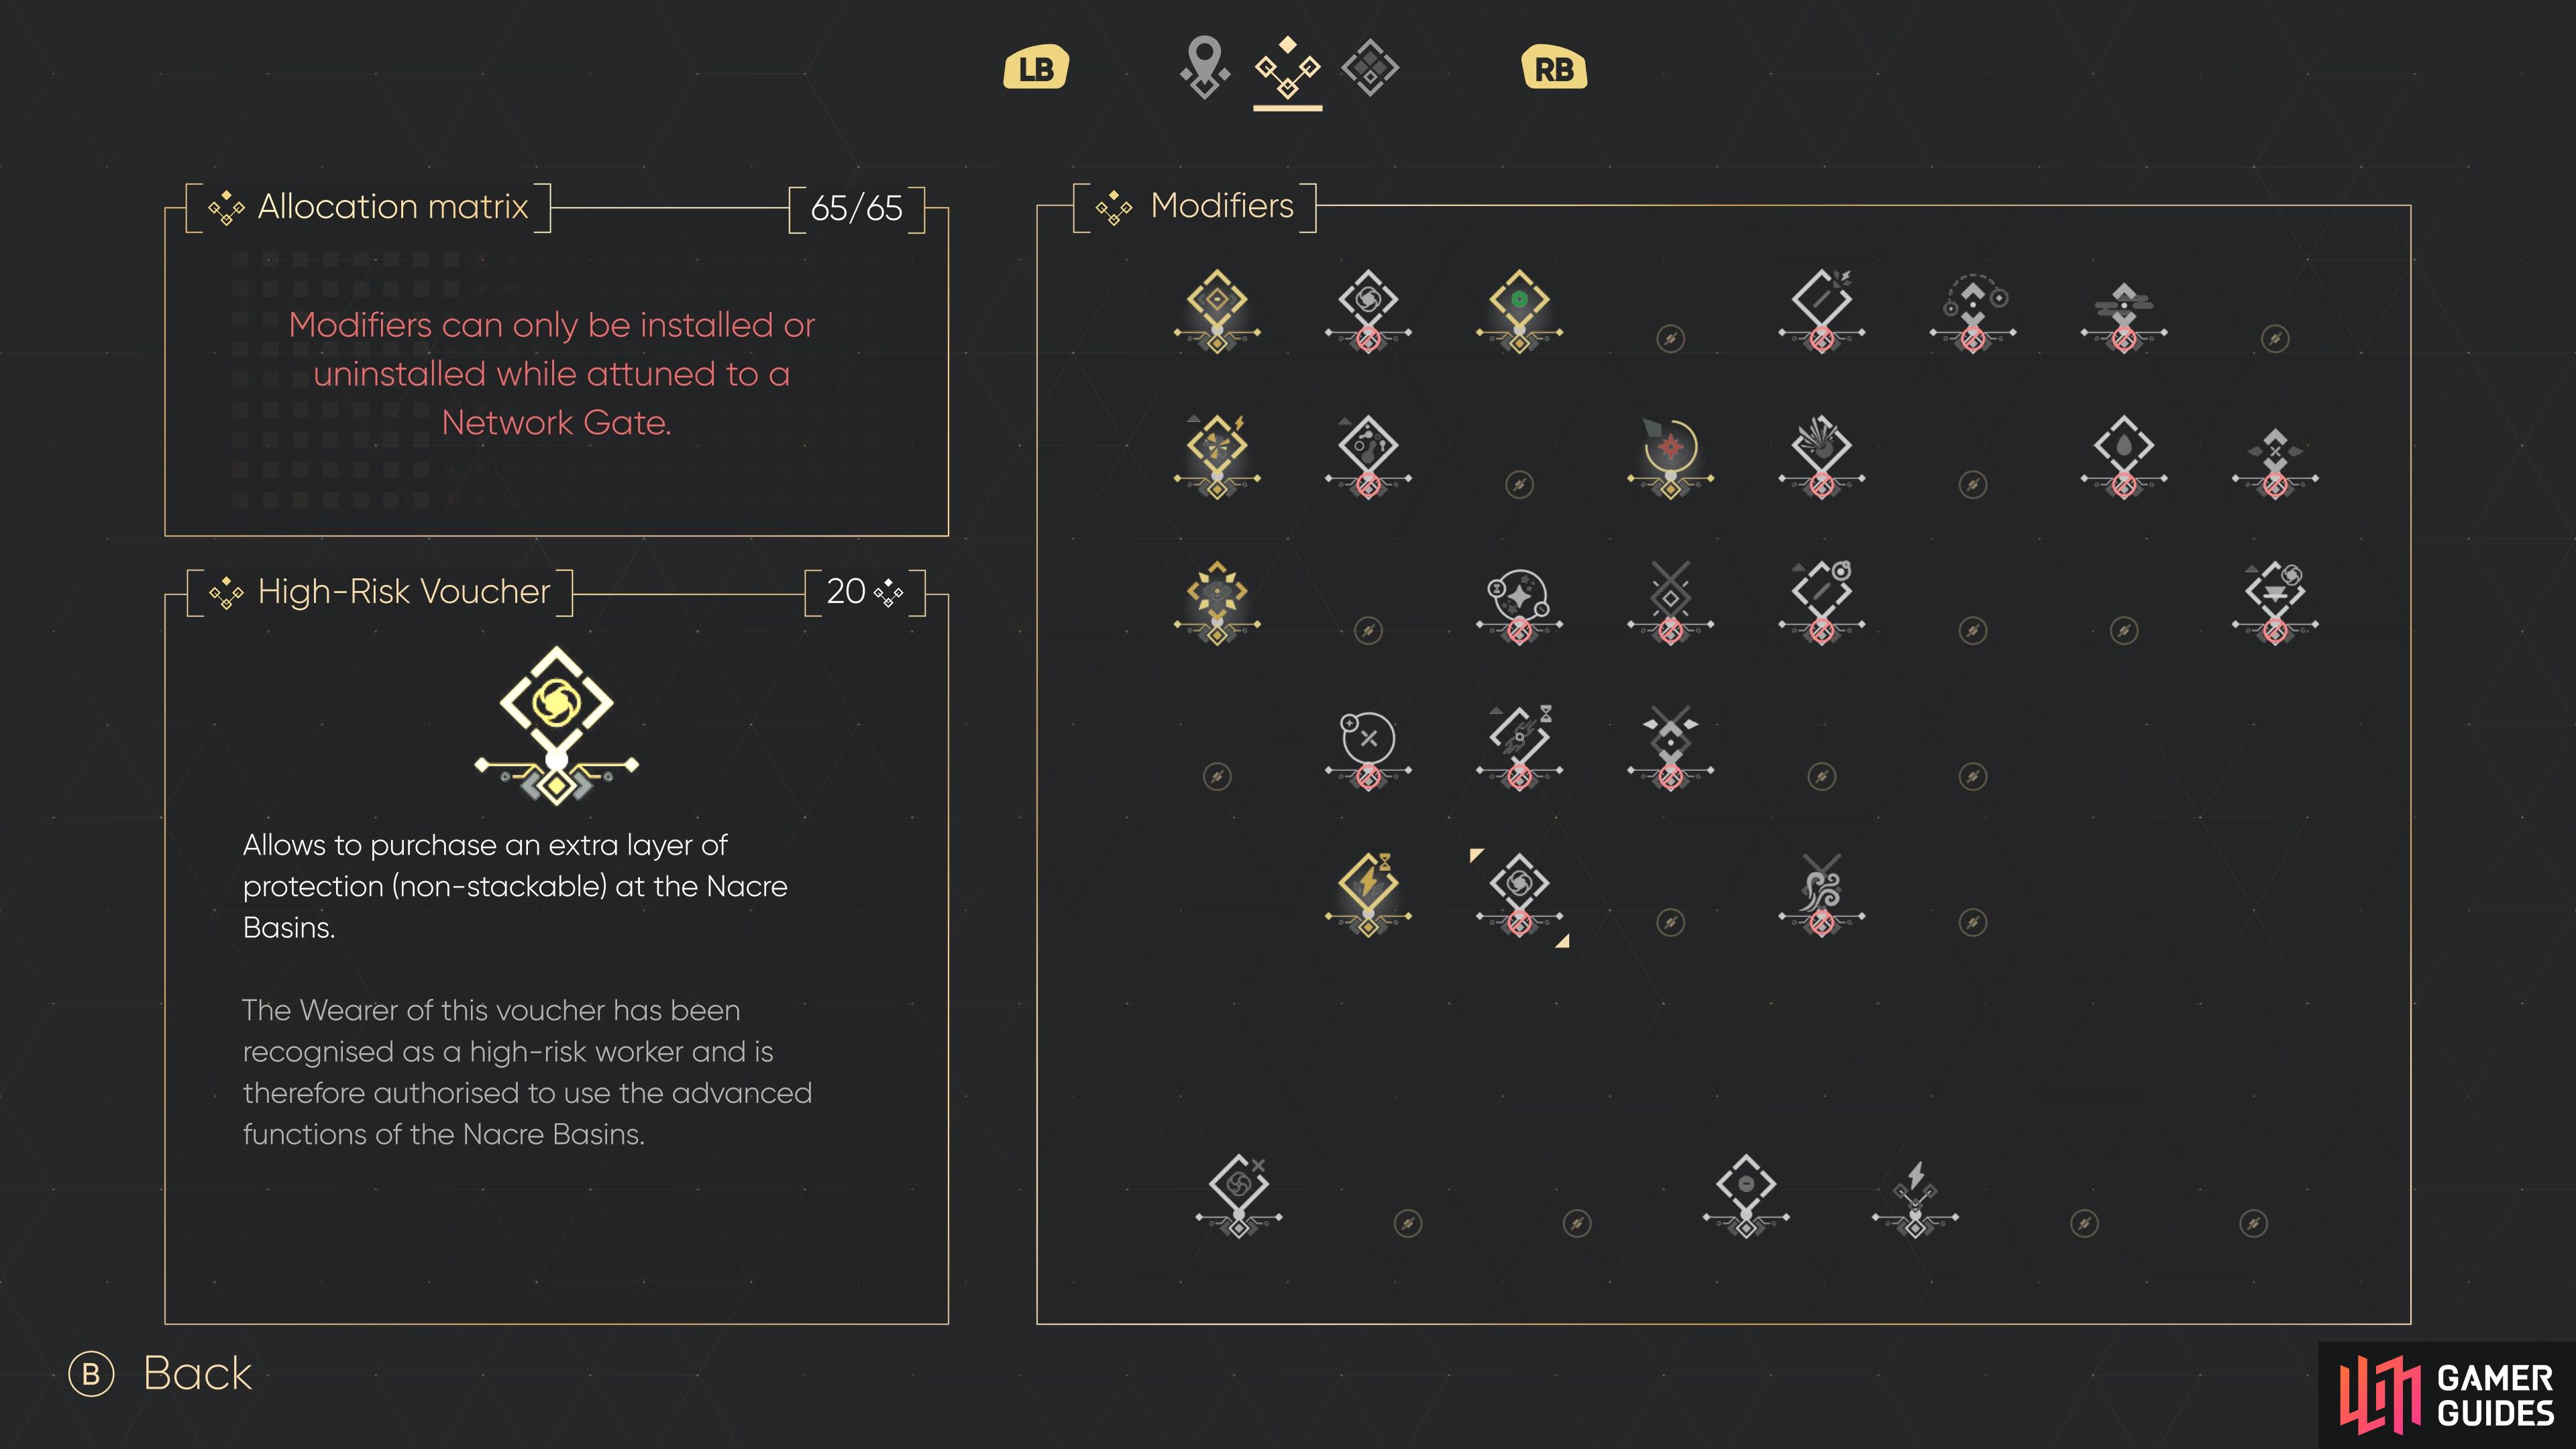
High-Risk Voucher
View on mapUse the bomb under the spinning blade to bounce under it, then glide to the platform on the right, and activate the Striders as you approach.
-
14
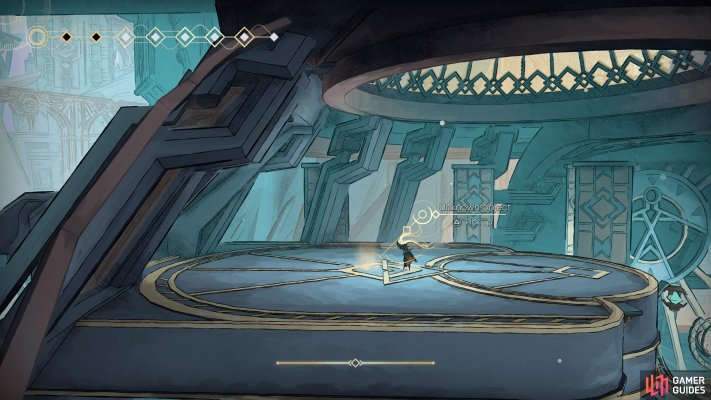
Requires Hairpin
View on mapUse the Hairpin on the Grapple Point to your left to reach this platform.
-
15
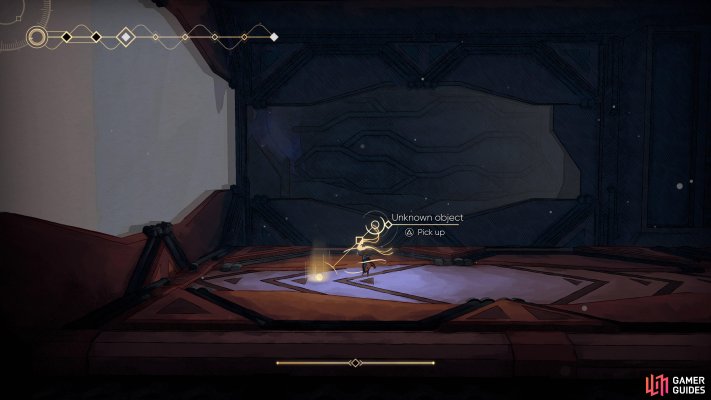
Split Process
View on mapGo west in this room (not the way you entered from) to find this at the end.
-
16
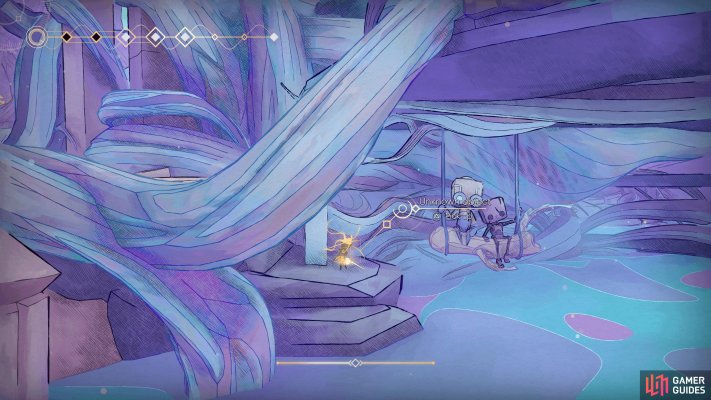
Bird of Prey
View on mapAfter traversing the Promenade area to the east and finding Alice, return here after refreshing the area to find Celia and Alice together, along with this MOD.
-
17
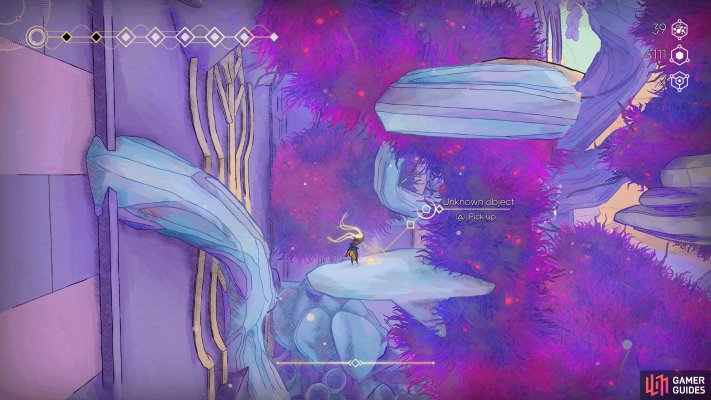
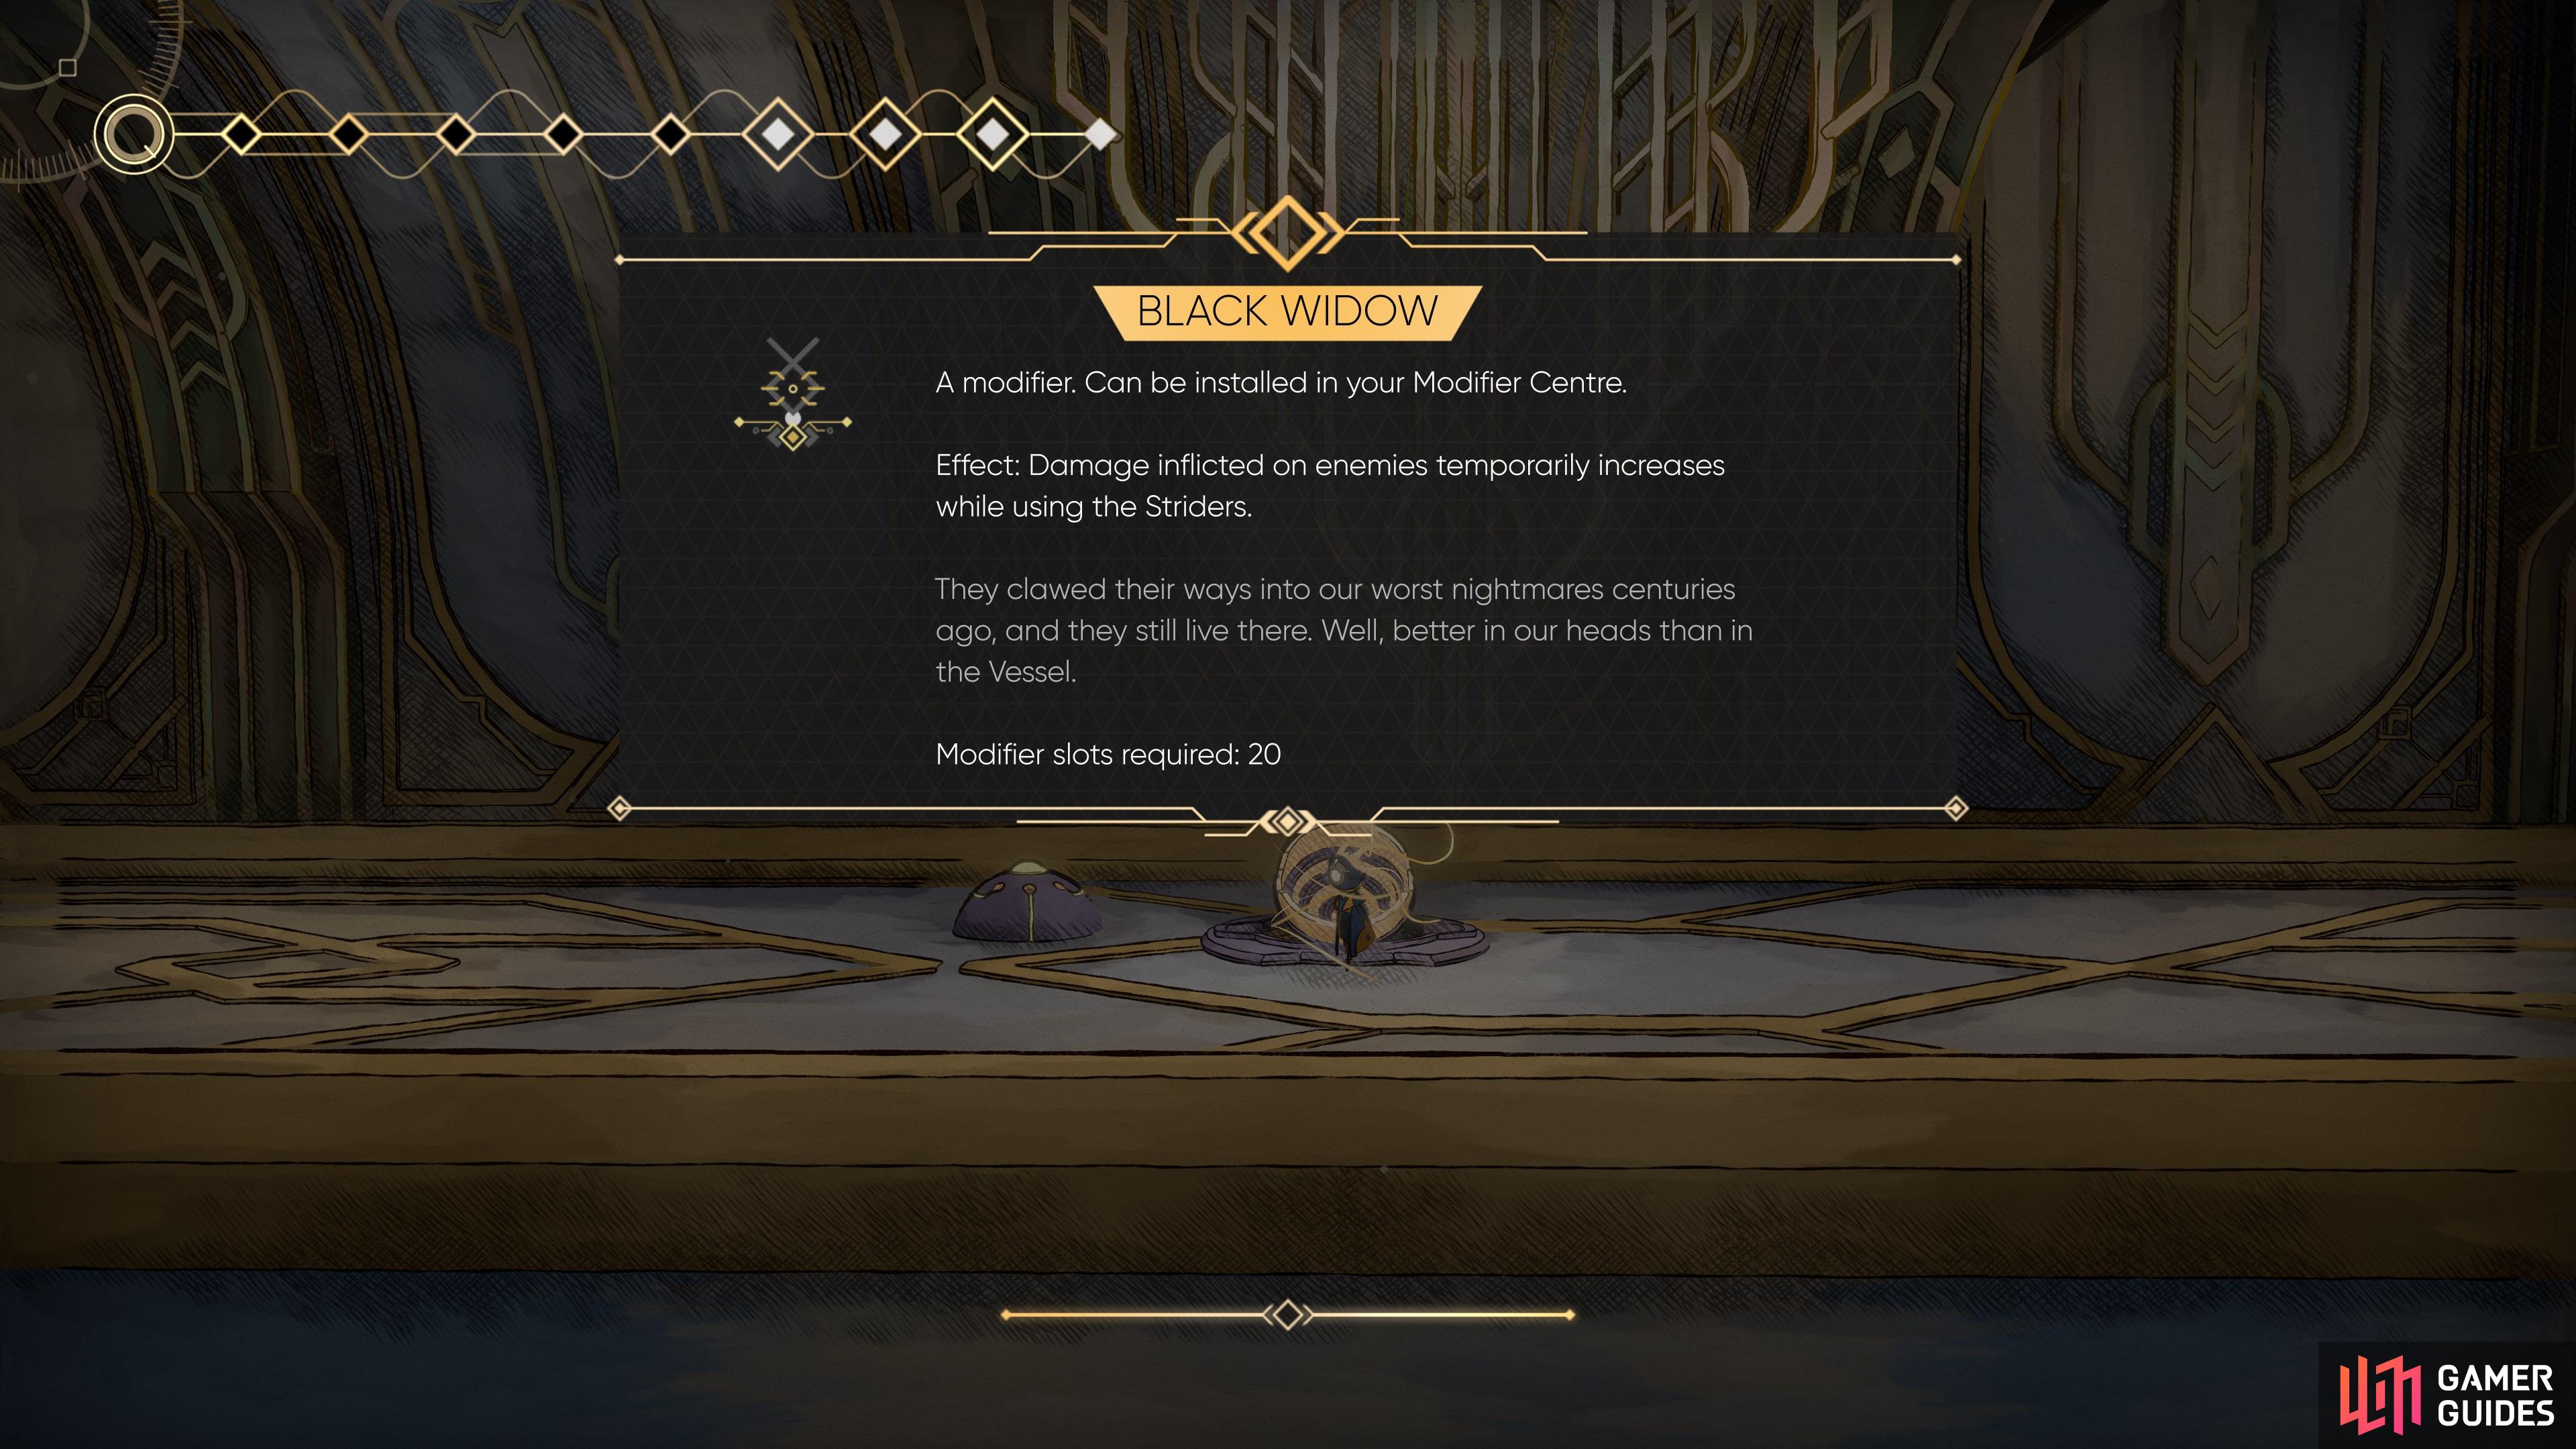
Requires Striders
View on mapOnce you have the Striders ability, walk up this wall to reach this item.
-
18
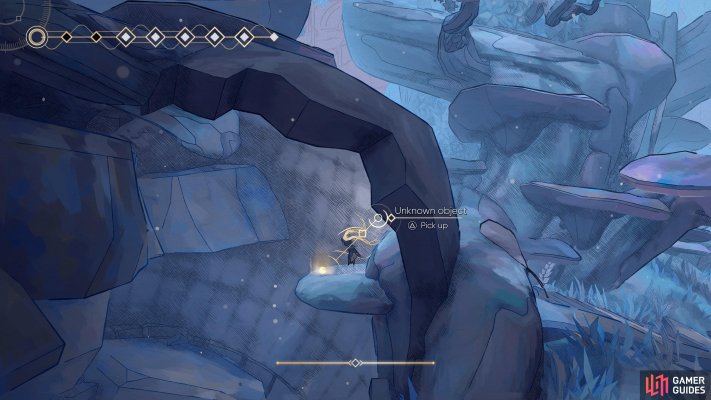
Requires Striders
View on mapOnce you have Striders, go to where the Nacre Basin is and use the first Grapple point to your left.
Double jump to your right and hit the flower to renew your energy, then quickly use Striders to climb the wall on your right to reach this item.
-
19
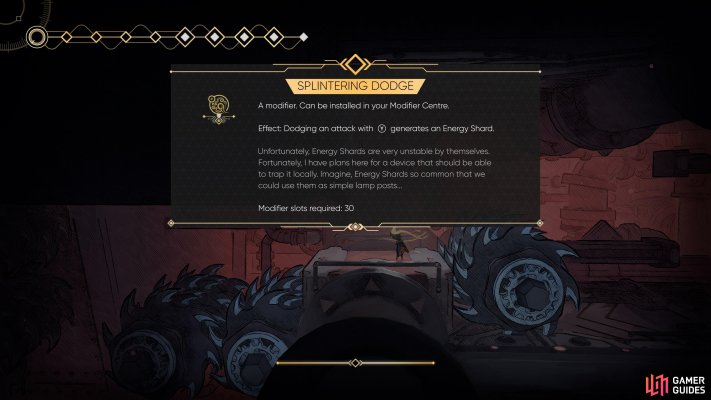
Slingshot Required
View on mapFound by the spinning blades in the corridor beyond the Energy Shield, west of the Vaults shuttle shaft. Use the Slingshot ability to break the shield and enter.
-
20
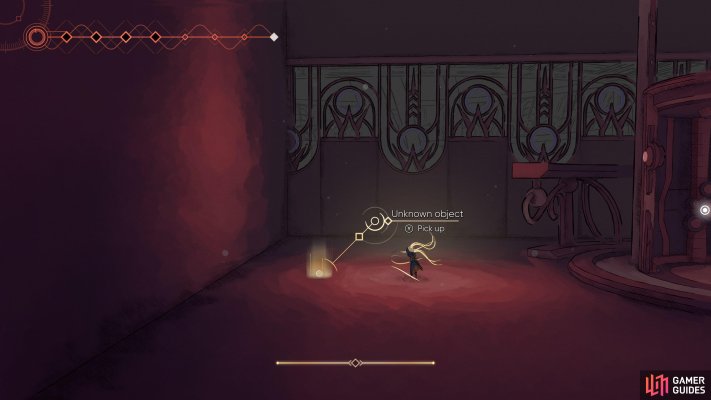
Oath to Ember
View on mapClear the platforming challenge to the east, and you will find this by the elevator.
-
21
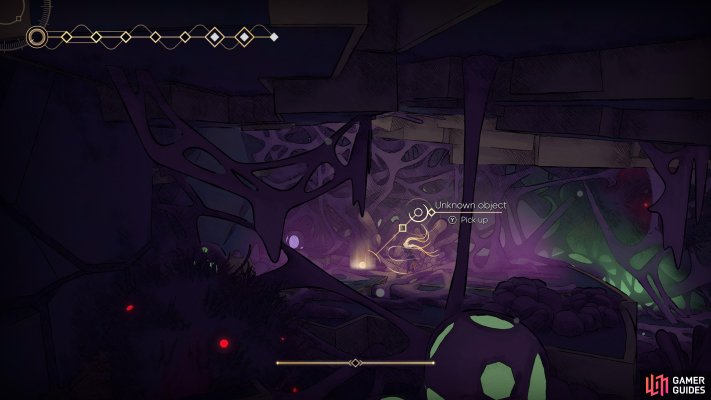
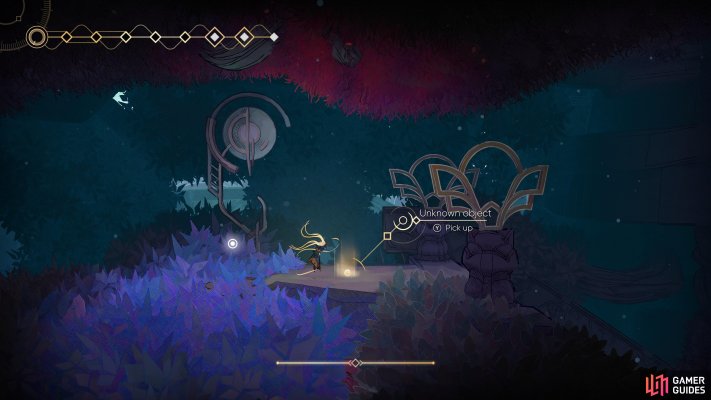
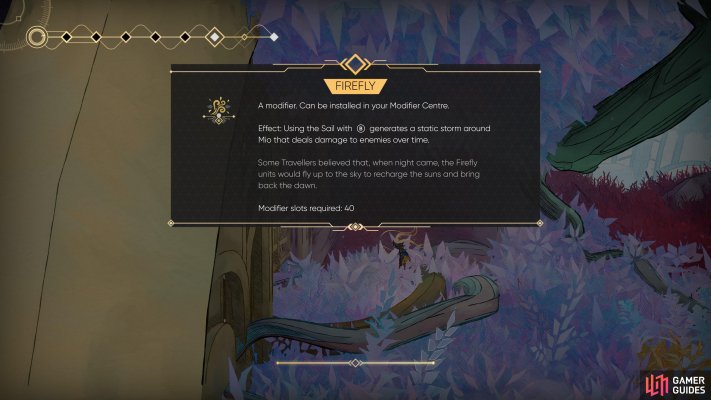
Sunsail
View on mapFound in a small space at the top of the room. Look for the flower bulb on the right-hand side of the room. There’s a small gap above it that takes you to the hidden area.
-
22
-
23
-
24
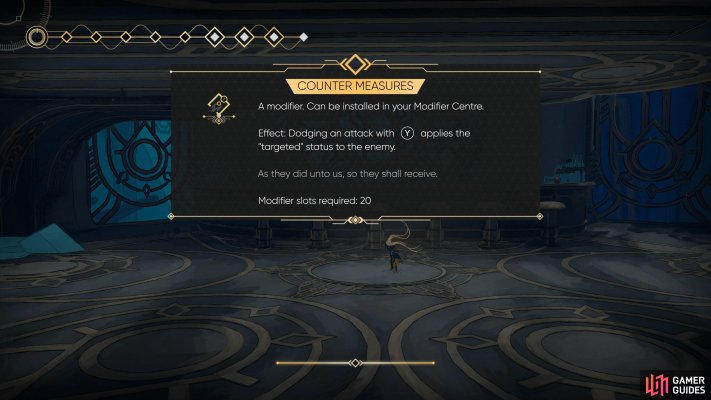
Counter Measures
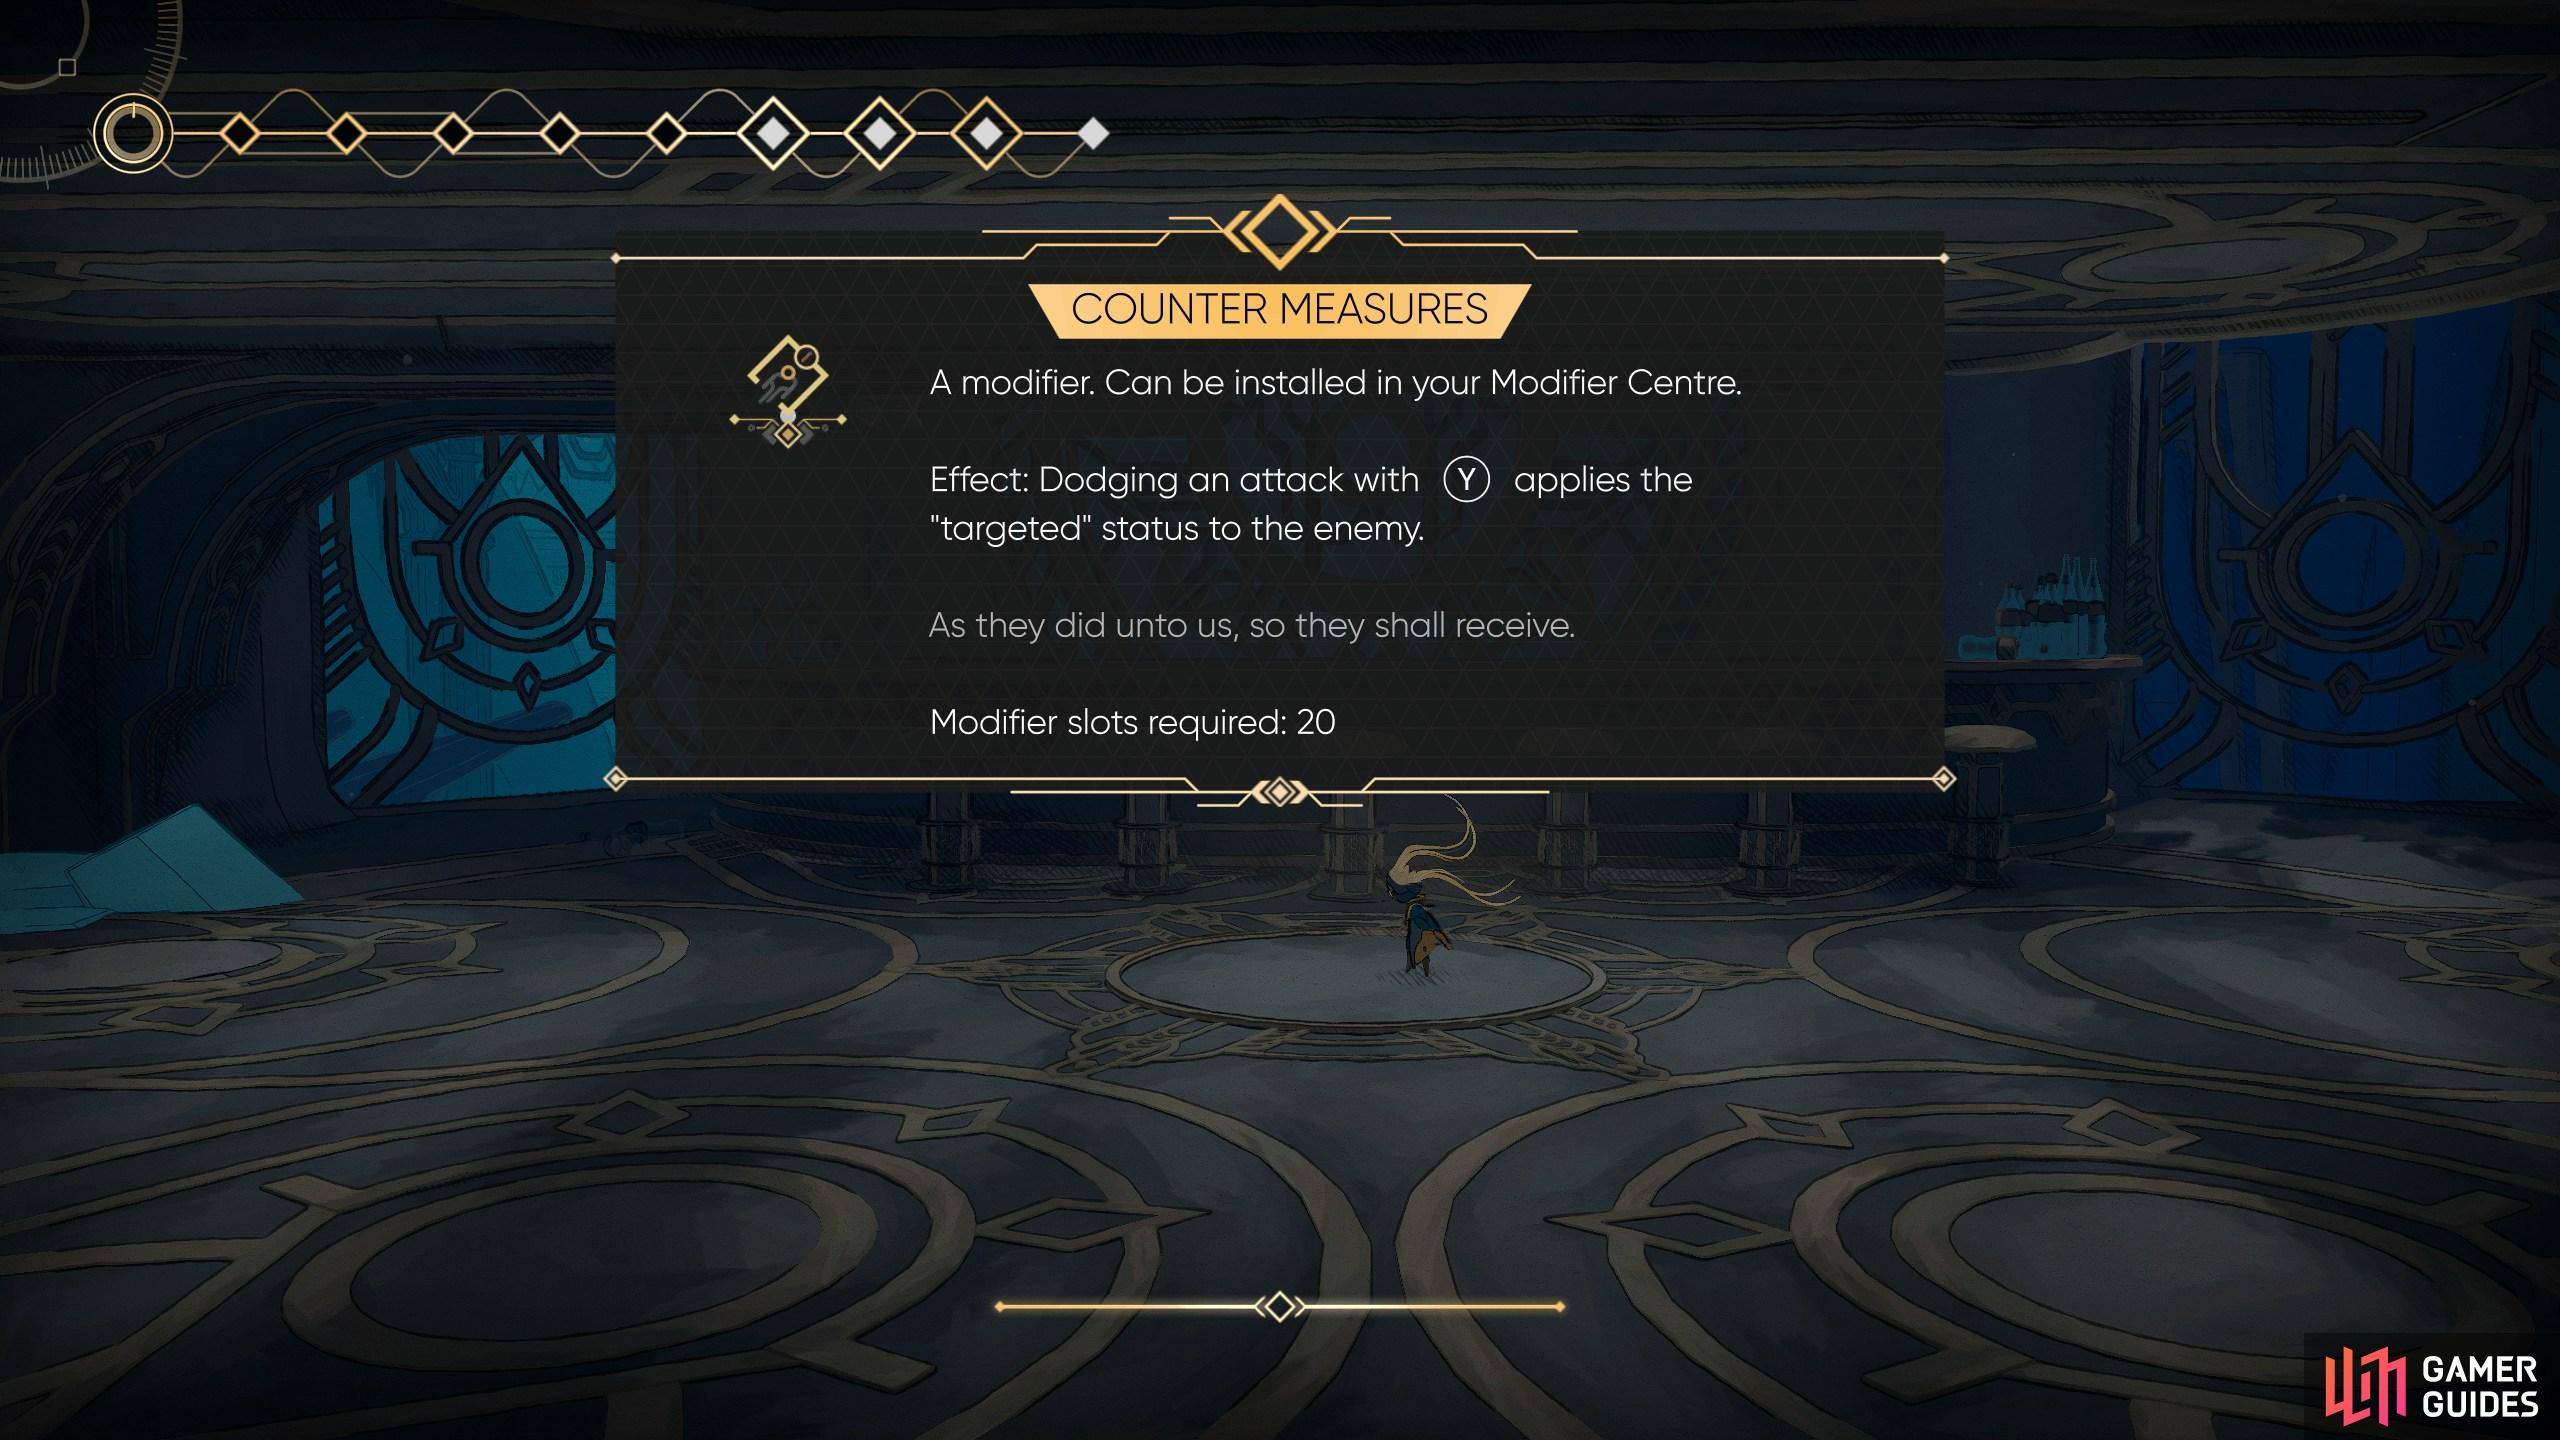
View on mapLocated on the floor just past the enemies under the Energy Shield part of the platforming section.
Head west from the Crystallised Nacre (past the wind jet) and you’ll find it in the center.
-
25
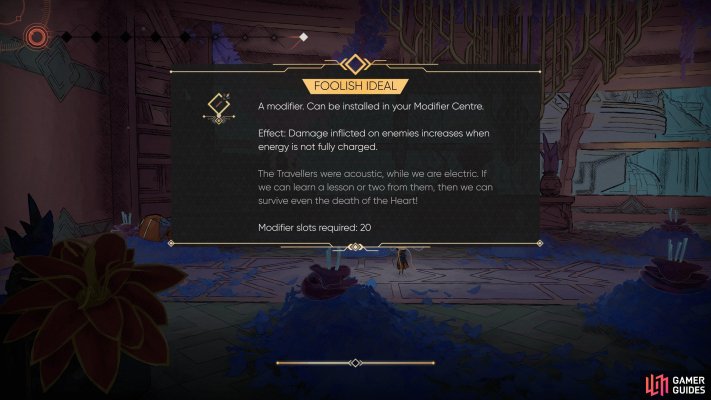
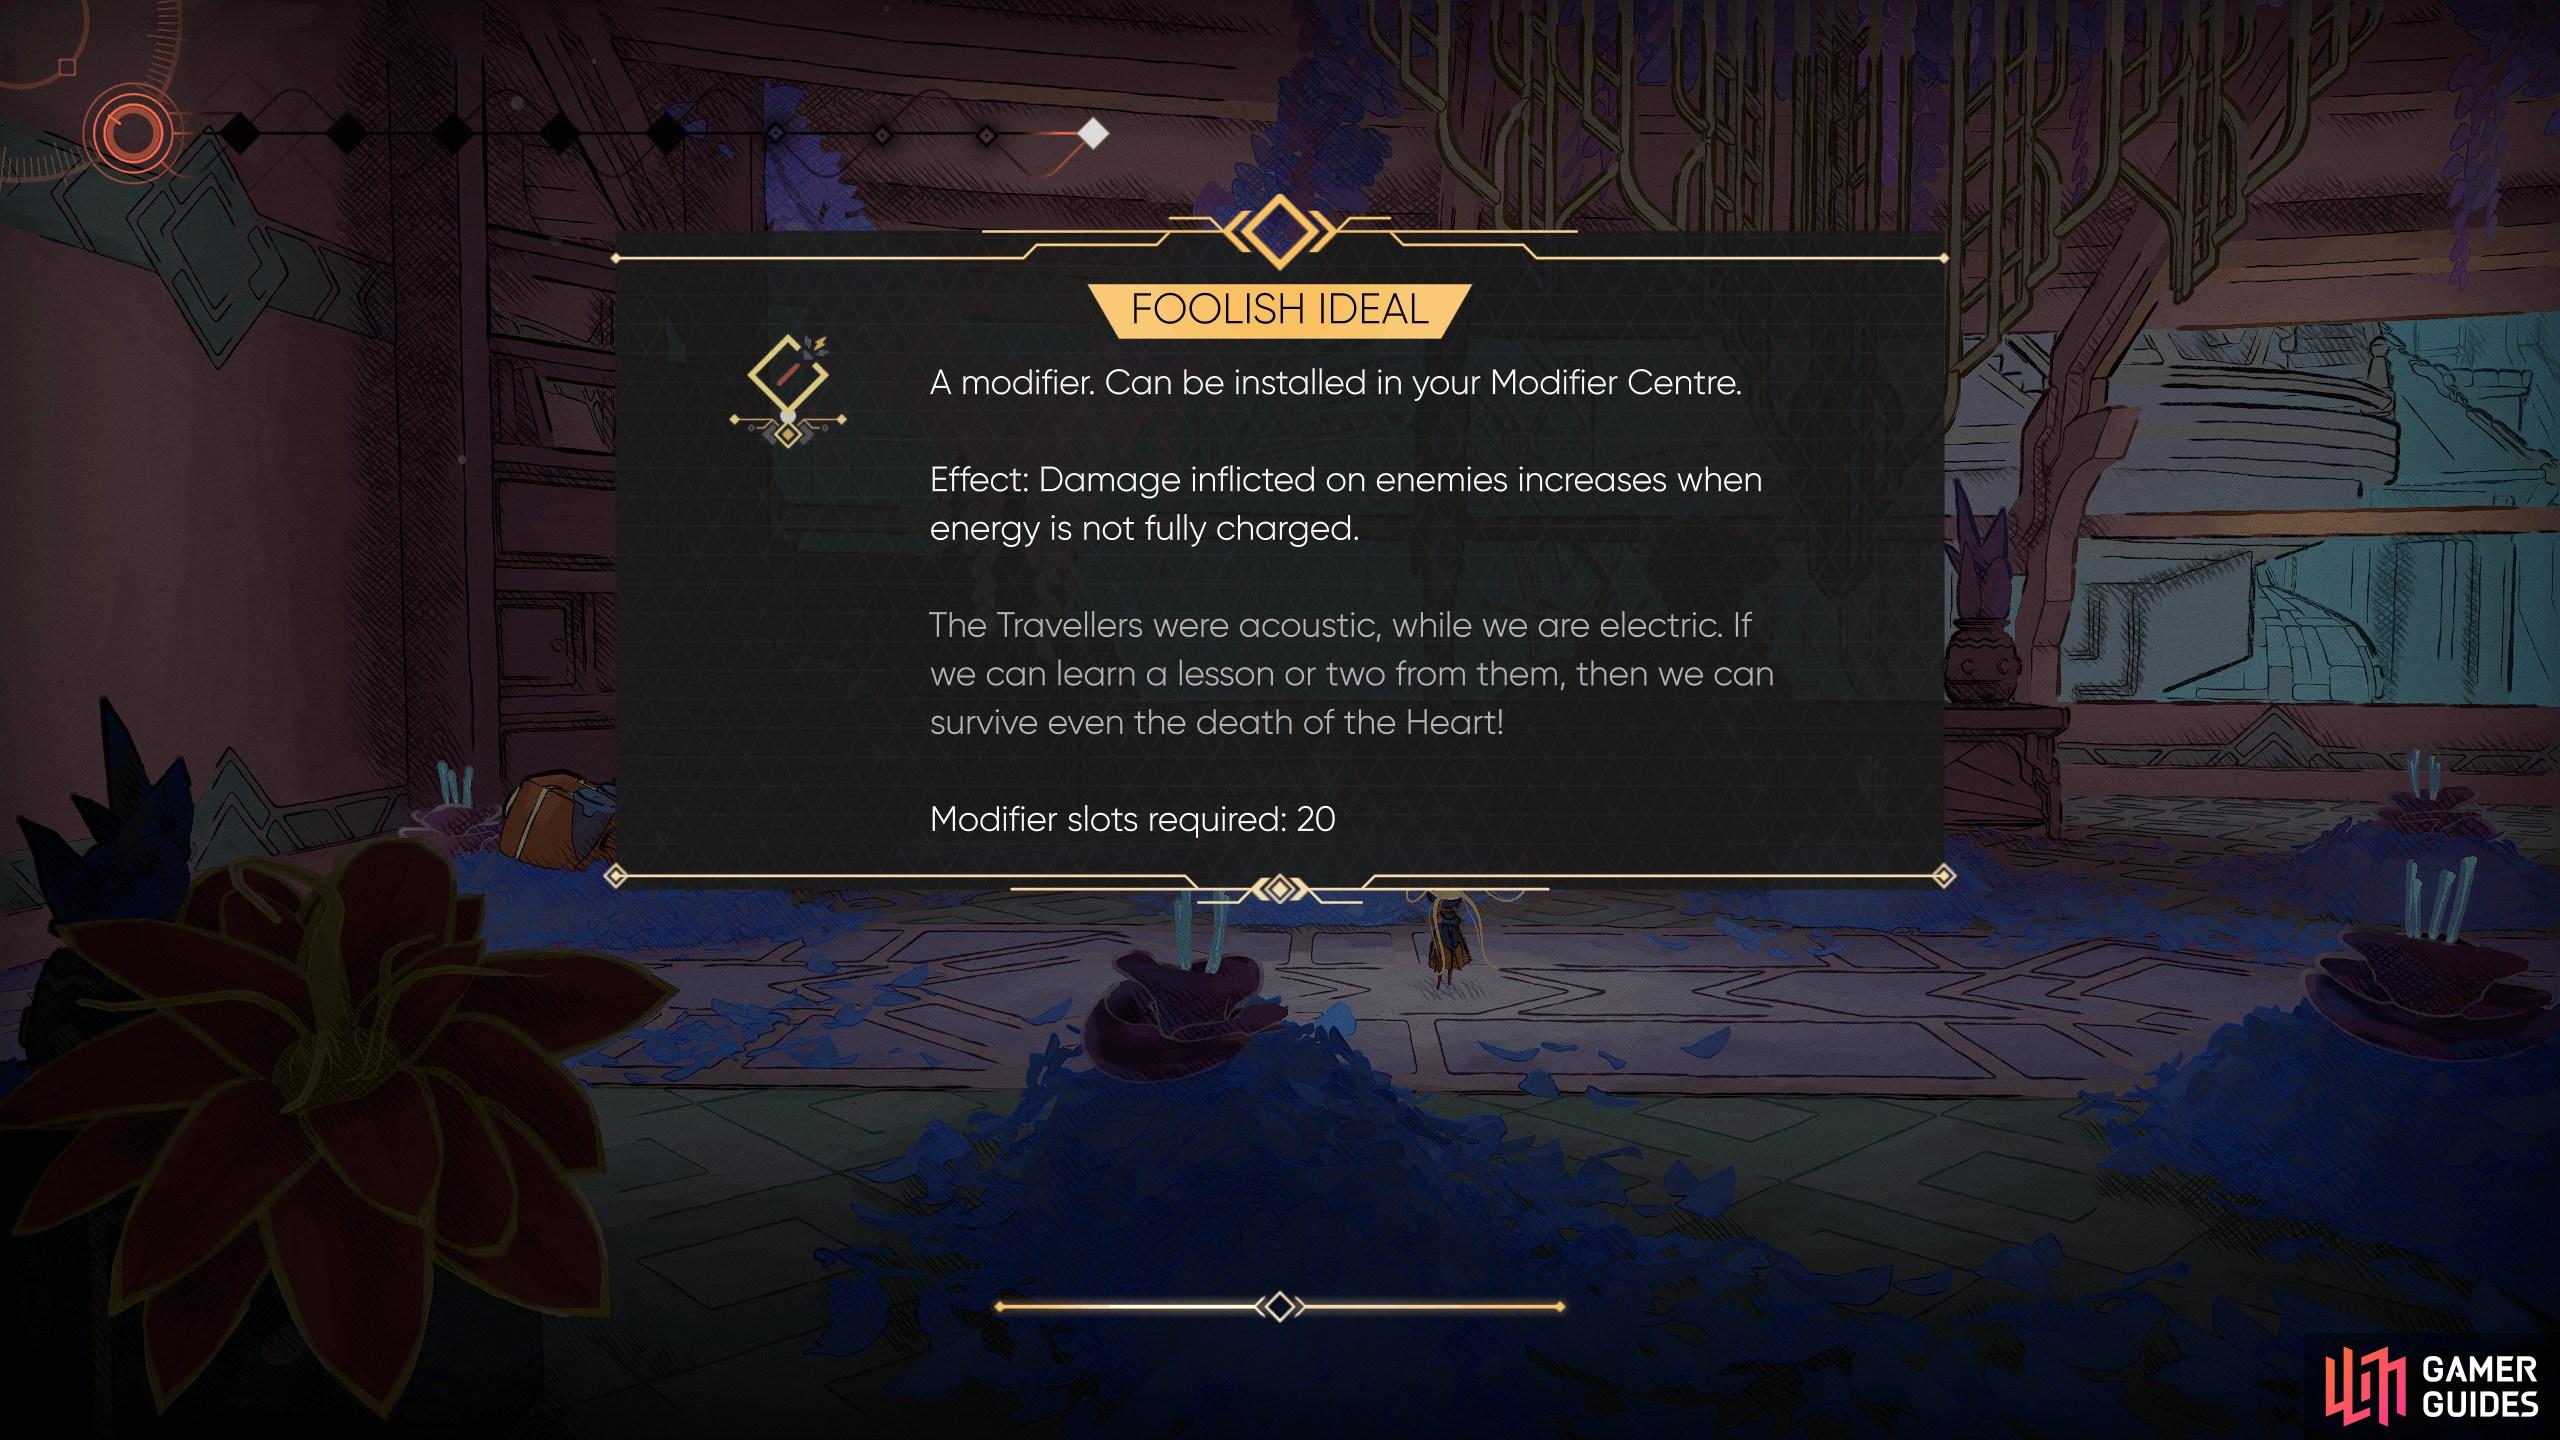
Foolish Ideal
View on mapGo west across the icy ceiling while avoiding the tendrils and then drop down and open the door. Head west into the room to find the mod.
-
26
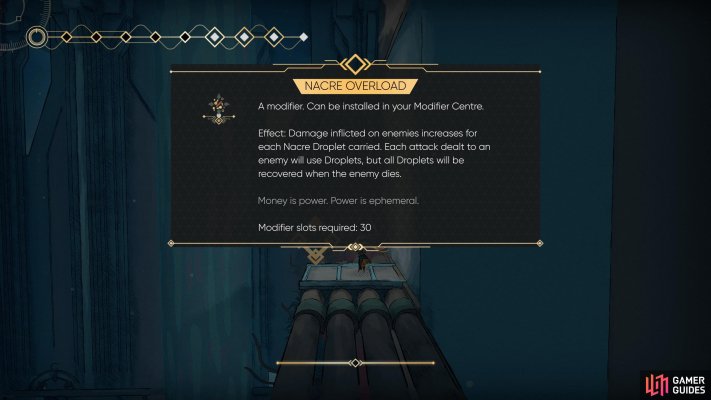
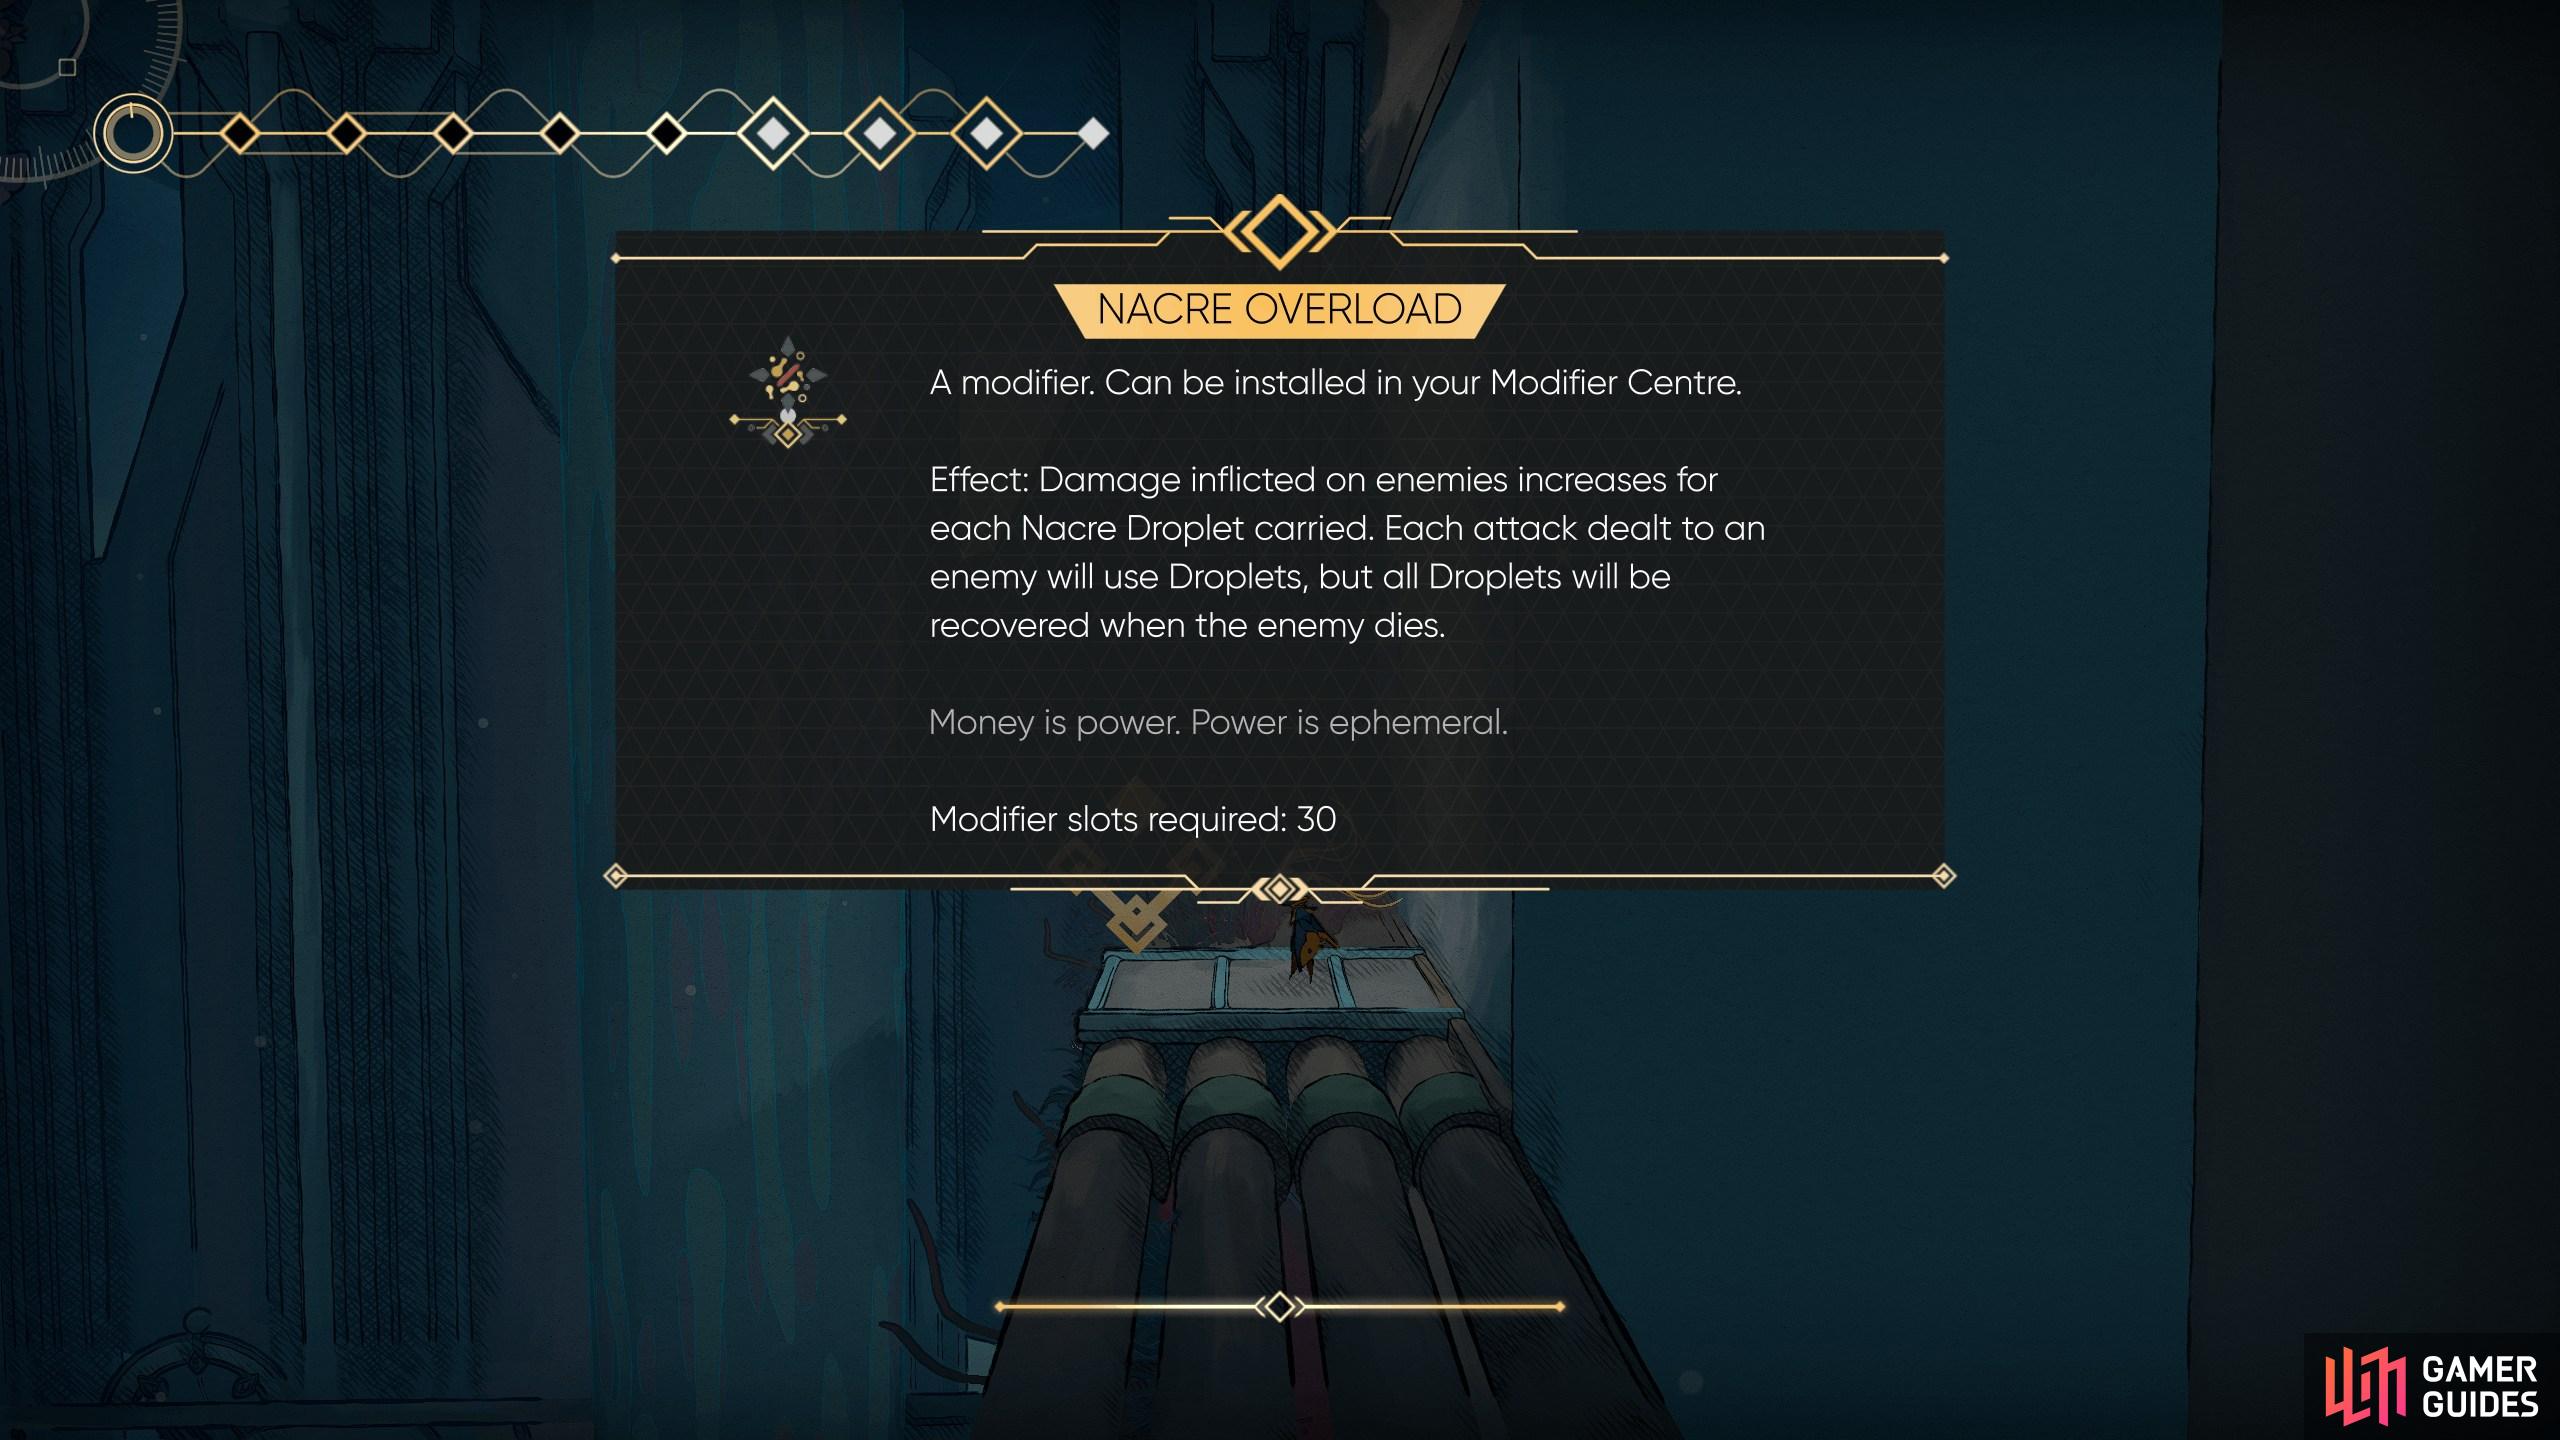
Nacre Overload
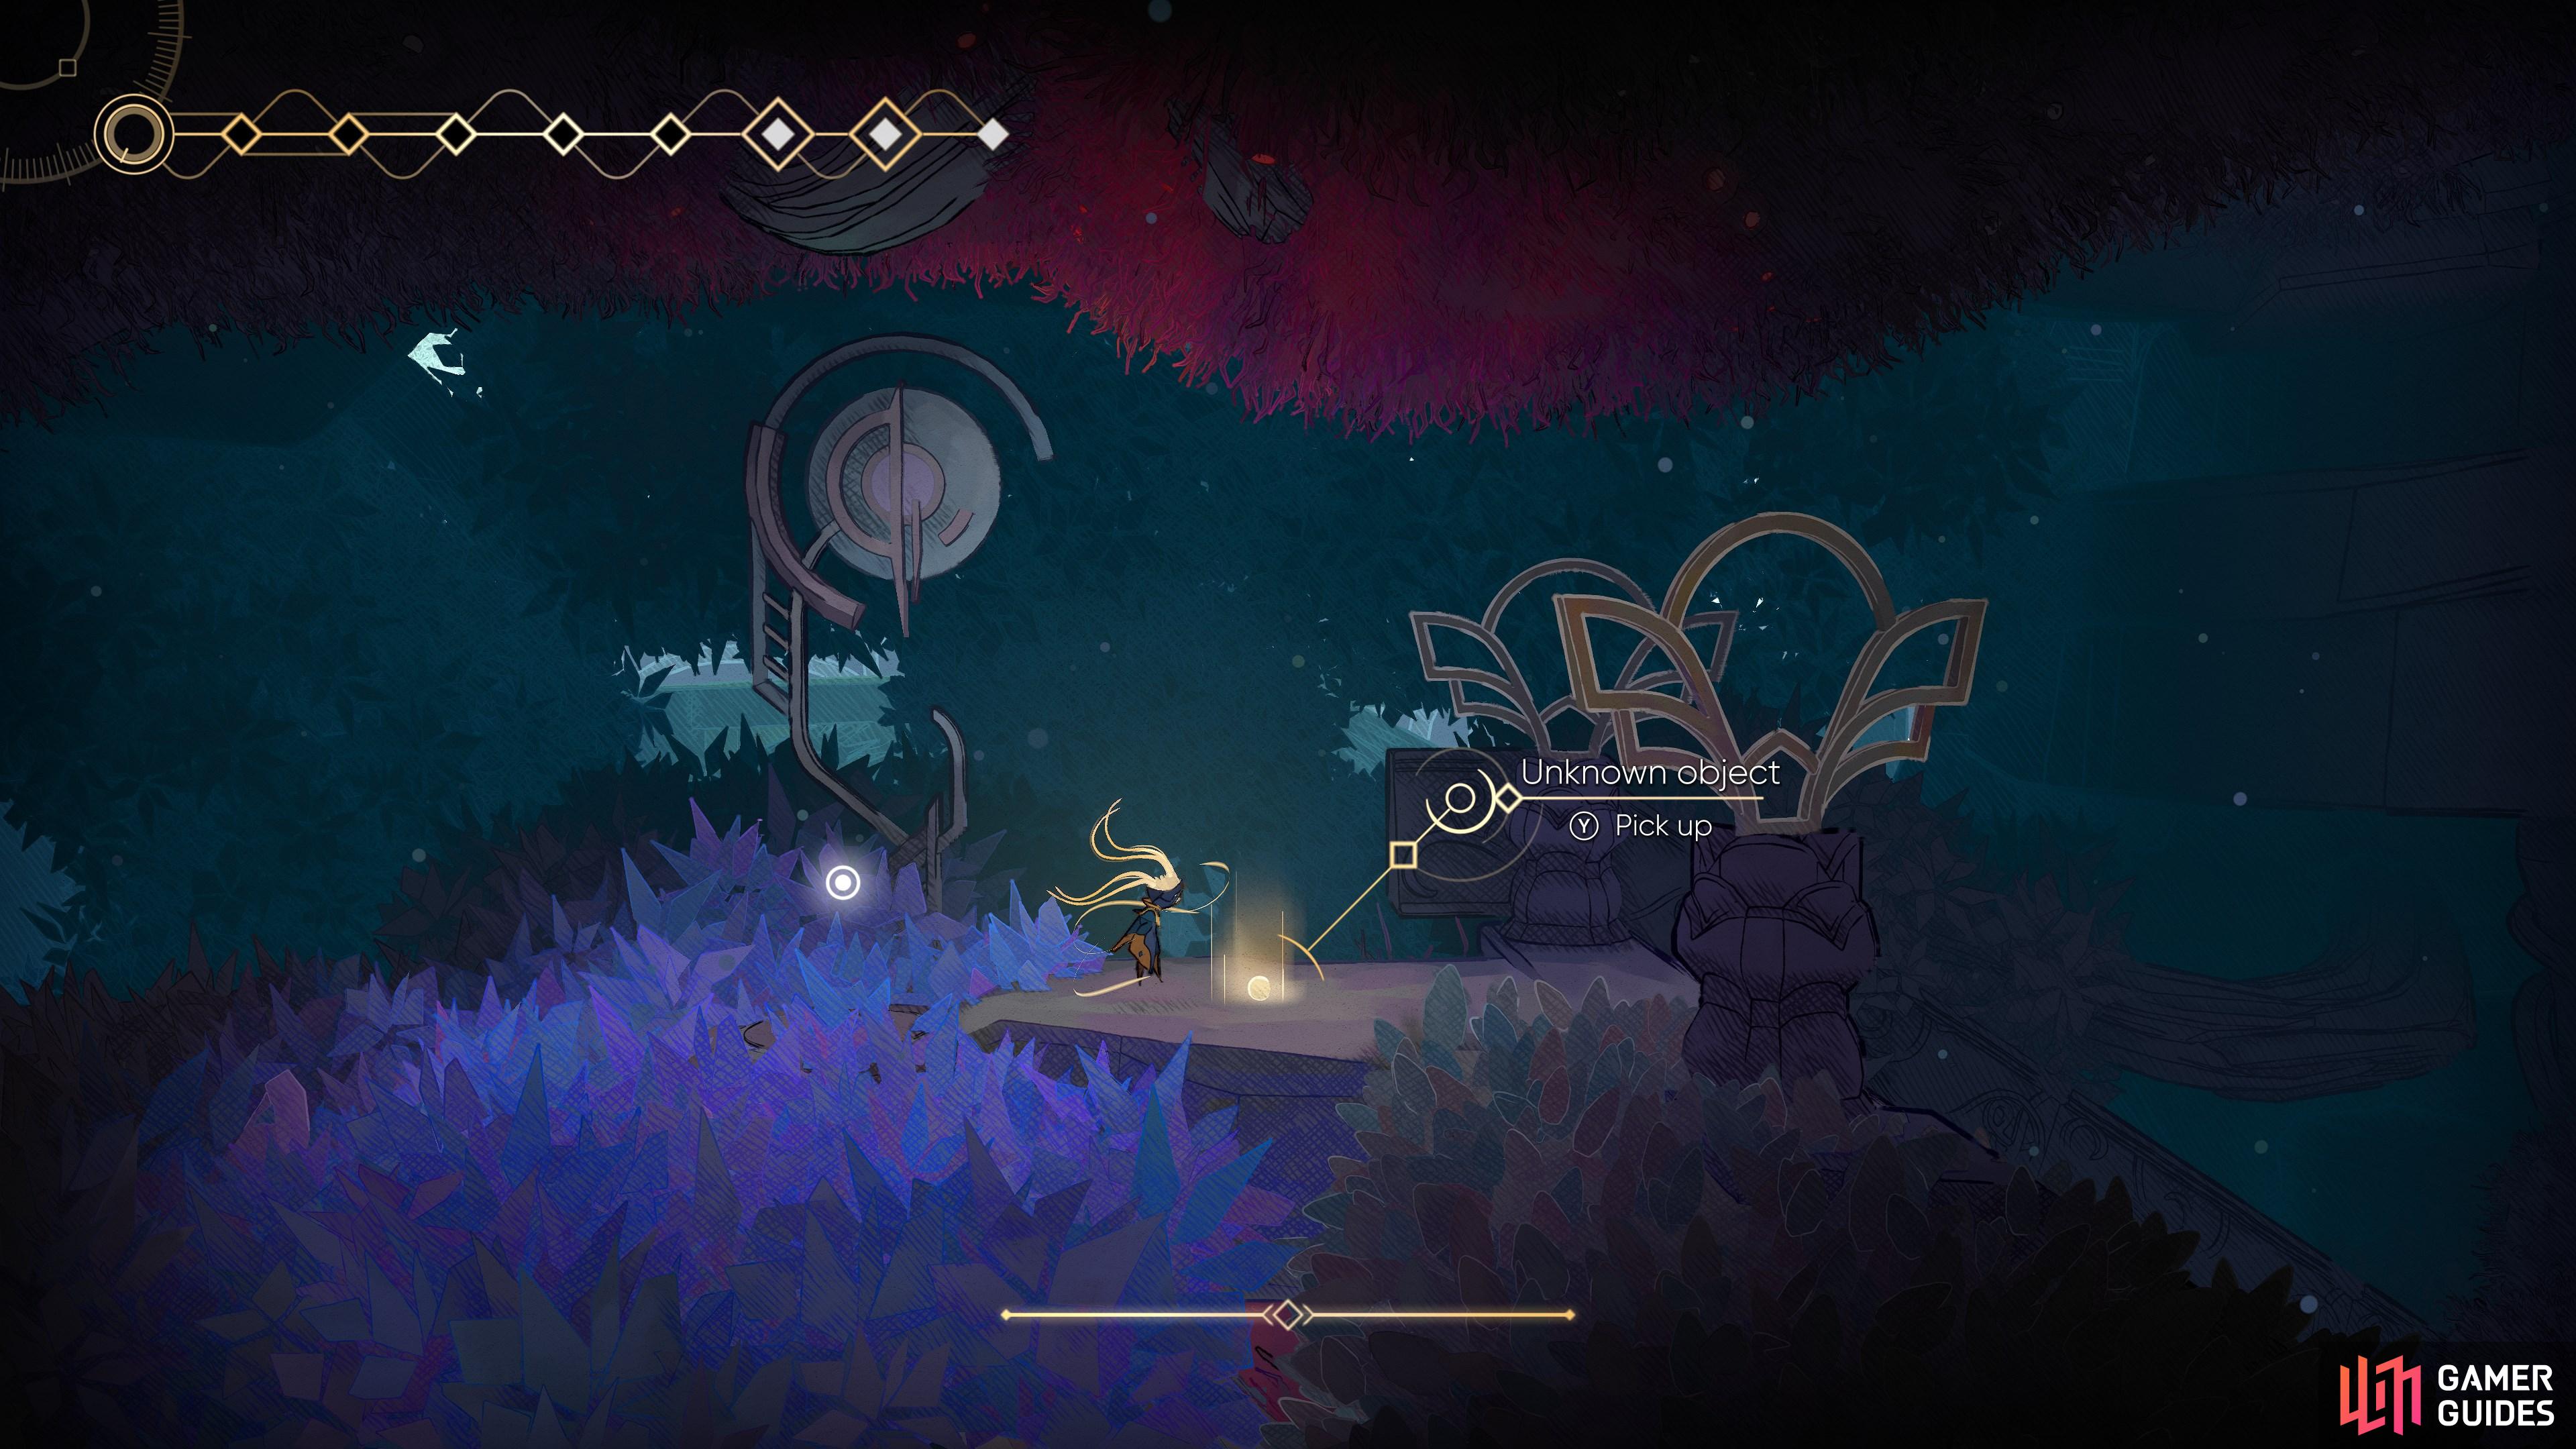
View on mapLocated on top of the pipes in the upper room. You will need Flowing Steps to climb up the Gloomwaterfall next to it.
To get to this room, you’ll need Strider to head east past the wind jets in the middle of the area.
-
27
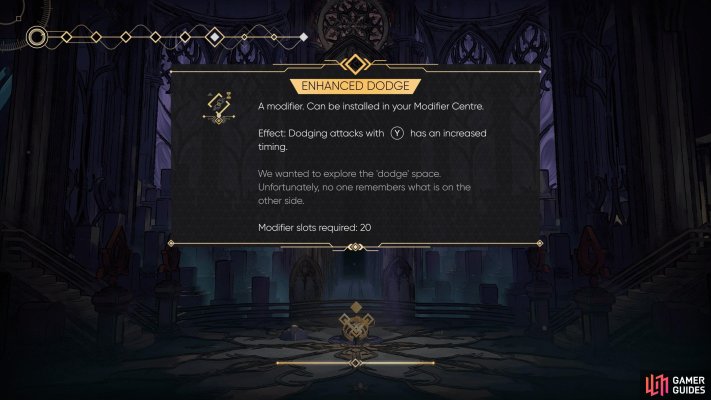
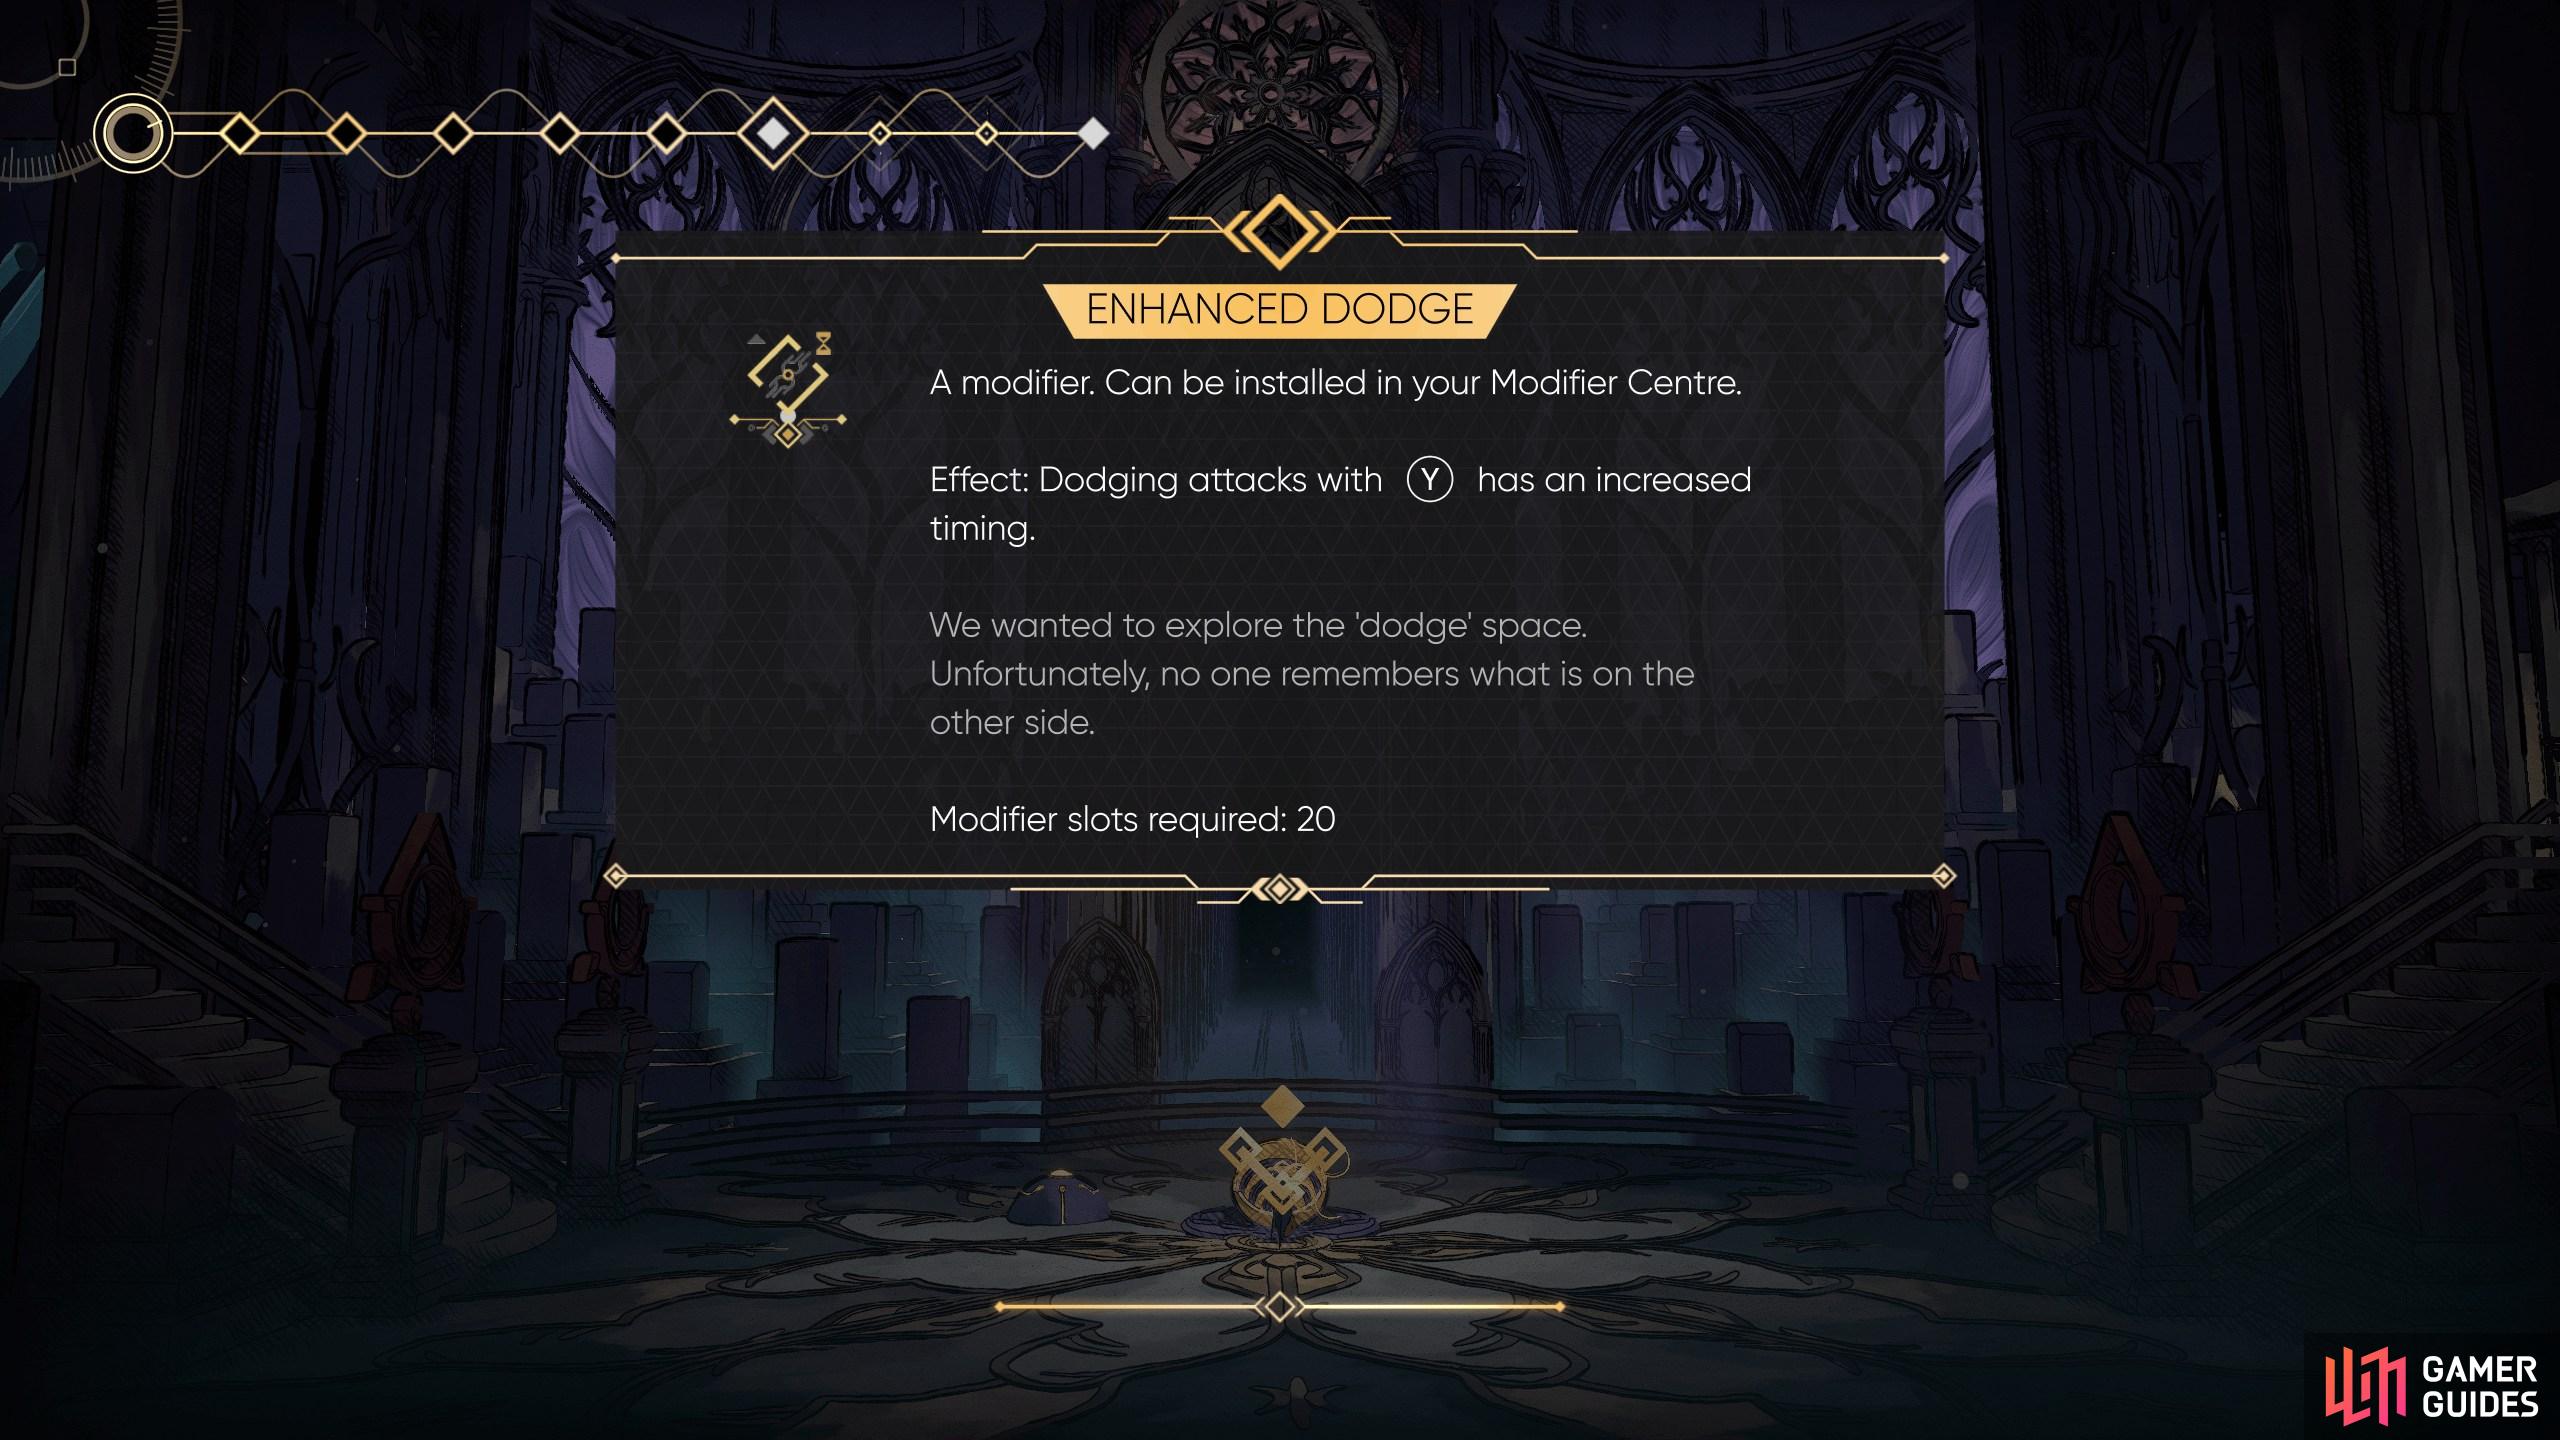
Enhanced Dodge
View on mapAfter defeating the Poltergates Boss, exit the room via the western door.
Continue west to find a container in the center of the room. Inside, will be the mod.
-
28
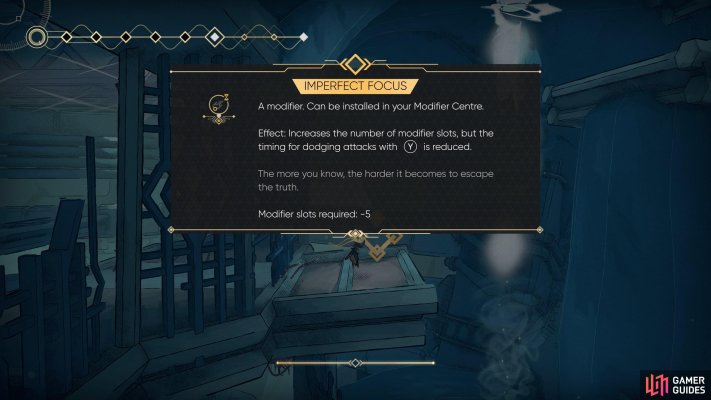
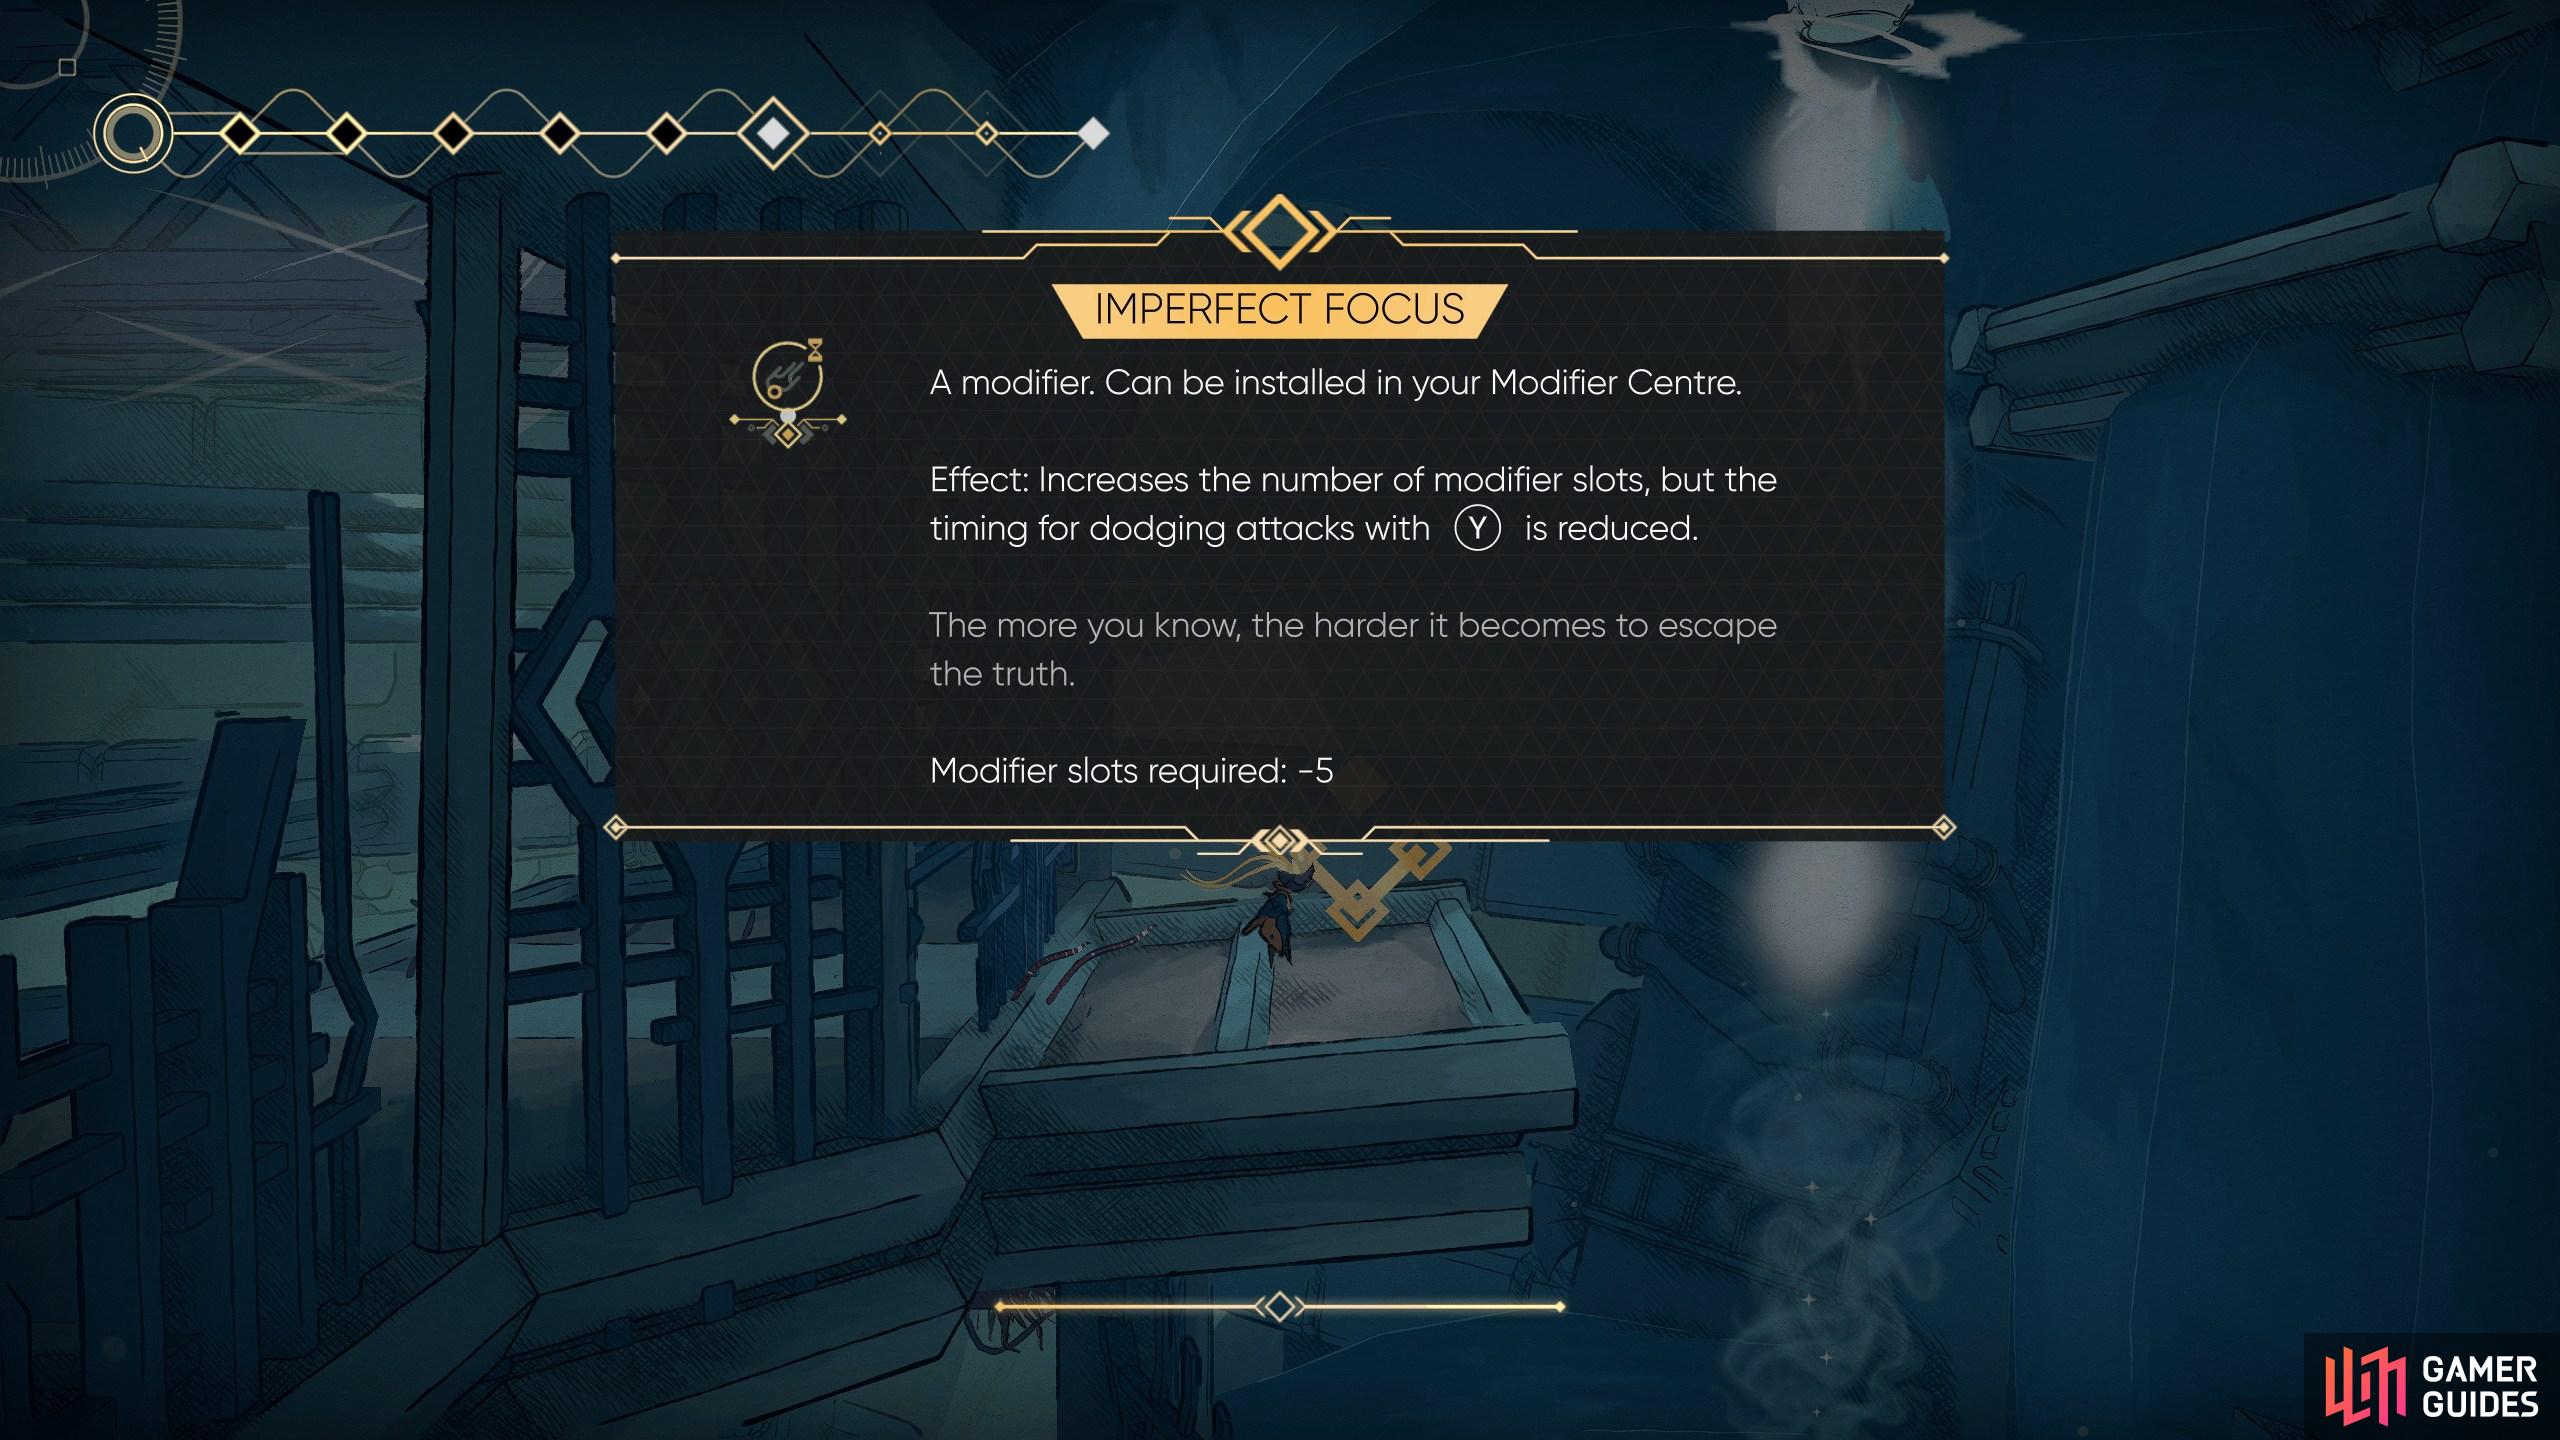
Imperfect Focus
View on mapLocated on the ledge at the top, past the Wind Jets. Use a combination of Strider to climb up and dodges to avoid the jets.
-
29
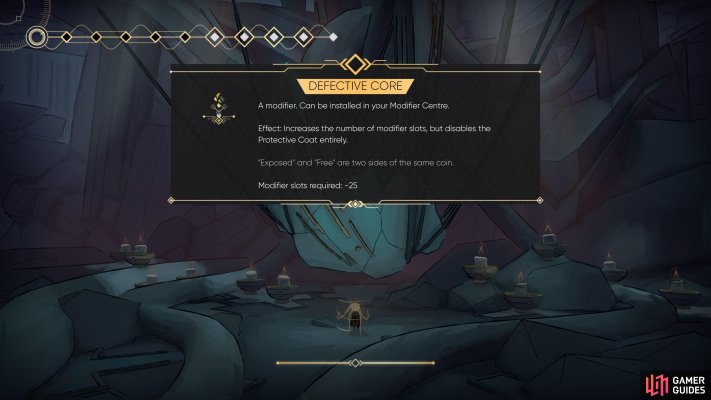
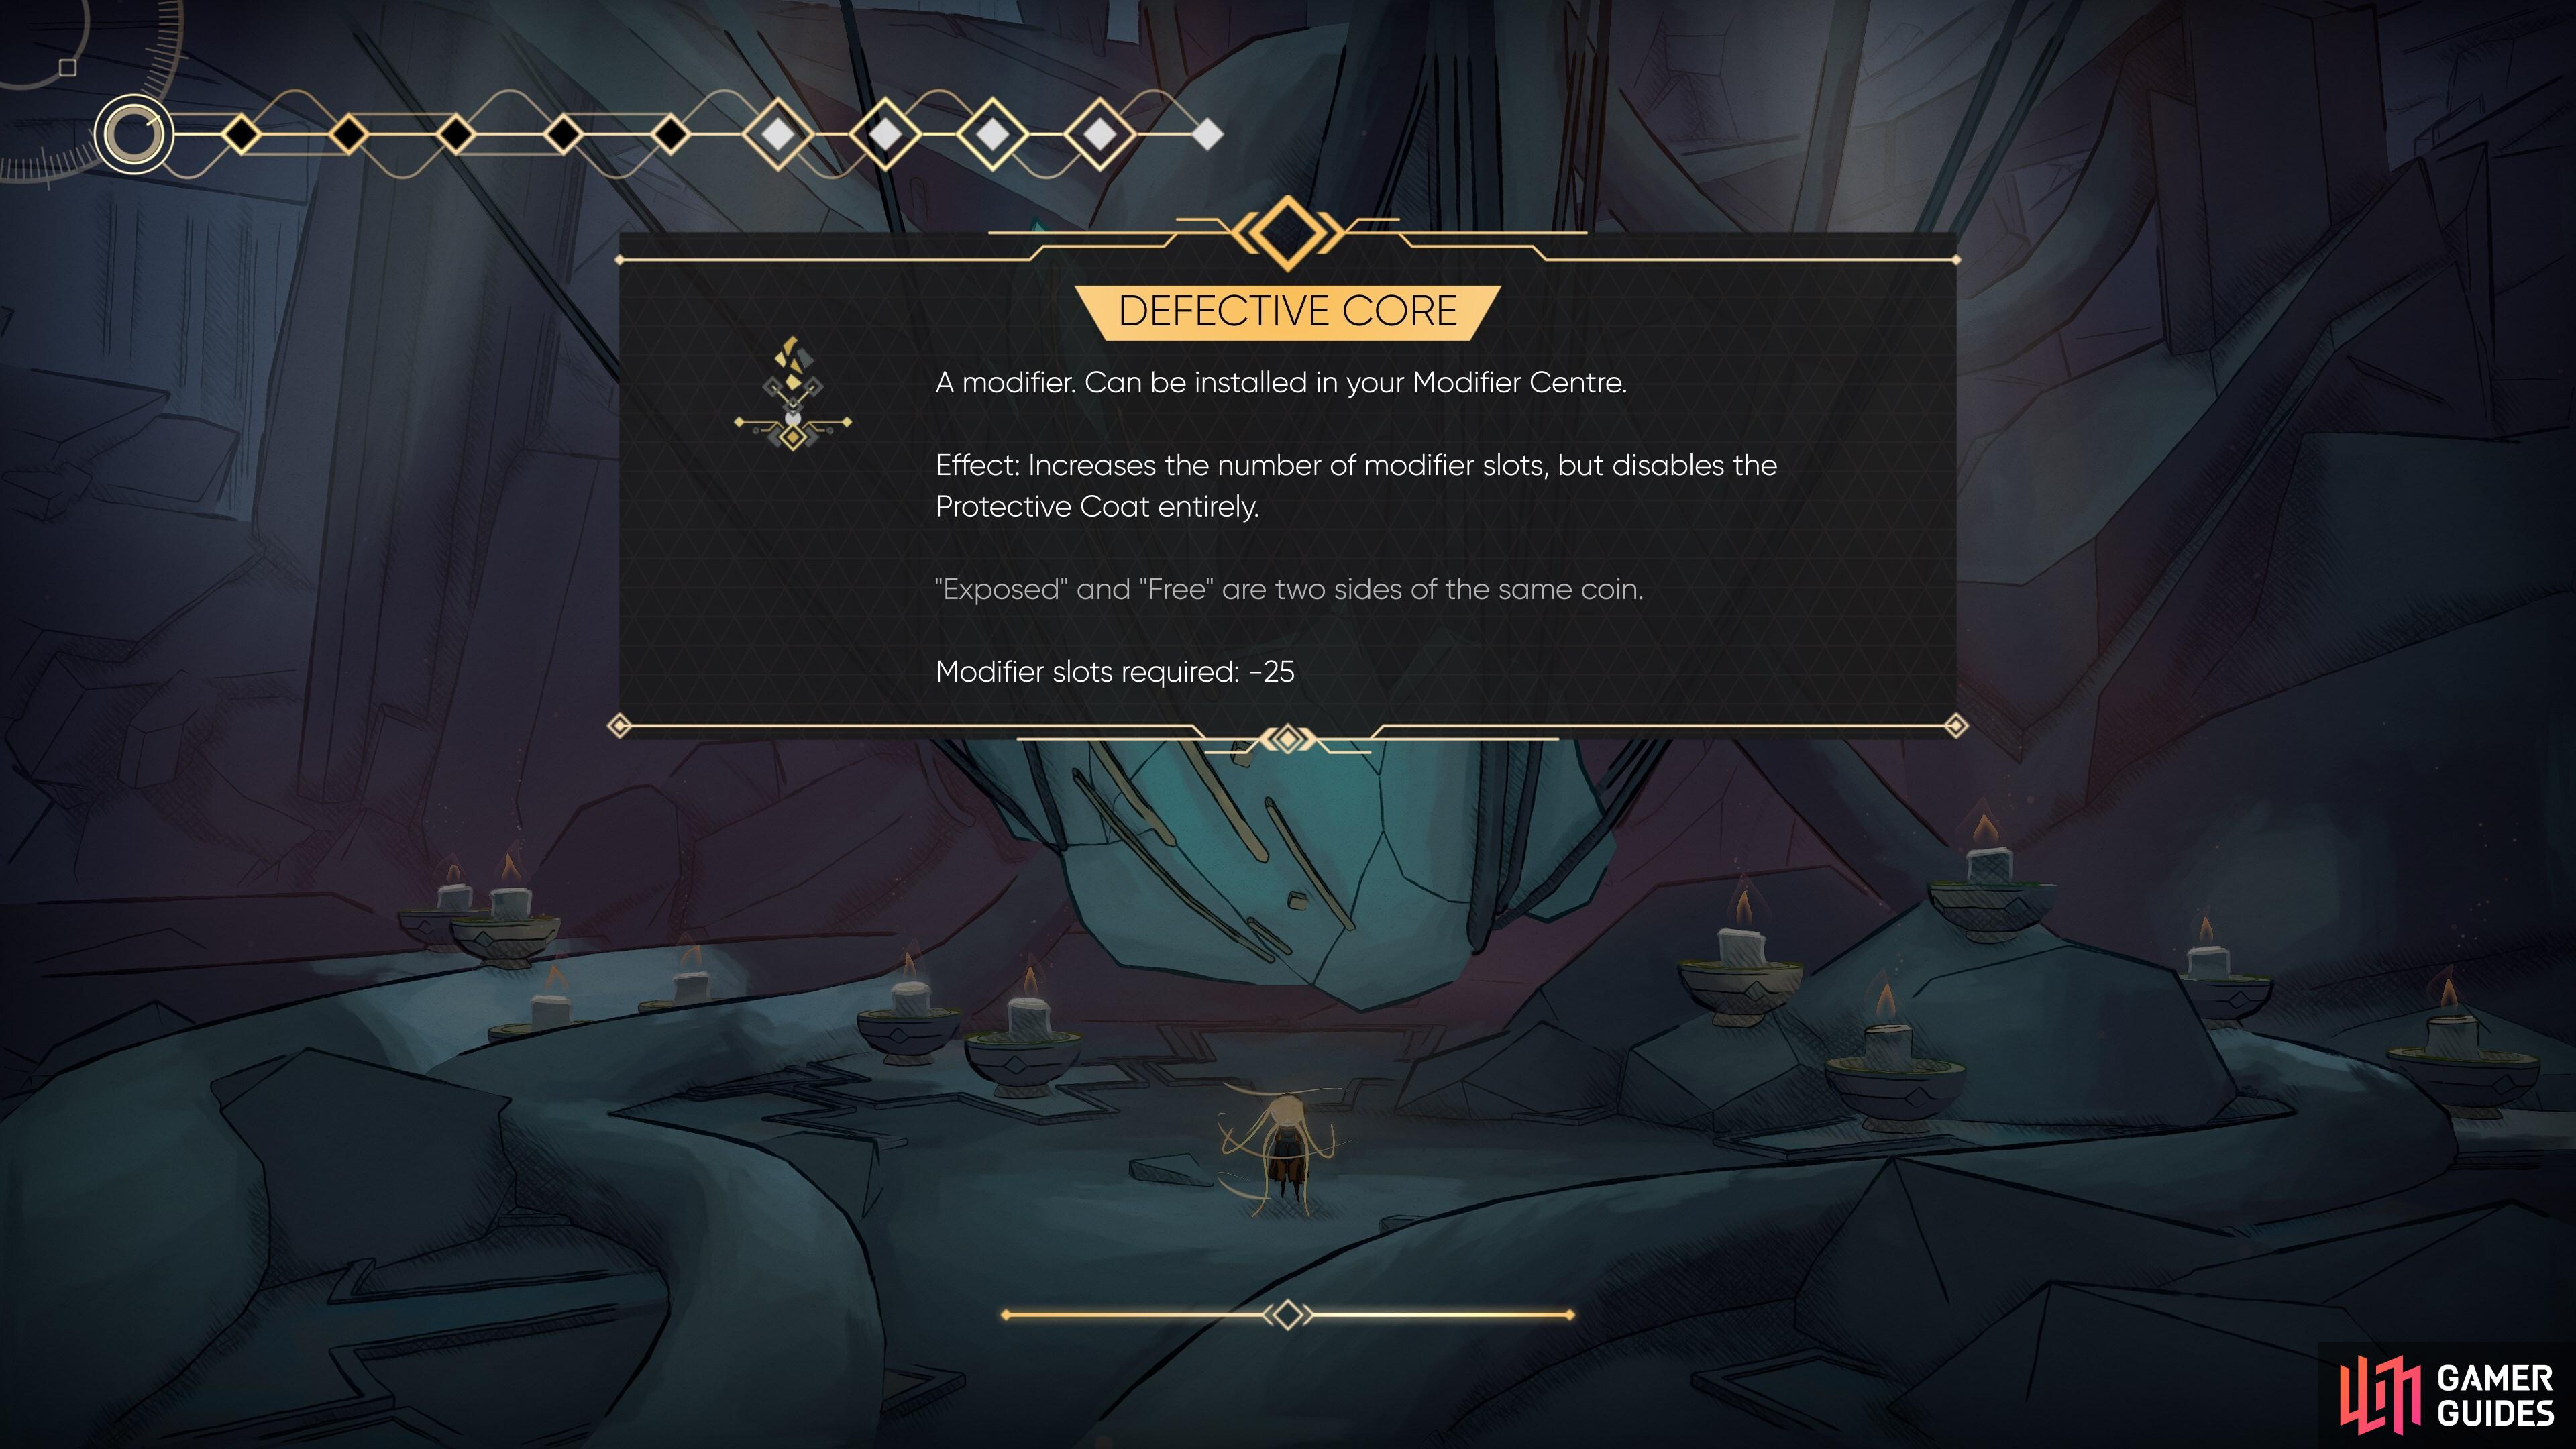
Defective Core
View on mapFind all twelve candles and offer them to the Shard of the Eye. You will receive this mod as a reward.
You can use it to gain entry to The Pit.
-
30
-
31
-
32
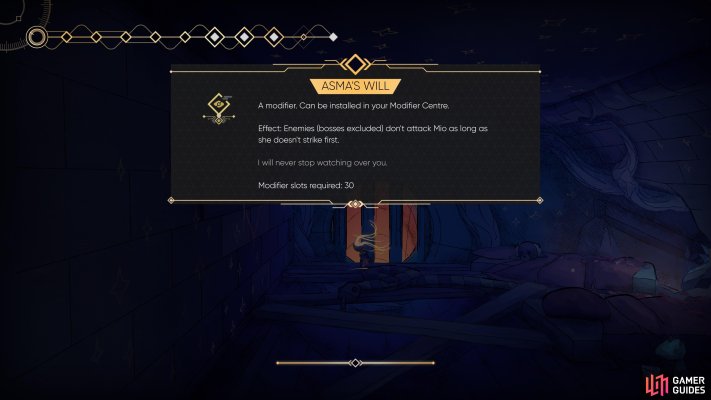
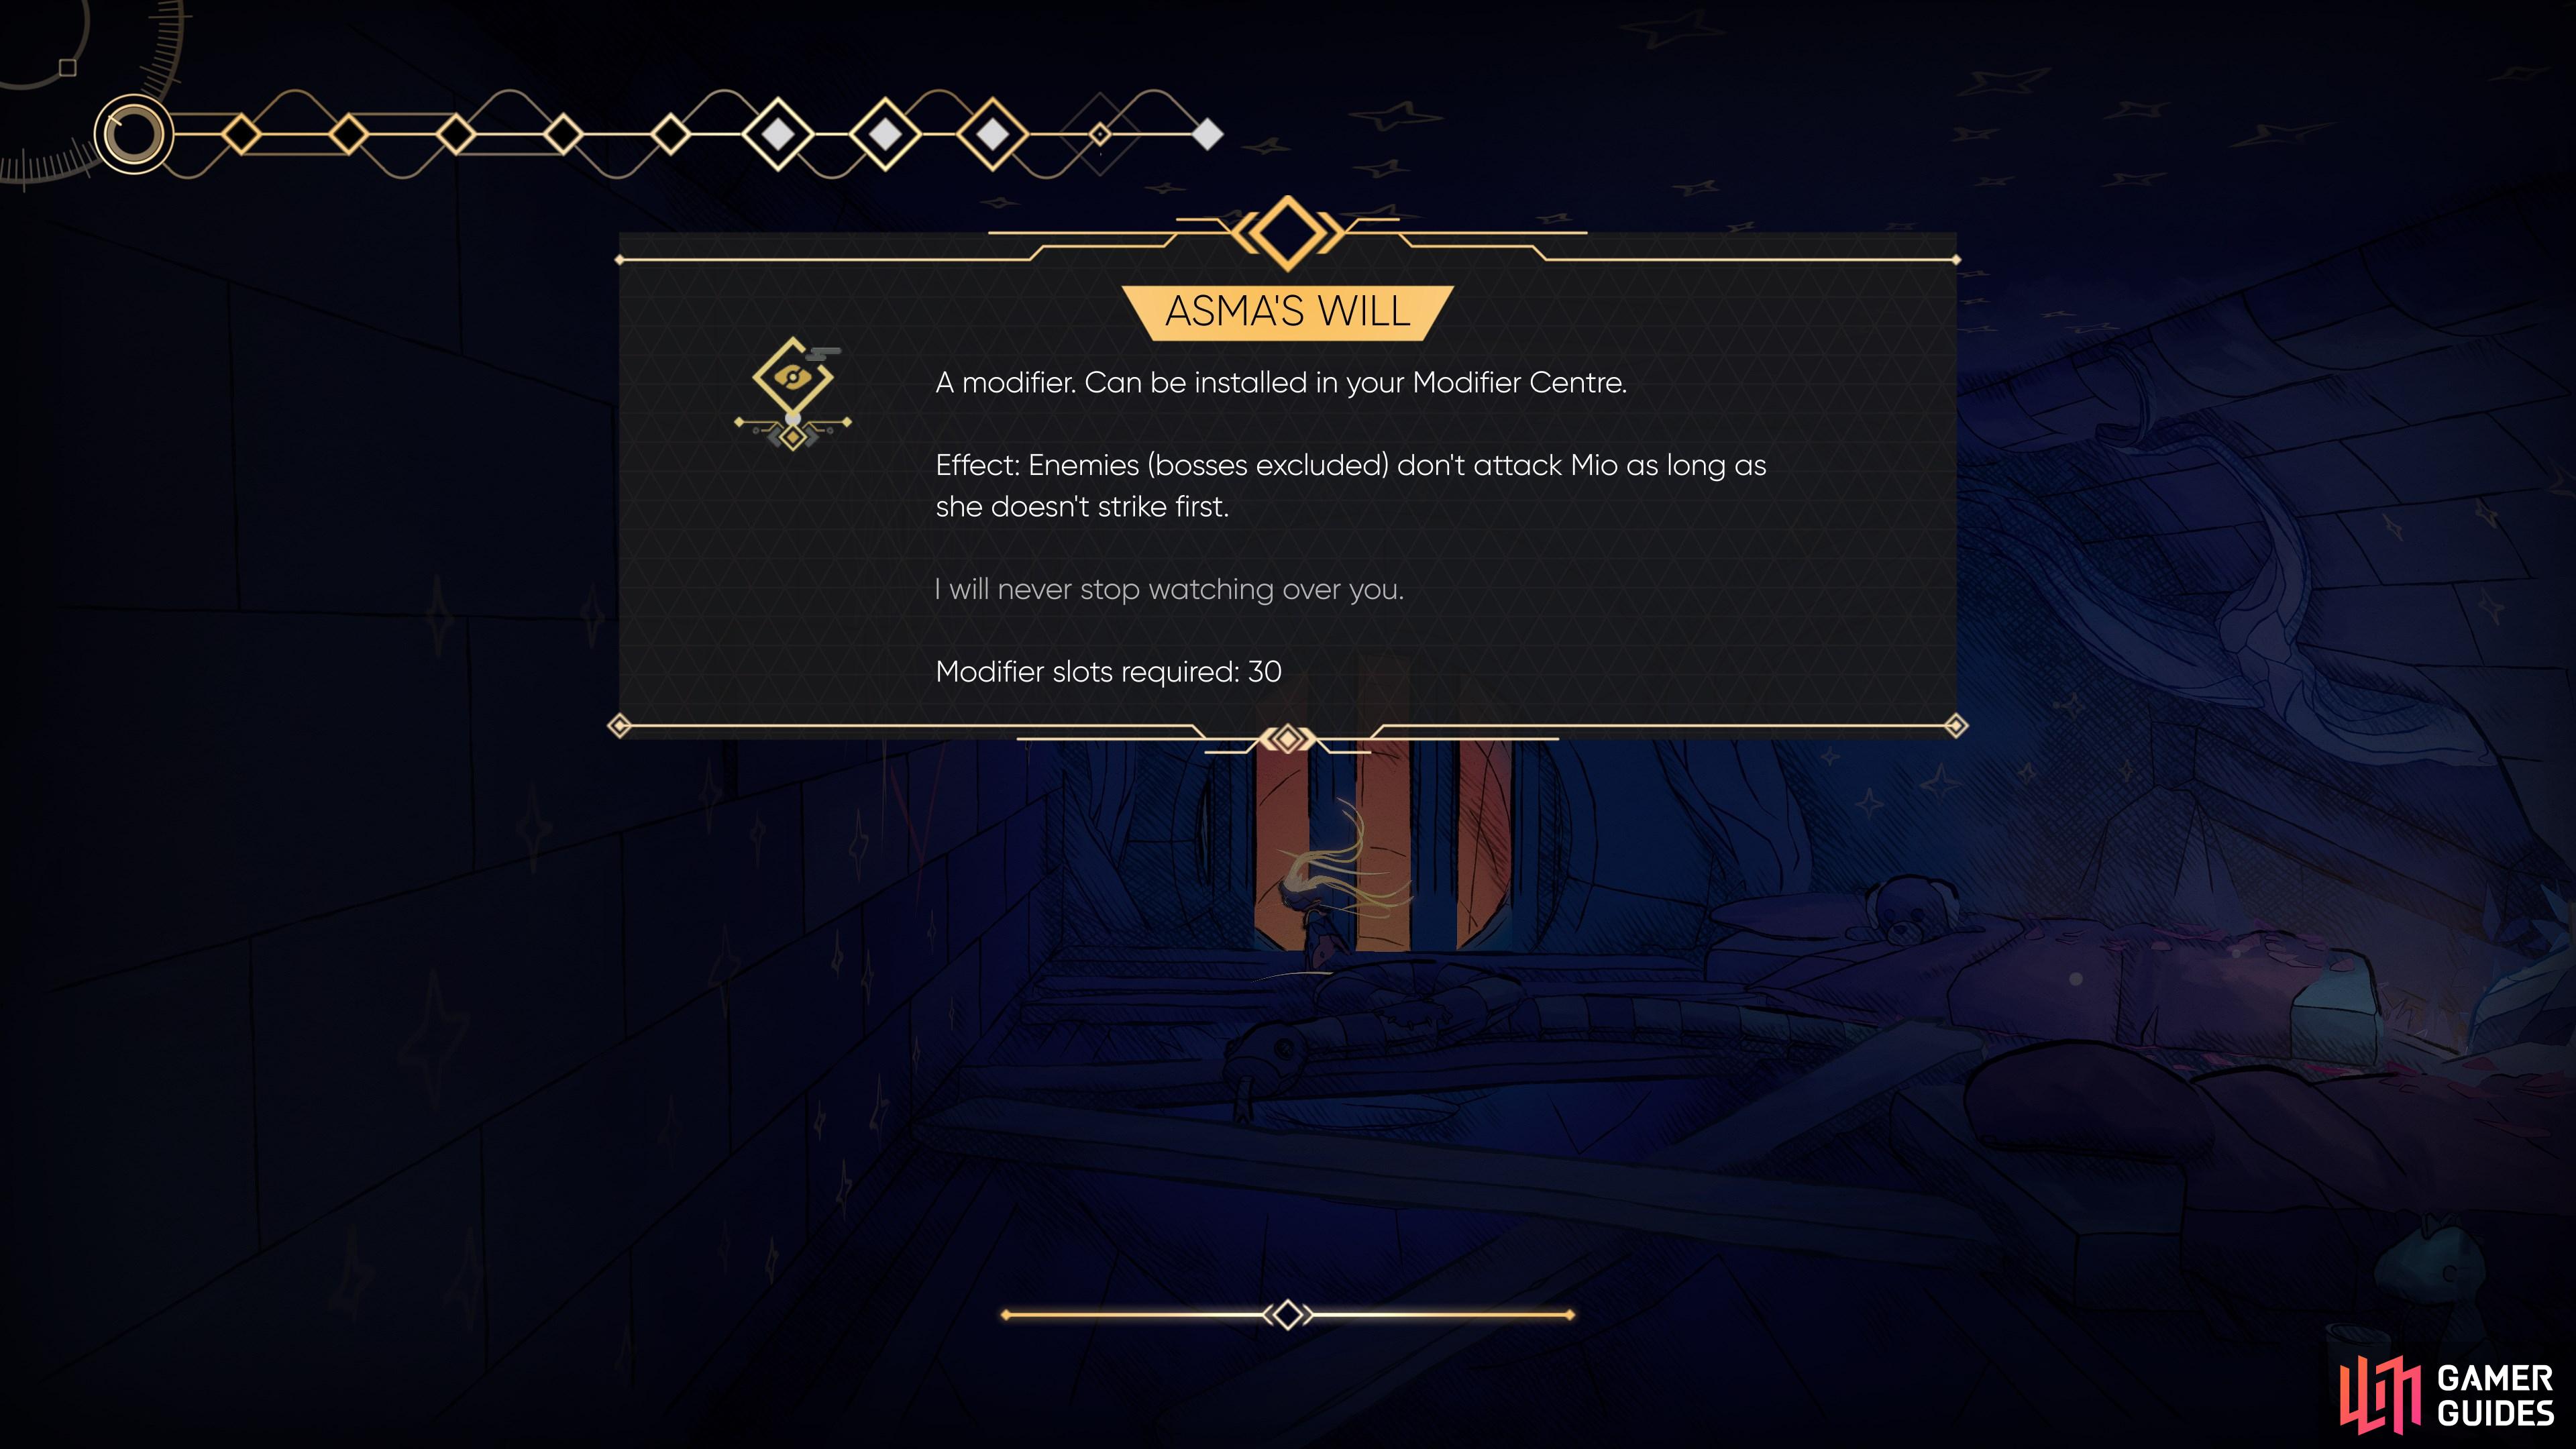
Asma's Will
View on mapClimb through the blue flowers on the underside of the platform beneath the exit to reach a hidden room. You’ll find the mod inside.
-
33
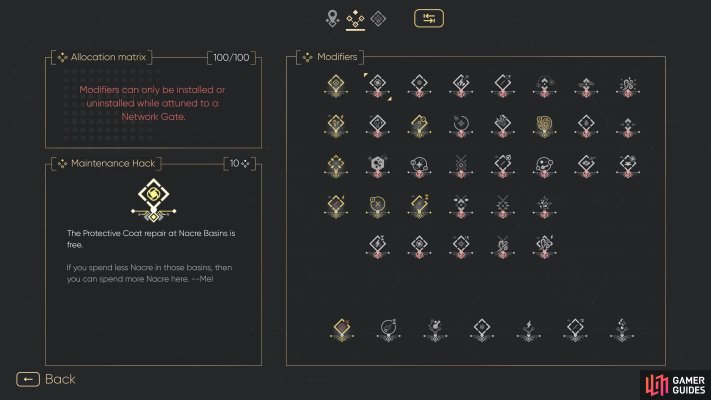
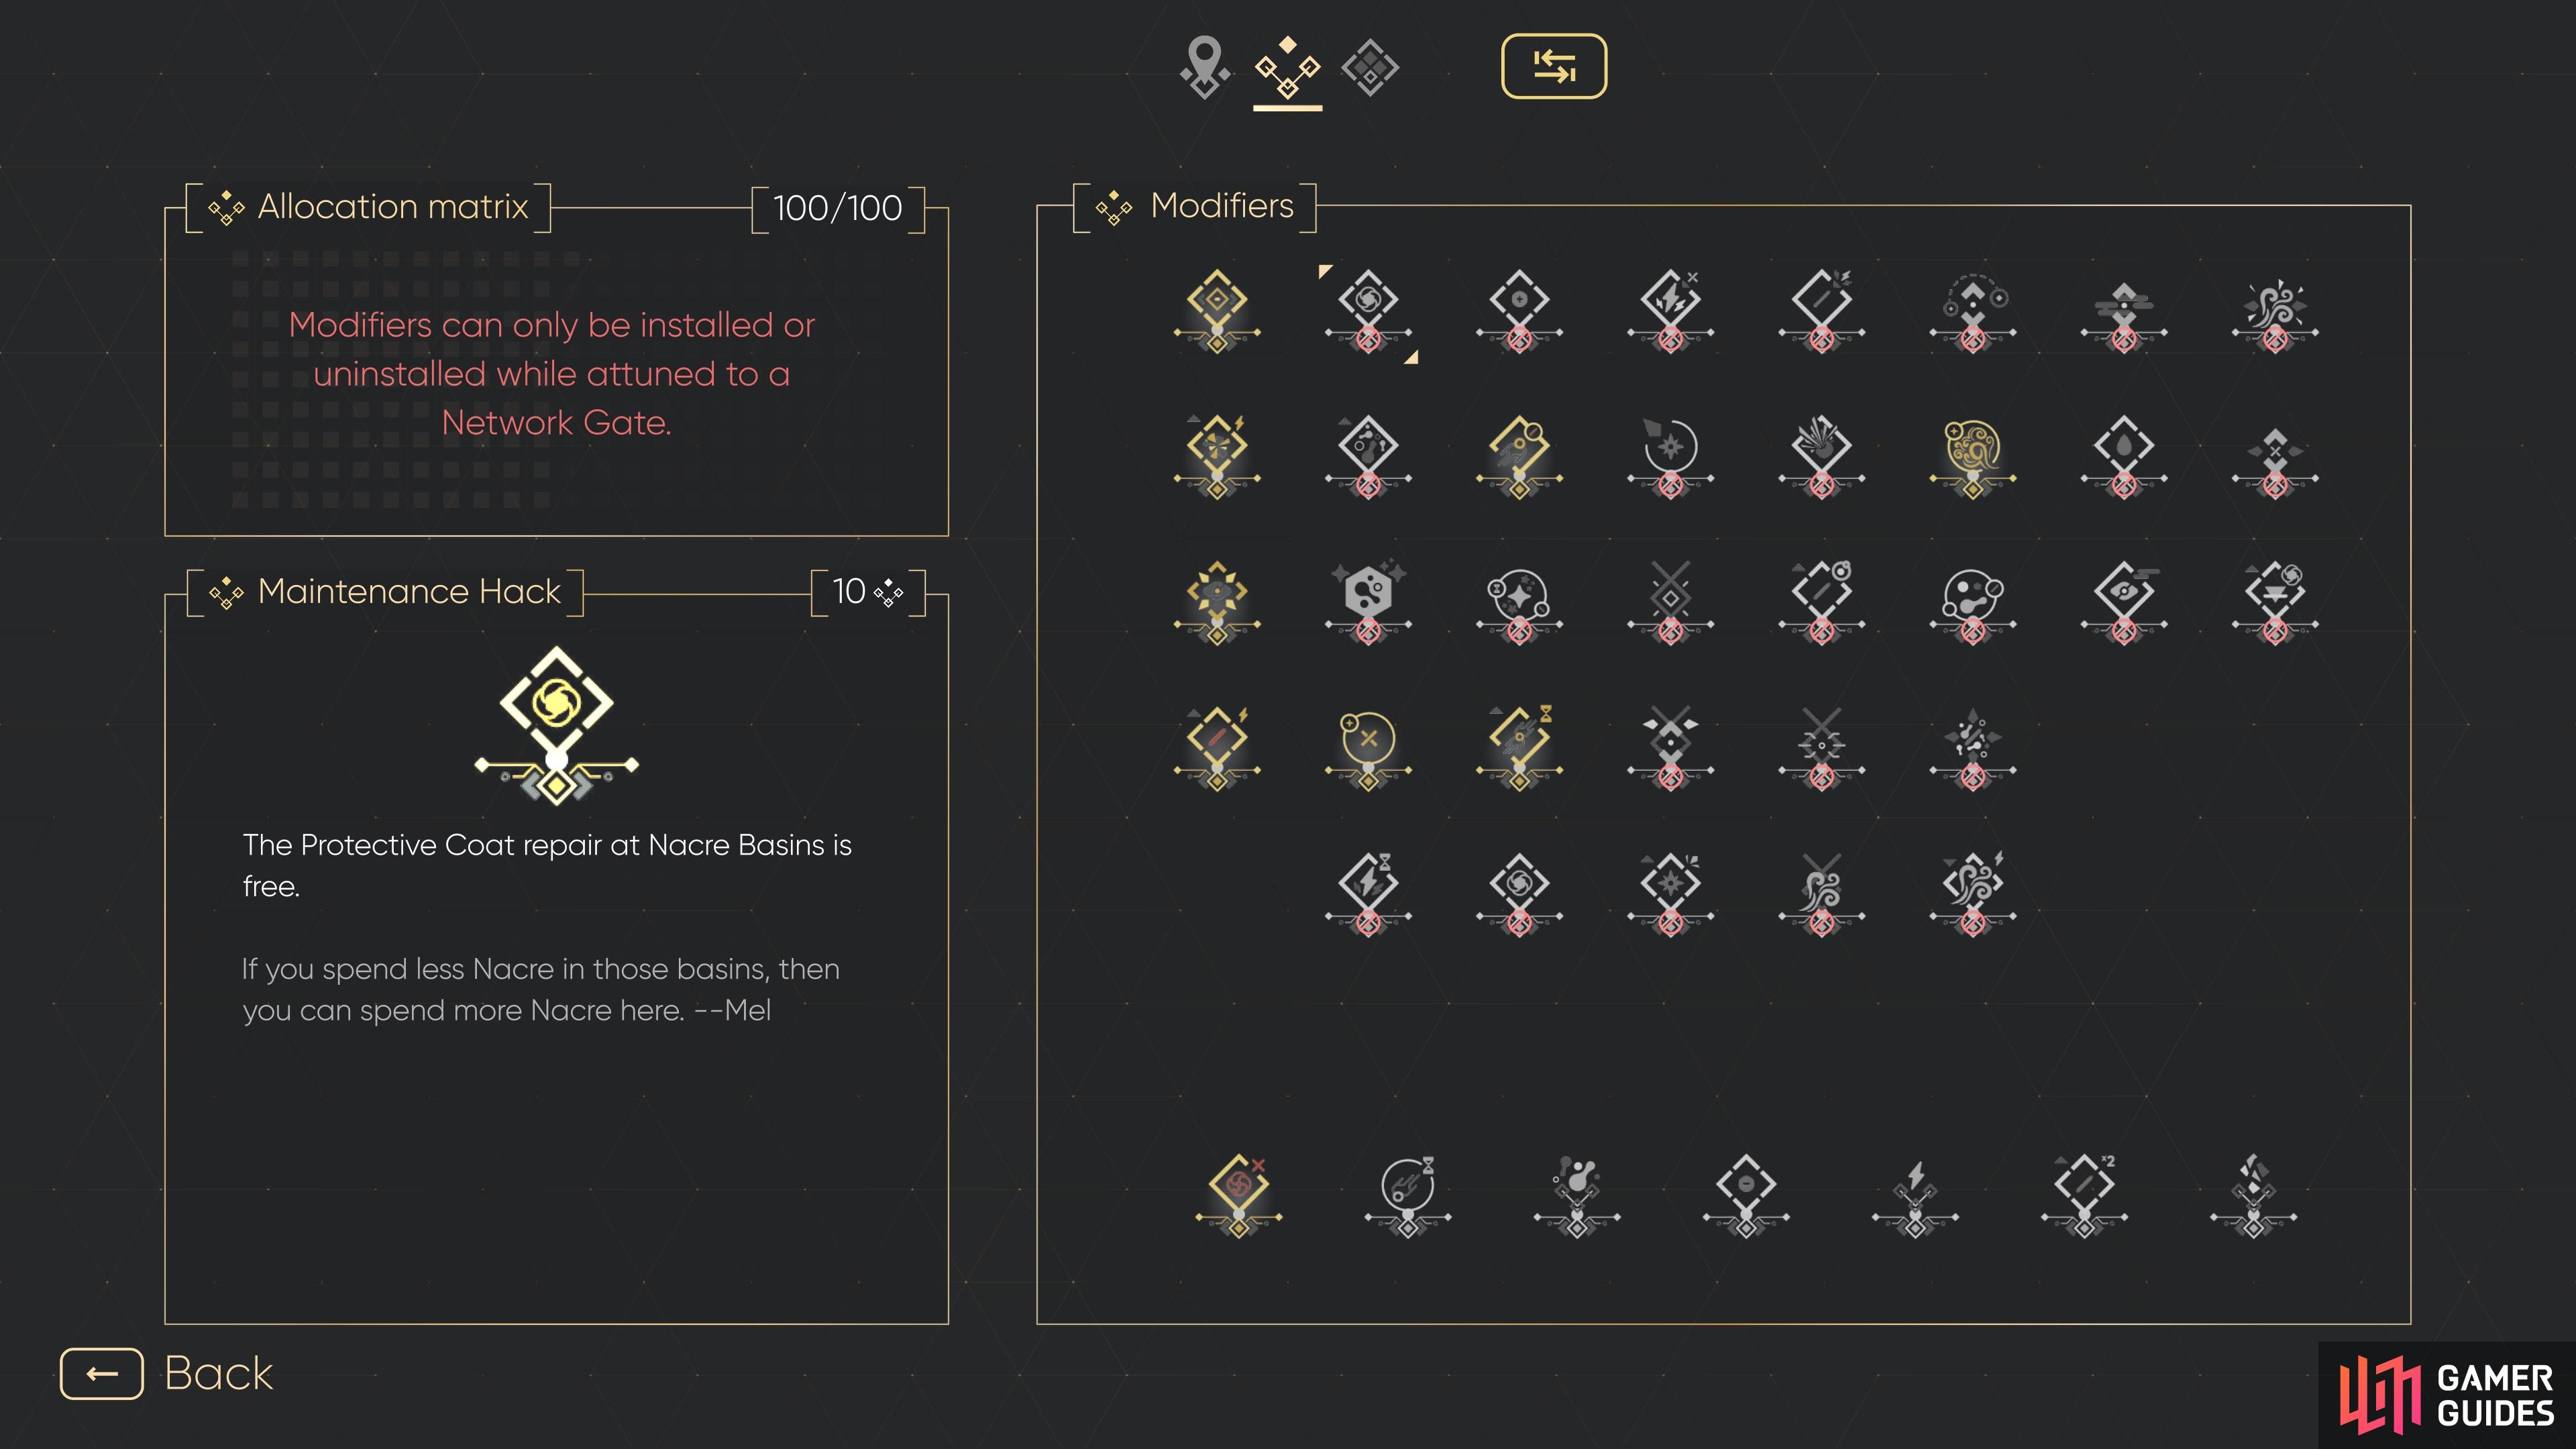
Maintenance Hack
View on mapPurchase from Mel’s Workshop. You can view Mel’s entire inventory here.
-
34
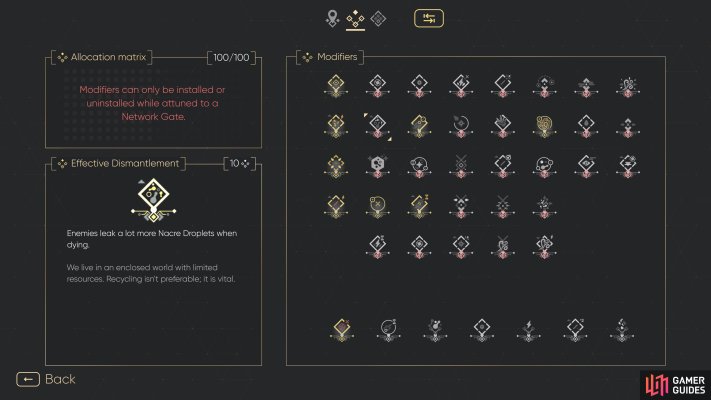
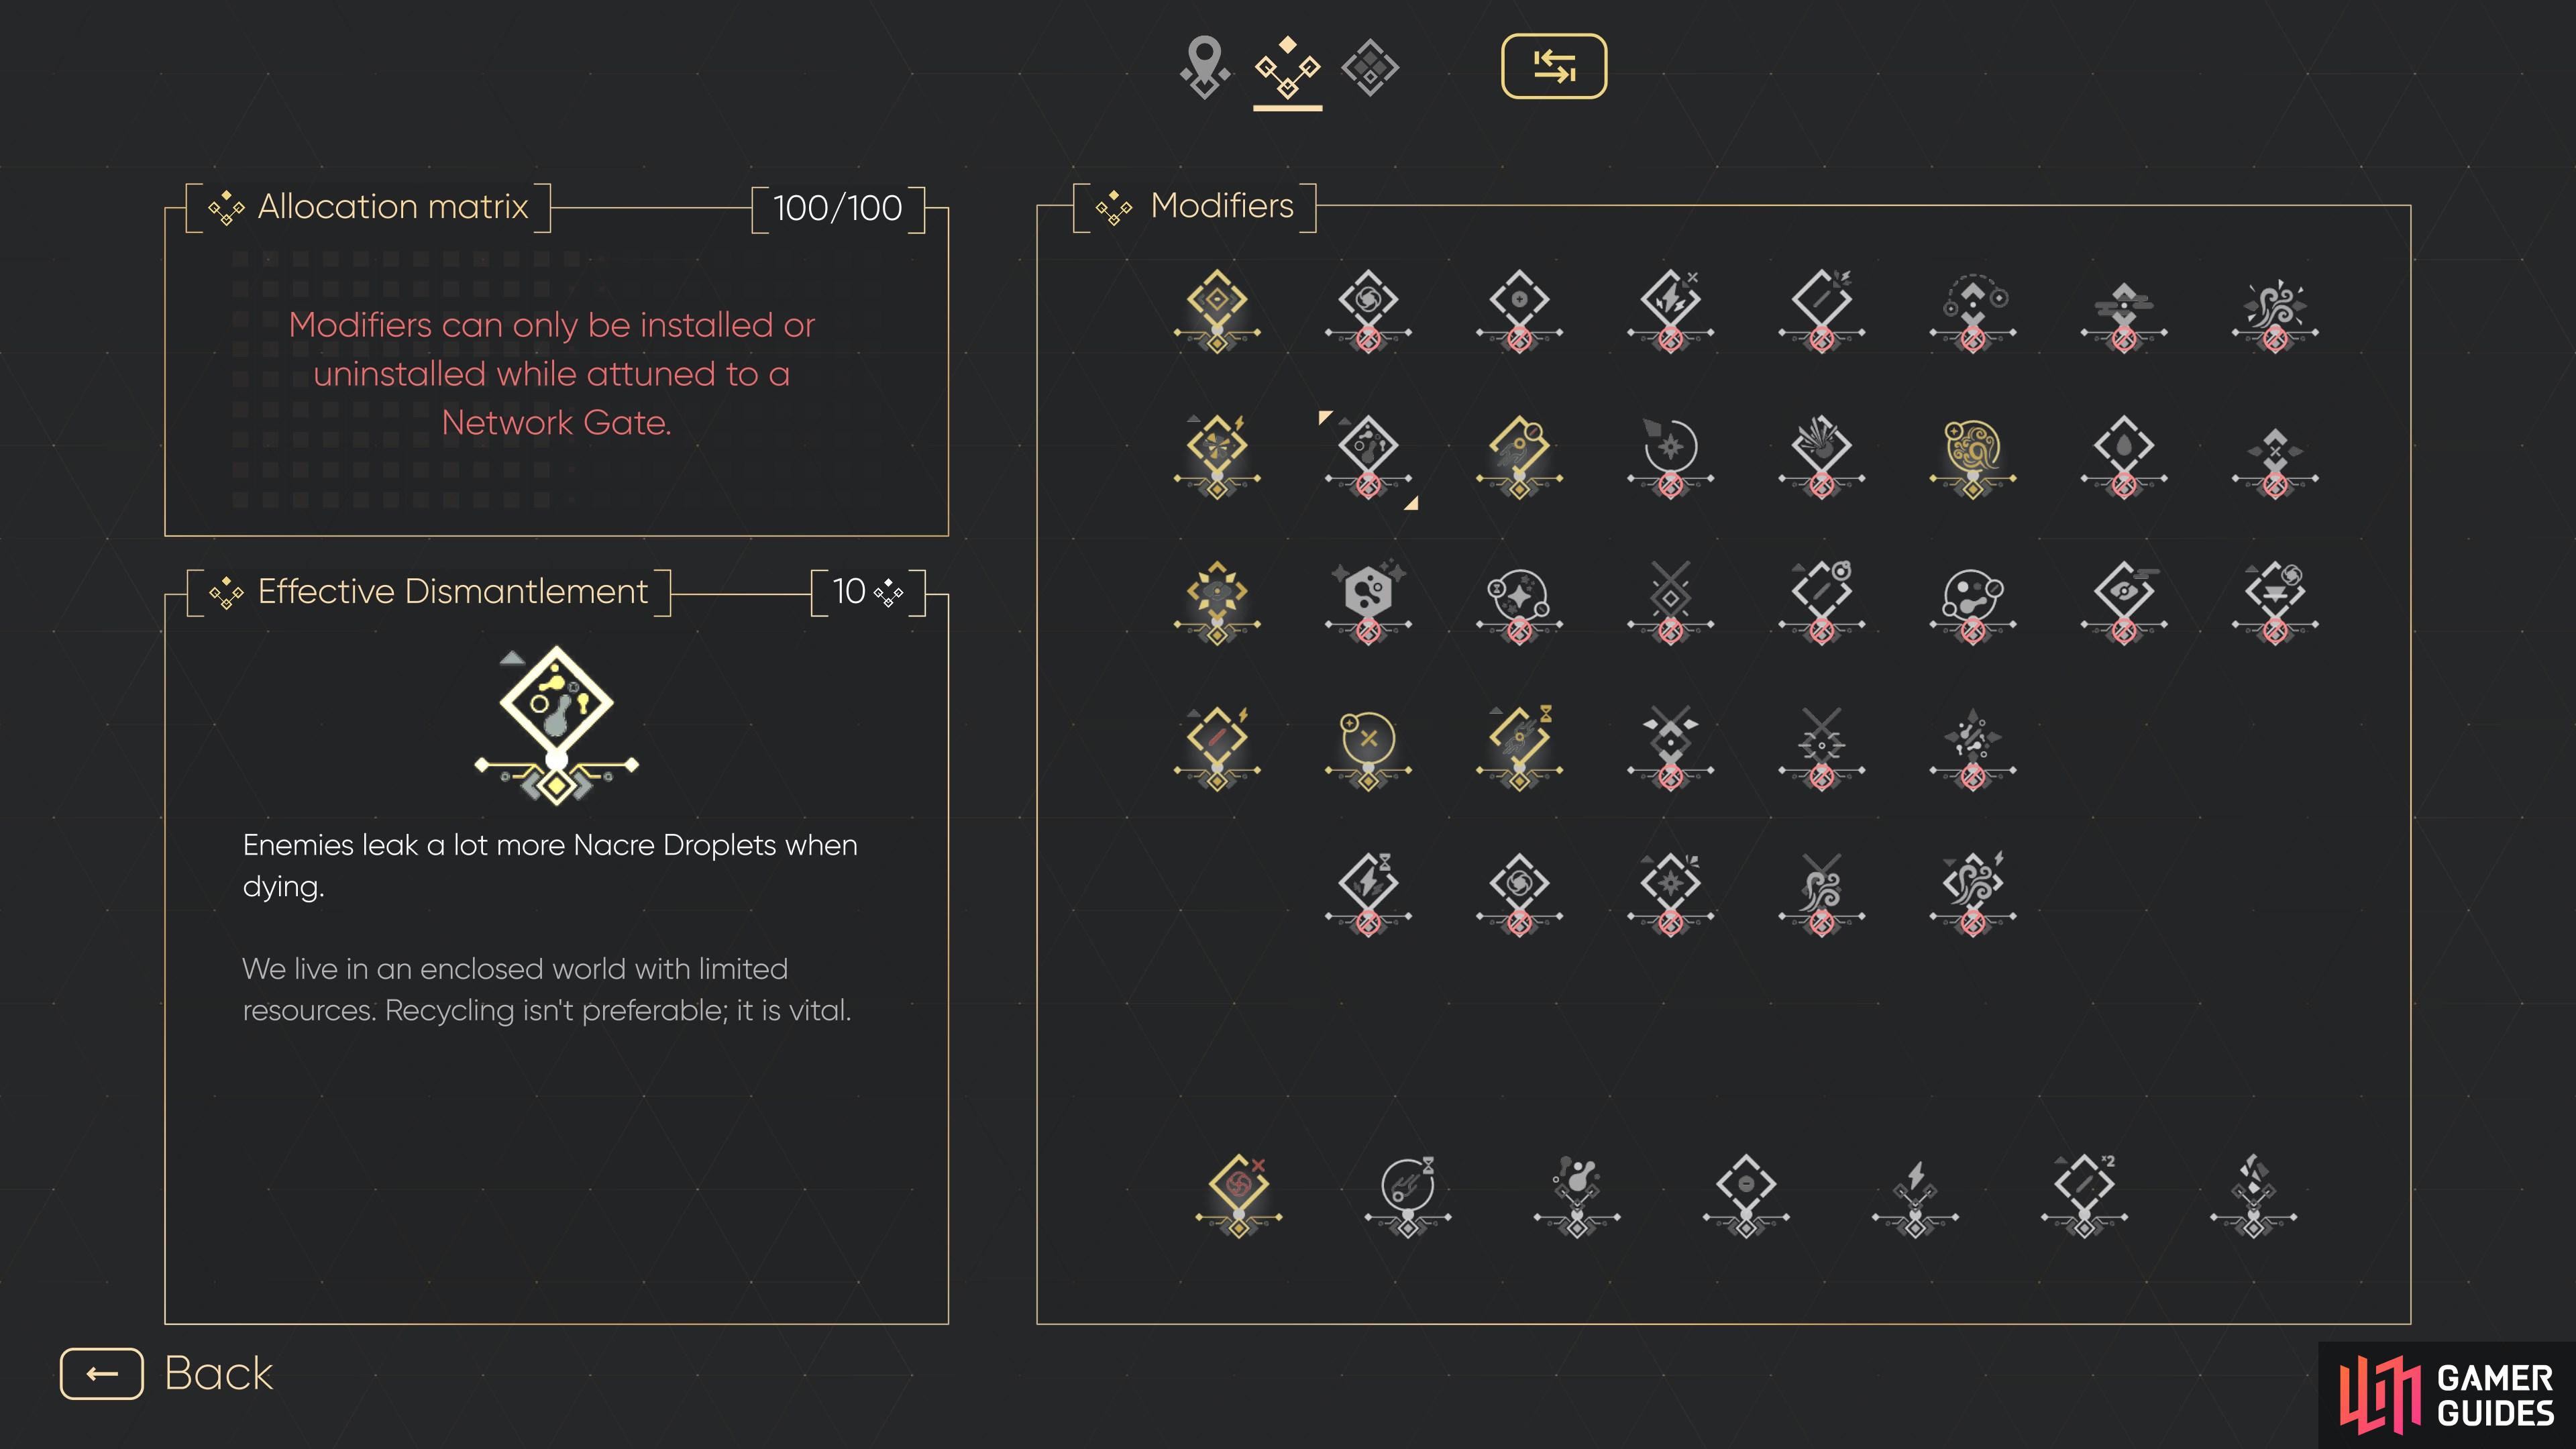
Effective Dismantlement
View on mapPurchase from Mel’s Workshop. You can view Mel’s entire inventory here.
-
35
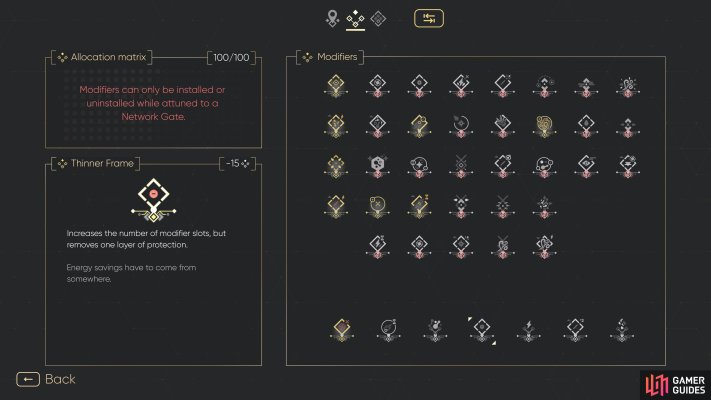
-
36
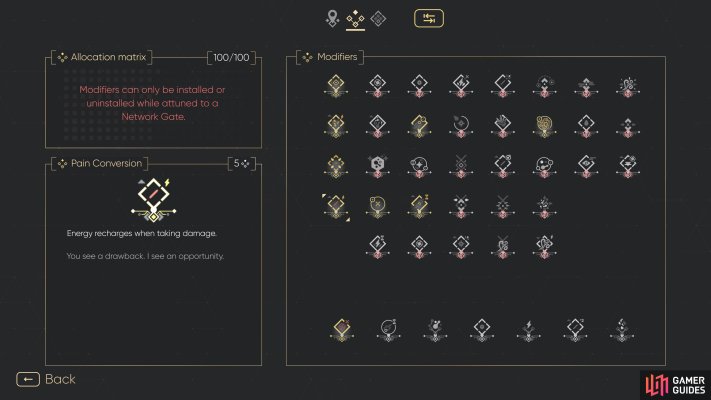
-
37
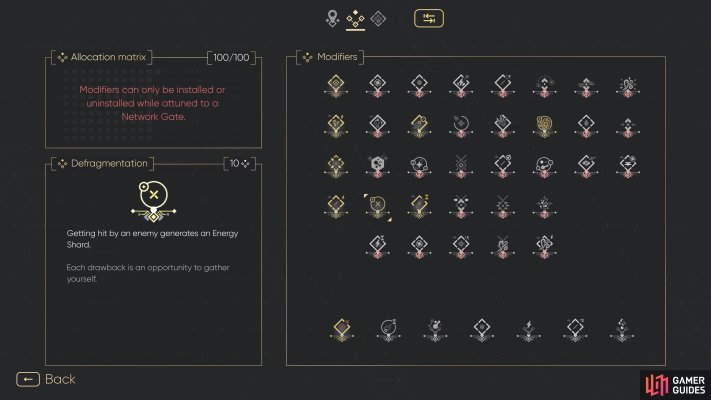
-
38
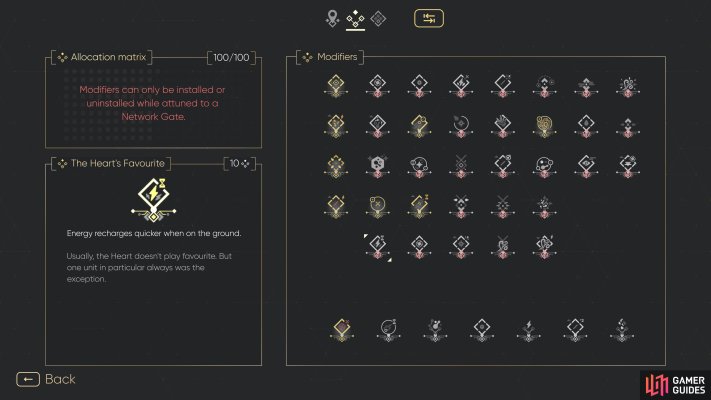
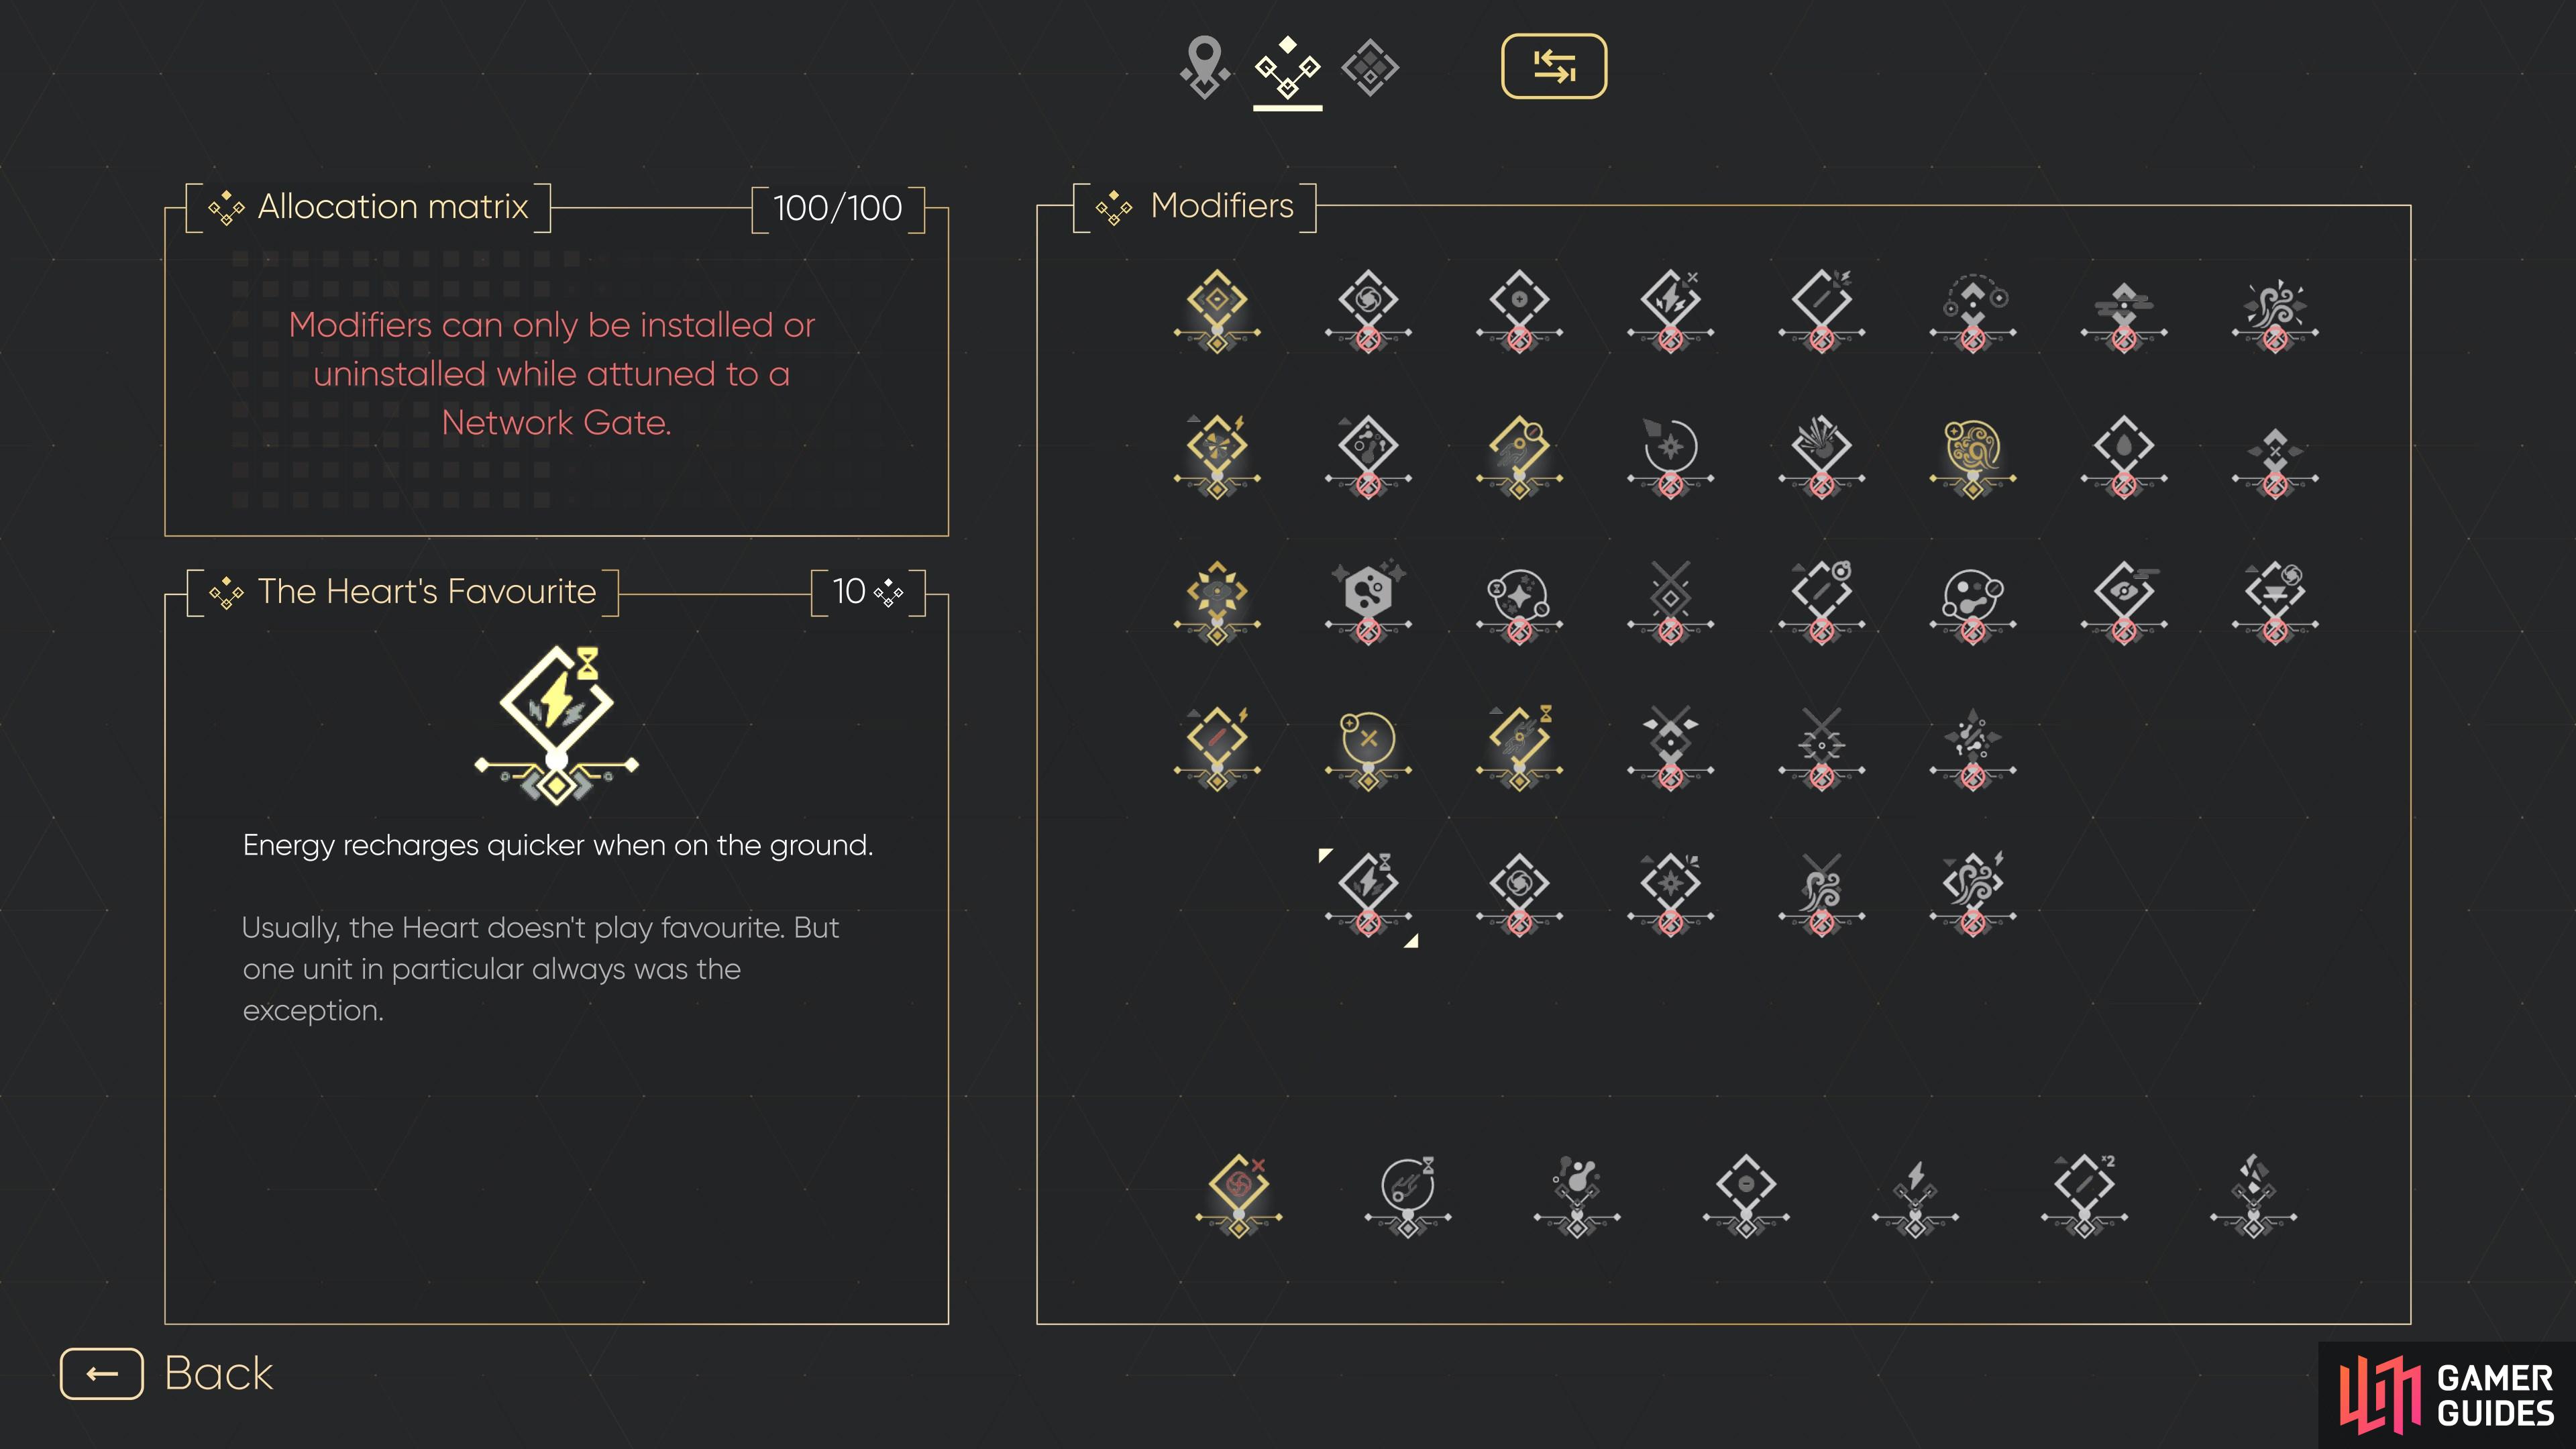
The Heart's Favourite
View on mapPurchase from Mel’s Workshop. You can view Mel’s entire inventory here.
-
39
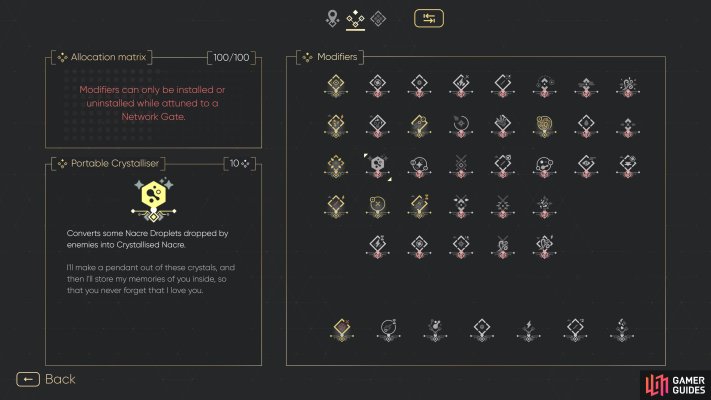
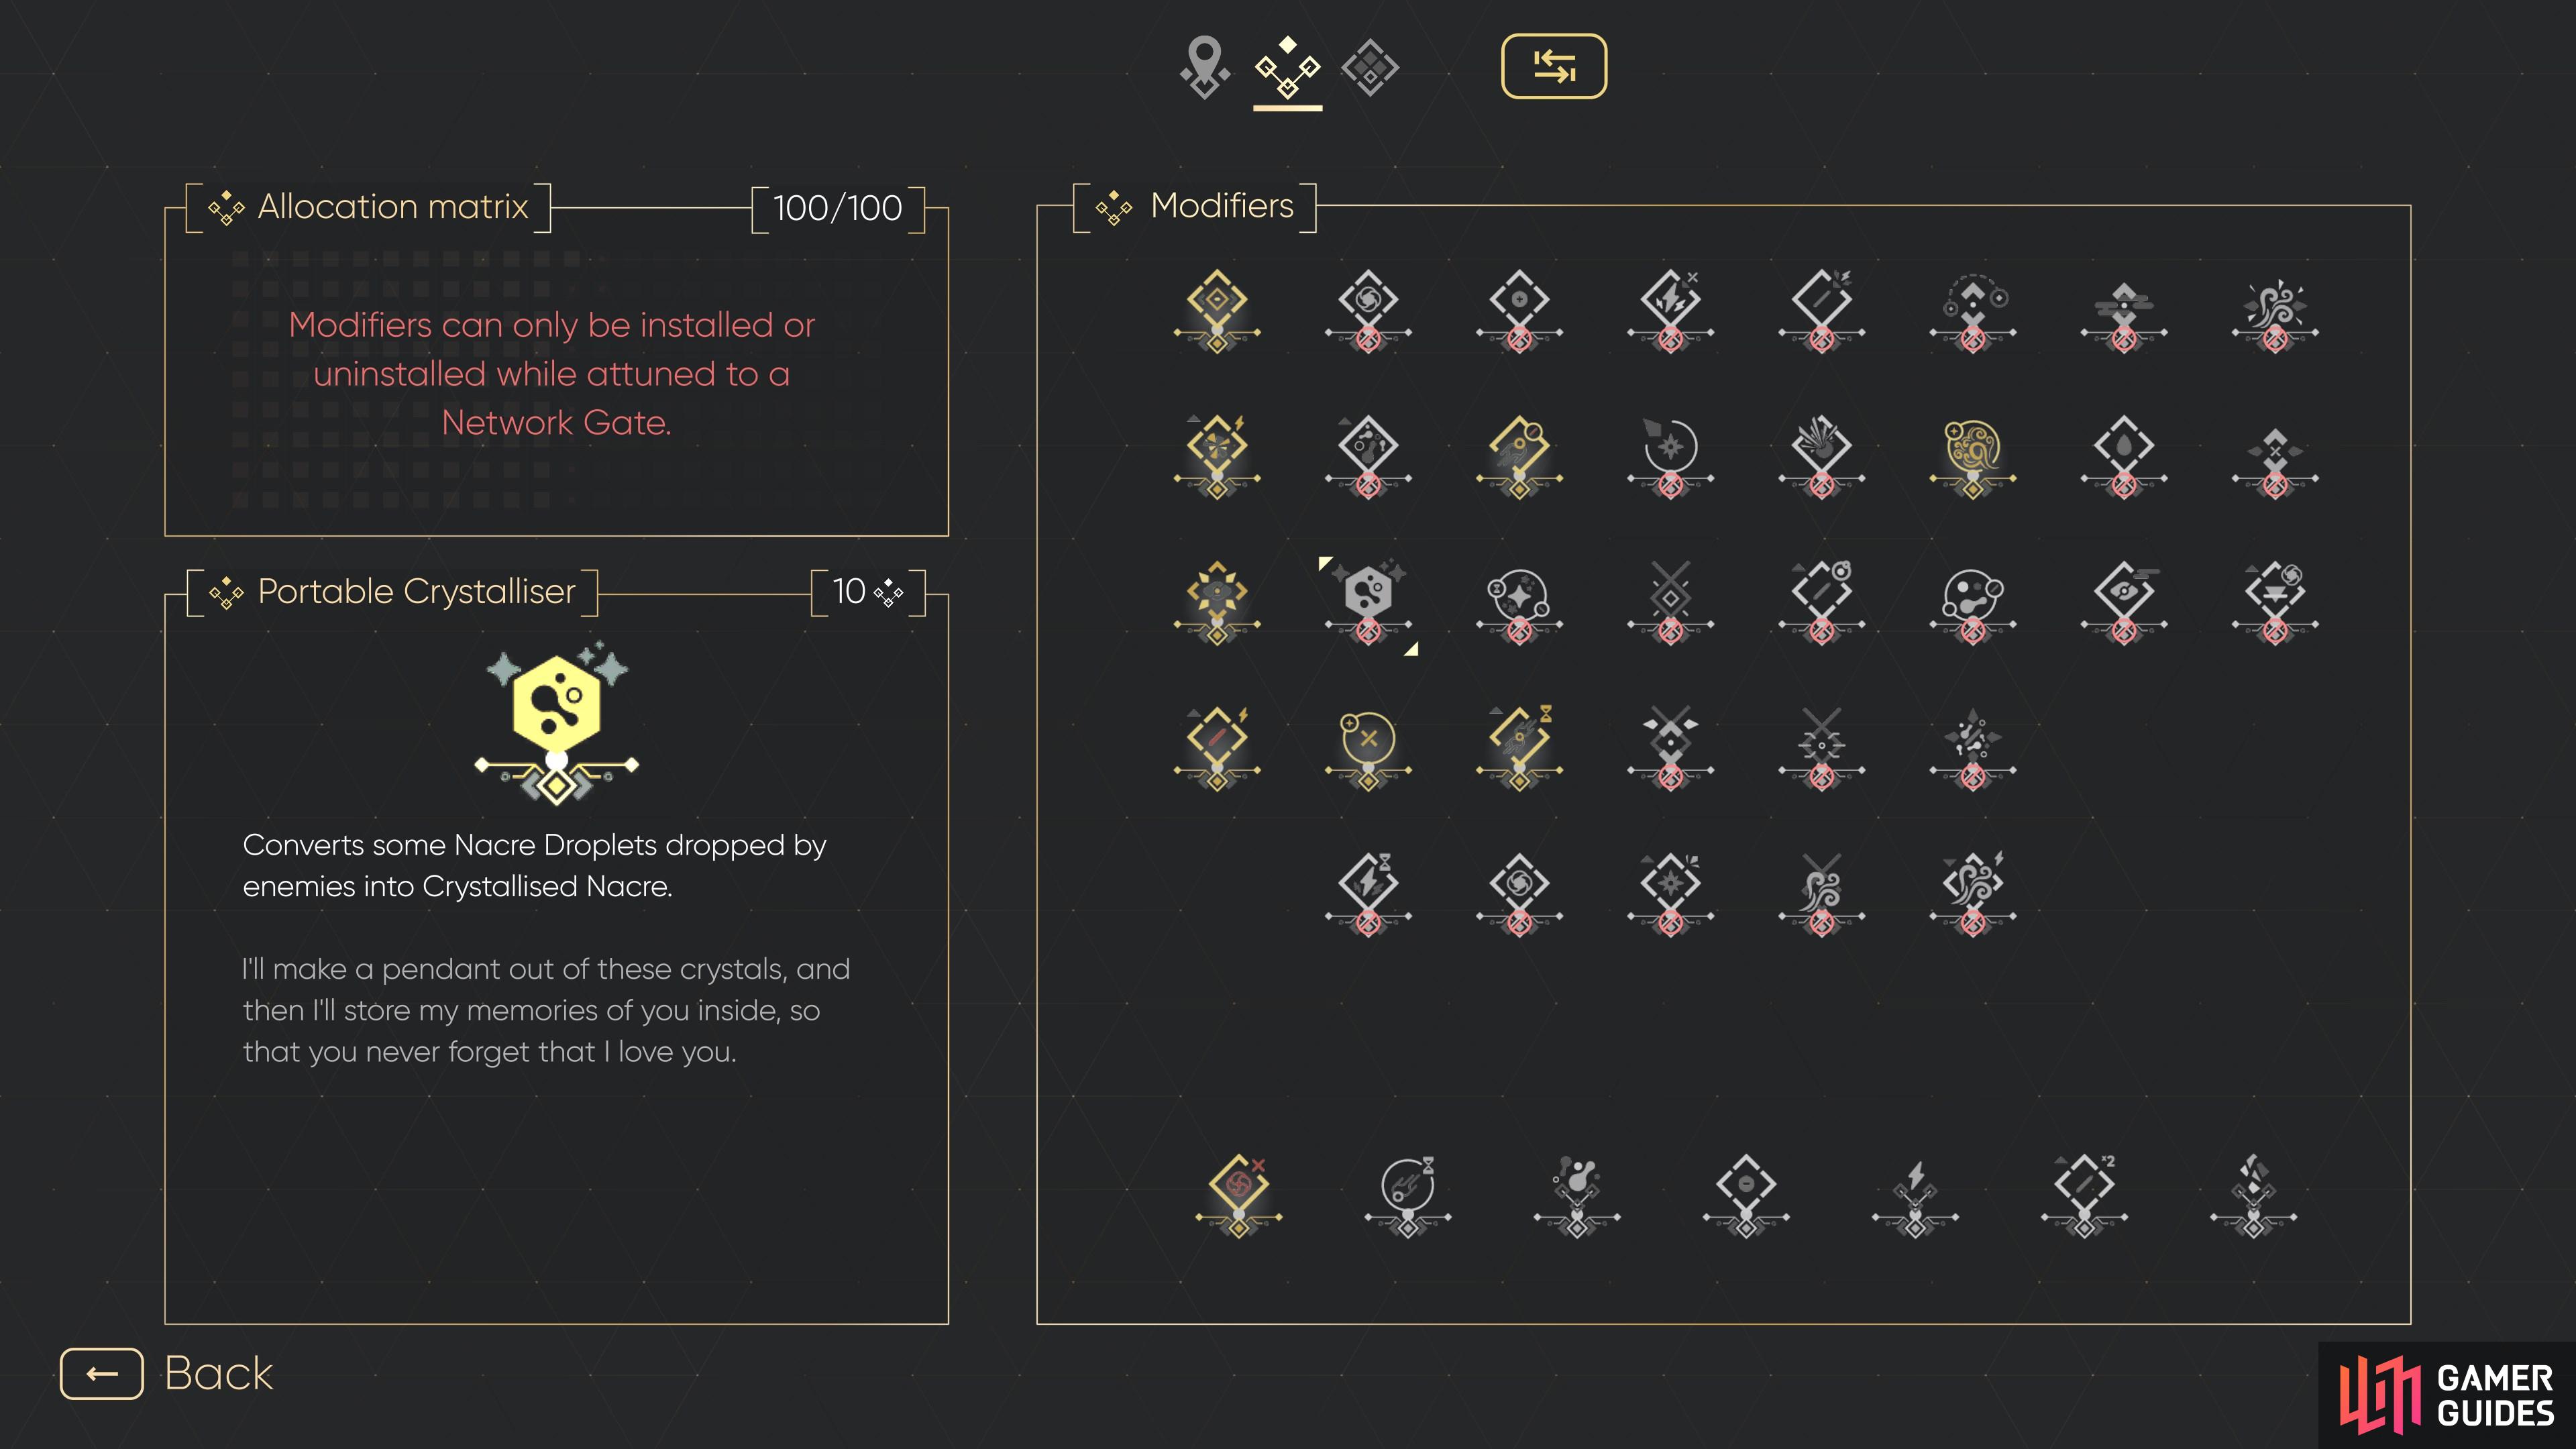
Portable Crystalliser
View on mapPurchase from Mel’s Workshop. You can view Mel’s entire inventory here.
-
40
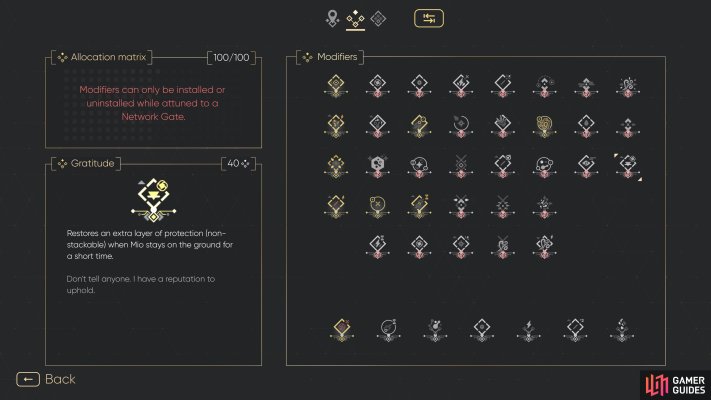
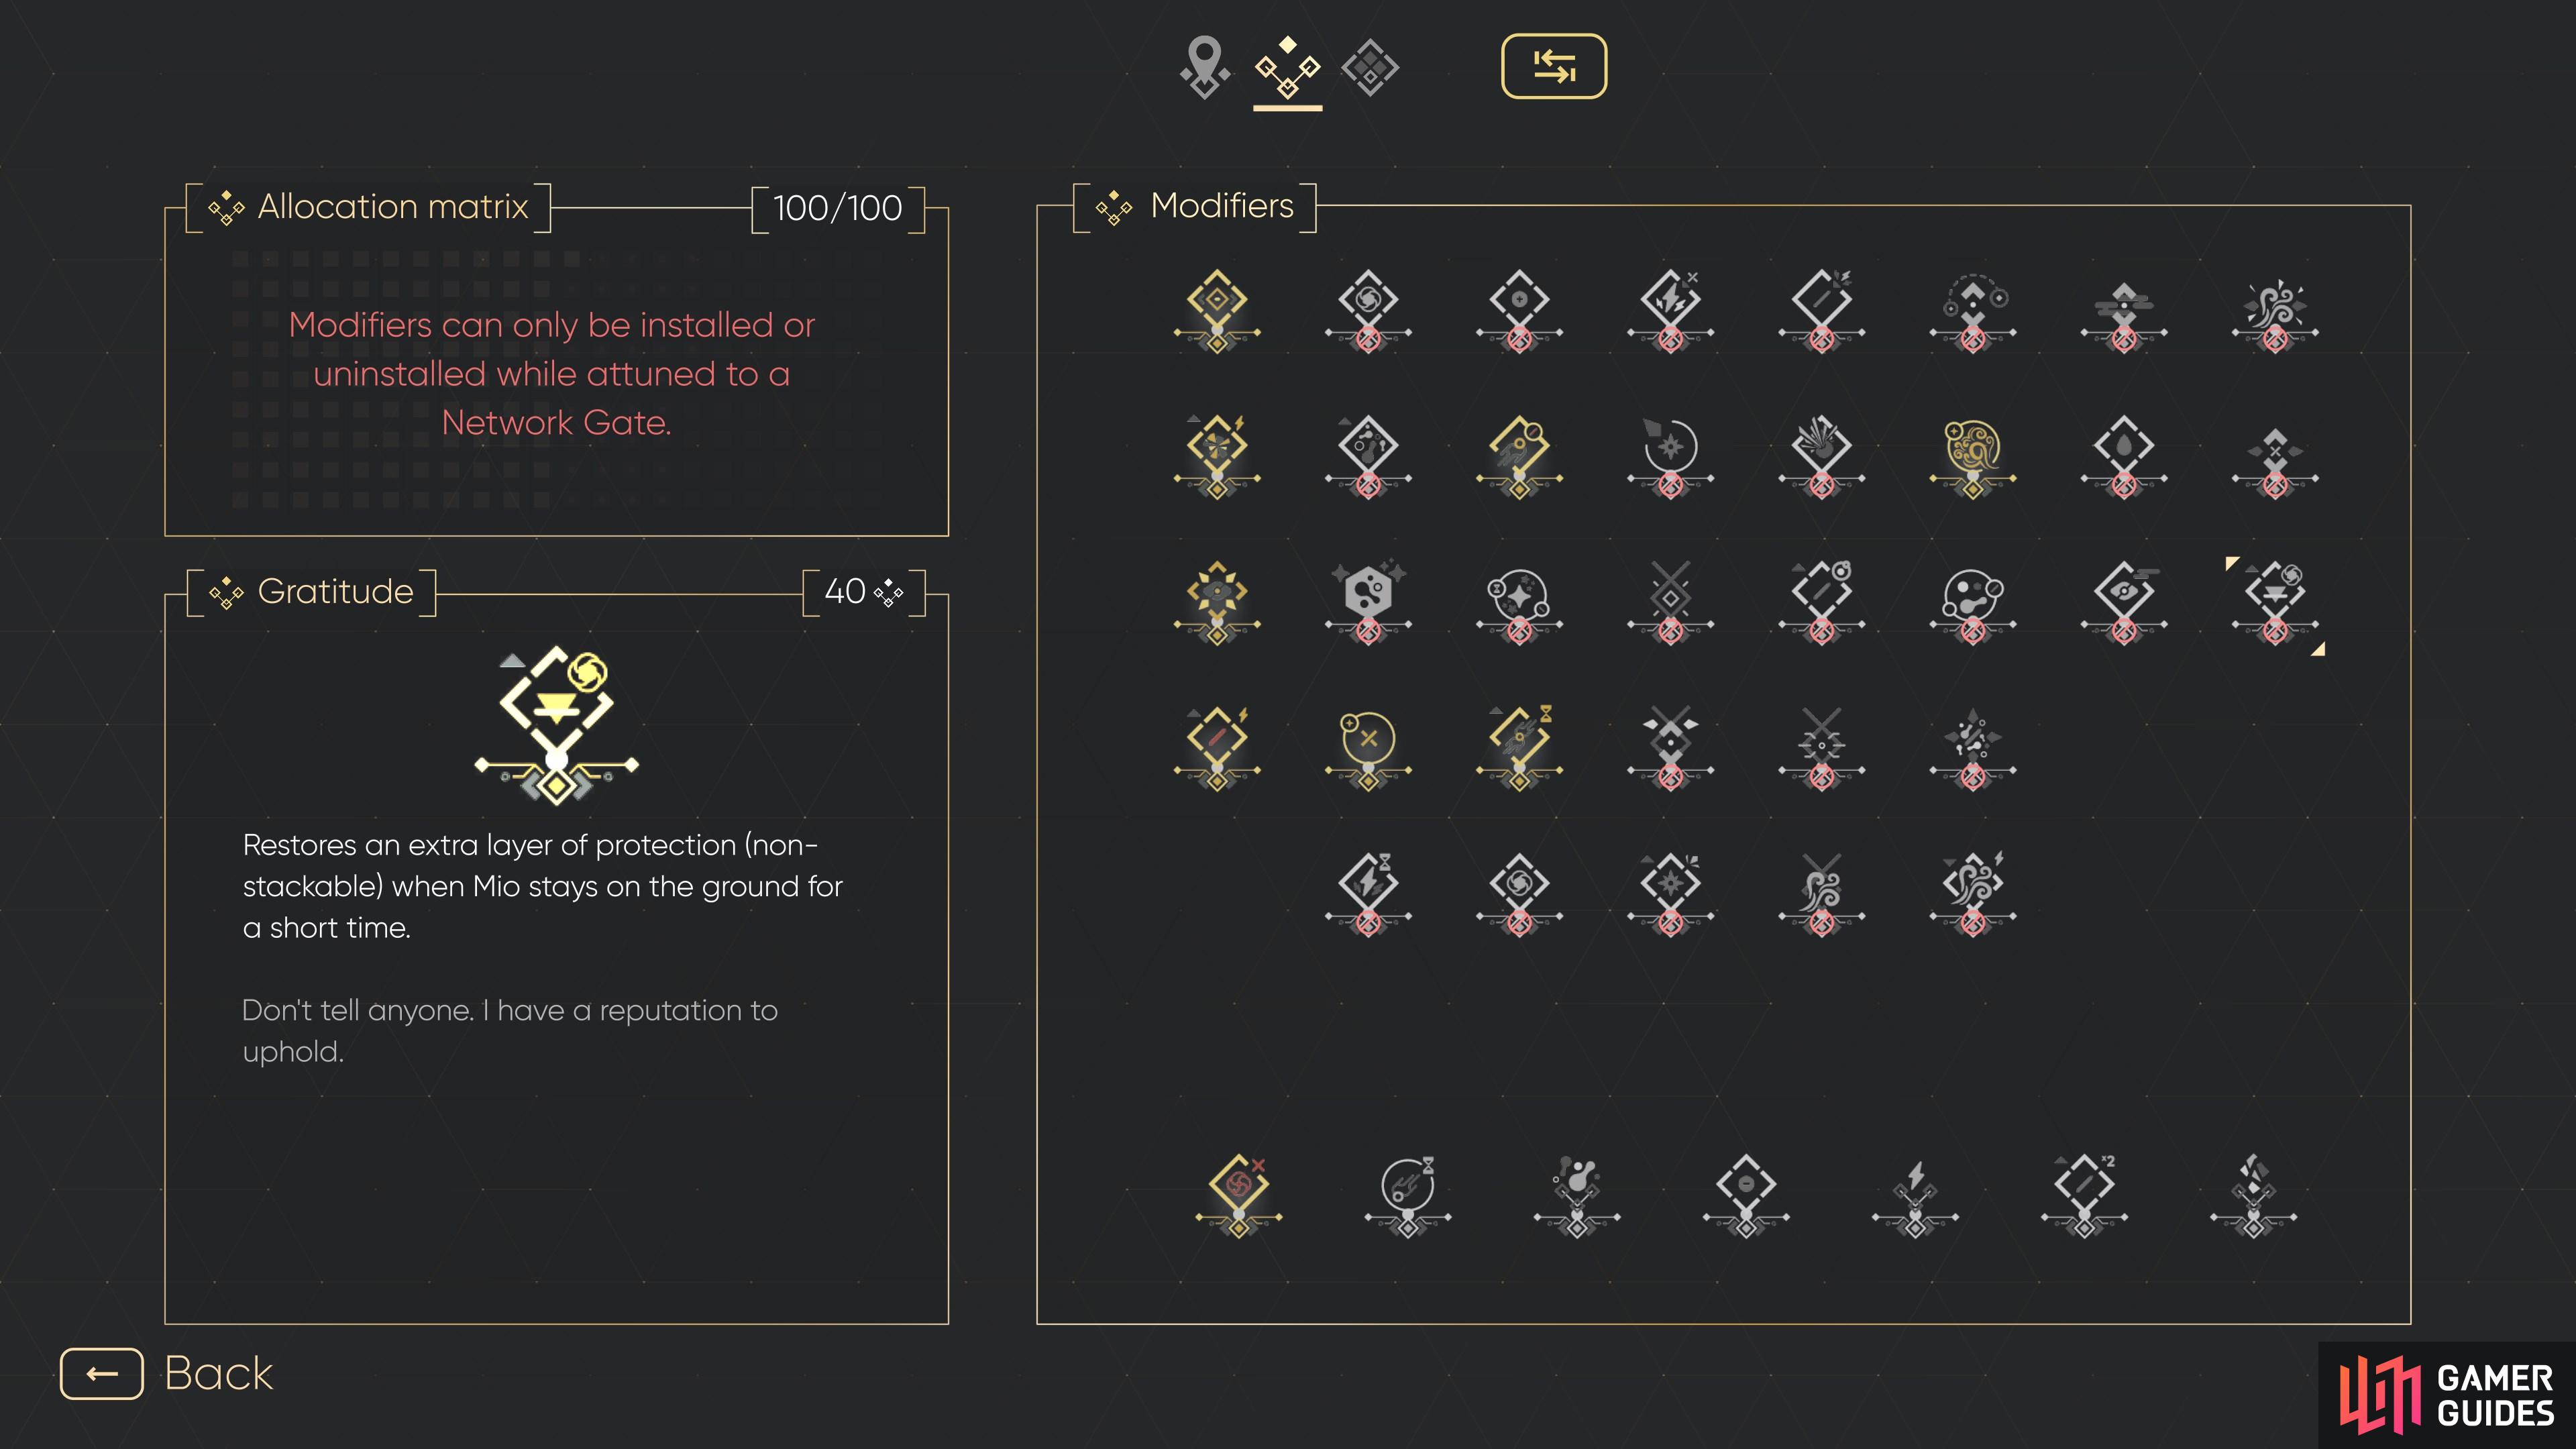
Gratitude
View on mapPurchase from Mel’s Workshop after rescuing her from the Lab. You can view Mel’s entire inventory here.
No locations match this filter.