This chapter will begin with Noctis sailing to  Galdin Quay, but things don’t look as lively as they once were. Since your destination is
  Hammerhead and you don’t have any means of transportation, just start running. Not long into your quest, some
  Goblins will run onto the dock and start attacking, so take them out and then more daemons will spawn near where the inn was located. Tonberries will be included in this attack, who like to trigger your blocking prompt very, very often, so the quickest way to kill them is with parries.
Continue to the north-east where you’ll find the ruins of the  Mother of Pearl diner. If you venture into the room to the north-west you’ll find a pack of
  Skeletons, while in the room to the south-east you’ll encounter some
  Garchimaceras. If you can defeat the Skeletons you can loot the room for a
  Mega Phoenix , while the Garchimaceras guard a
  Megalixir . Up the stairs to the north-east of the Mother of Pearl you’ll encounter a
  Naga and two
  Liches. Some of these foes might be rather strong to fight alone, and fortunately you don’t need to - if they’re proving too much trouble, you can just run past them. Aside from the loot, fighting them is mostly a waste of time.
Run down the long, curving pier, fighting or avoiding a pack of  Hobgoblins as you go. Don’t let your guard down when you reach the beach, though, as a pair of
  Iron Giants prowl what used to be Galdin Quay’s parking spot. Follow the road north from Galdin Quay only to find out that, in fact, the most dangerous daemons lie ahead, as a
  Daemonwall lurks in the first tunnel the road runs through. You don’t want to fight this thing - just continue following the road, ignoring any daemons lurking in the wilderness, and evading a second Daemonwall in the next tunnel. When this road bisects another road a truck will come driving by, driven by a face made unfamiliar due to age. He will drive you back to the Hammerhead, so sit back and enjoy the sights, or rather the daemons running amok.
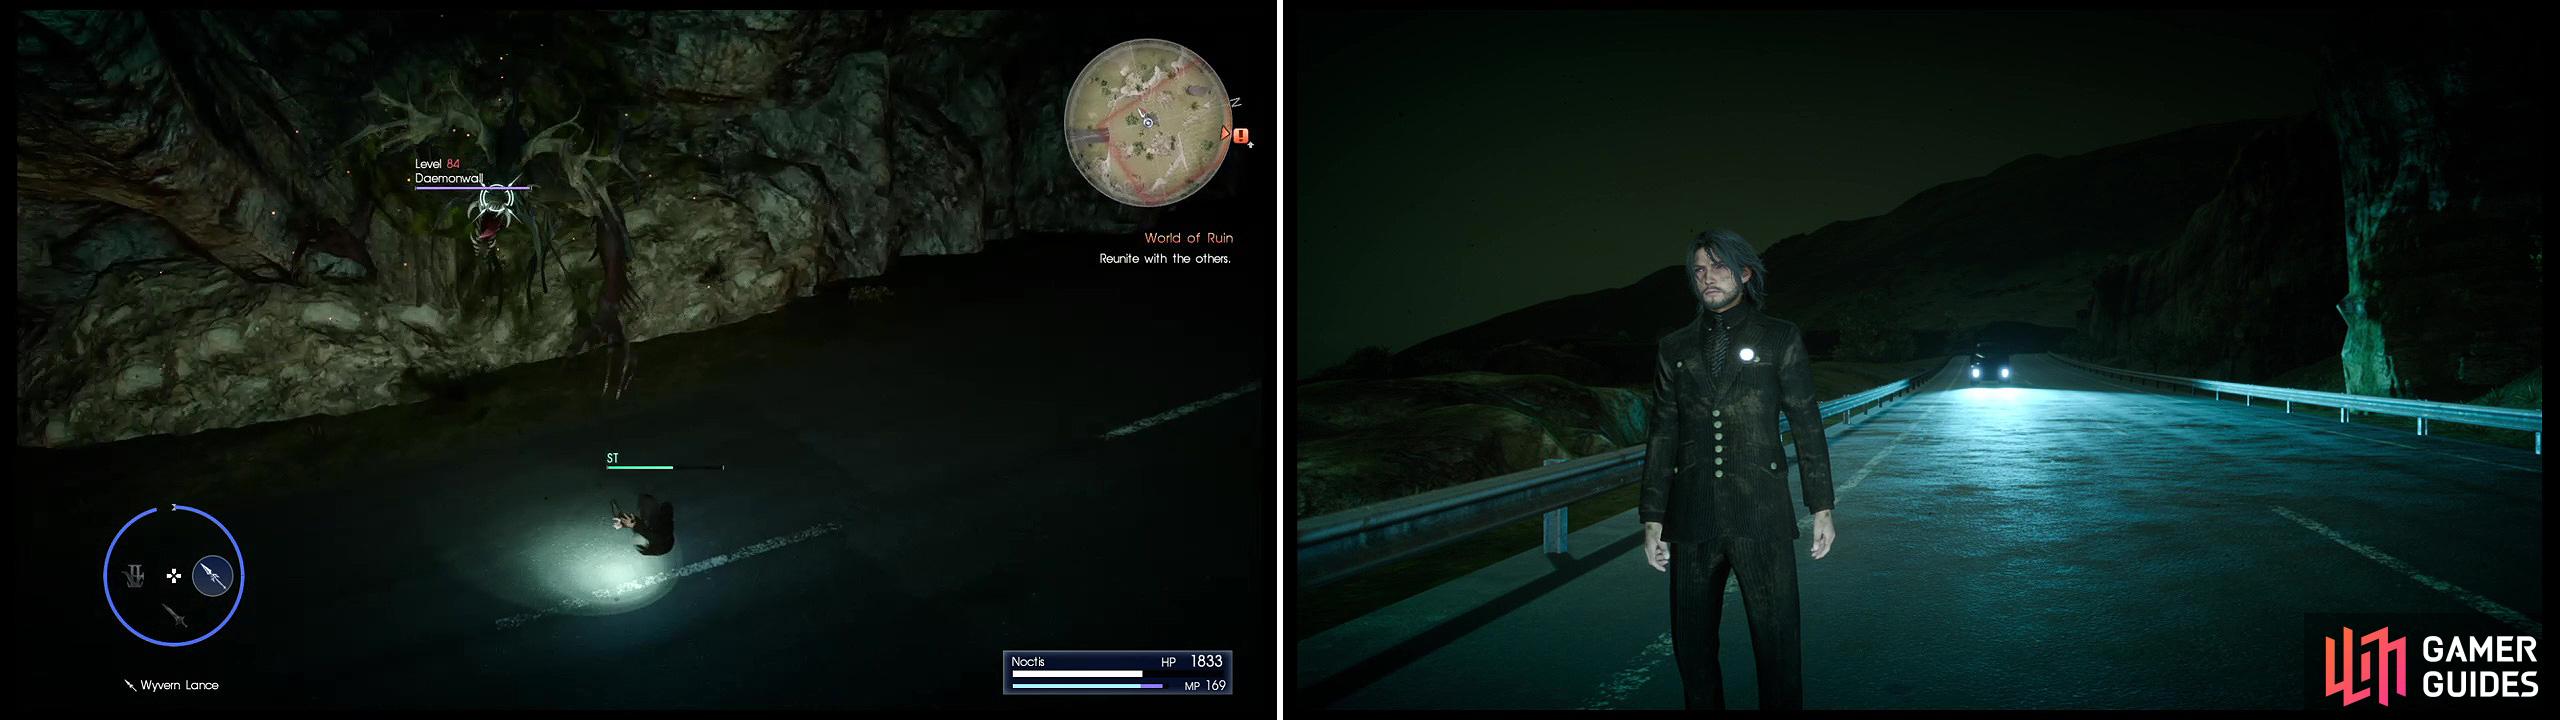
Avoid at all costs the daemons (left) on the way to the quest marker. When you reach the road, a truck will rescue you (right).
Upon arriving at Hammerhead, you will meet up with your old friends once more. Look around the surroundings and you’ll find a  Red Choker inside of the diner, on a stool behind the counter, as well as a
  Shattered Timepiece next to some rubble next to the diner outside. There’s a
  Rusted Bit next to the mini-mart, on the eastern side. Check out the weapon shop to find some nice and powerful weapons available, although they aren’t cheap. You can talk with Talcott to learn about some things that have been happening.
 Culless Munitions - Hammerhead
| Items | Price |
|---|---|
 Durandal Durandal |
10,000 Gil |
 Radiant Lance Radiant Lance |
10,000 Gil |
 Orichalcum Orichalcum |
10,000 Gil |
 Black Prince Black Prince |
10,000 Gil |
 Rebellion Rebellion |
1,500 Gil |
 Thunder Shield Thunder Shield |
1,500 Gil |
 Flame Shield Flame Shield |
1,500 Gil |
 Titanium Bangle Titanium Bangle |
2,500 Gil |
| Heliodore Bracelet | 2,000 Gil |
 Talisman Talisman |
800 Gil |
 Knight’s Anklet Knight’s Anklet |
2,500 Gil |
 Oracle Card Oracle Card |
2,500 Gil |
| Objective | Reward |
|---|---|
| For returning to Insomnia | EXP 2,000 |



No Comments